

Making a Ita Bag with 100-yen materials! Check out how the stuffed toy pouch feels [Otaku Activity]
![Making a Ita Bag with 100-yen materials! Check out how the stuffed toy pouch feels [Otaku Activity]](https://nijimen.net/en/wp-content/uploads/sites/2/2022/12/34eeef9ad11d89fd1433c48ee18b4047.png)
Some people bring “Ita Bag” (a handbag decorated with anime characters) to live concerts and other events to show off their faves.
Some of them cost from 2,000 to 10,000 yen each, and many people may say, “I don’t know which one to buy,” or “It’s too expensive for me.
So, in this article, I tried to make a Ita Bag using only 100-yen stores’ materials! Please take a look at it for reference.
Point
- I tried making a Ita Bag with materials from Seria!
Also check out how the Ota Colle Stuffed Toy Pouch of feels!
I made a Ita Bag using 100-yen stores’ materials!
Here are the materials!
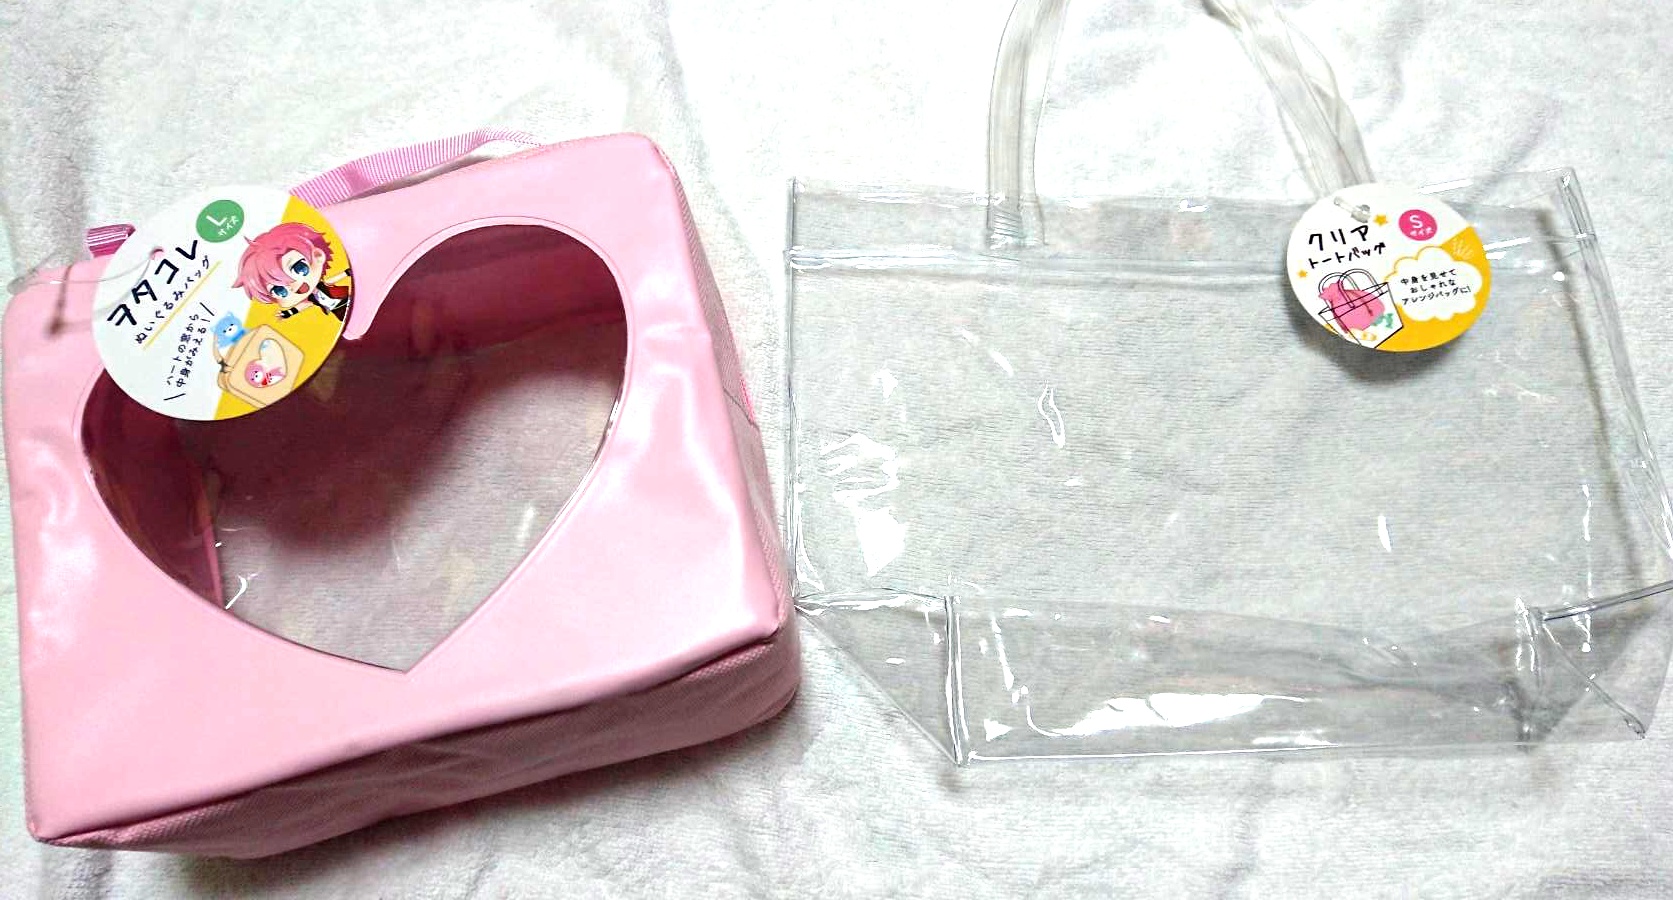
Here are some of the items I purchased for the creation of Ita Bag.
- Clear Tote Bag S (20cm x 28cm x 11cm)
- Ota Colle Stuffed Toy Pouch L (150mm x 175mm, gusset 80mm)
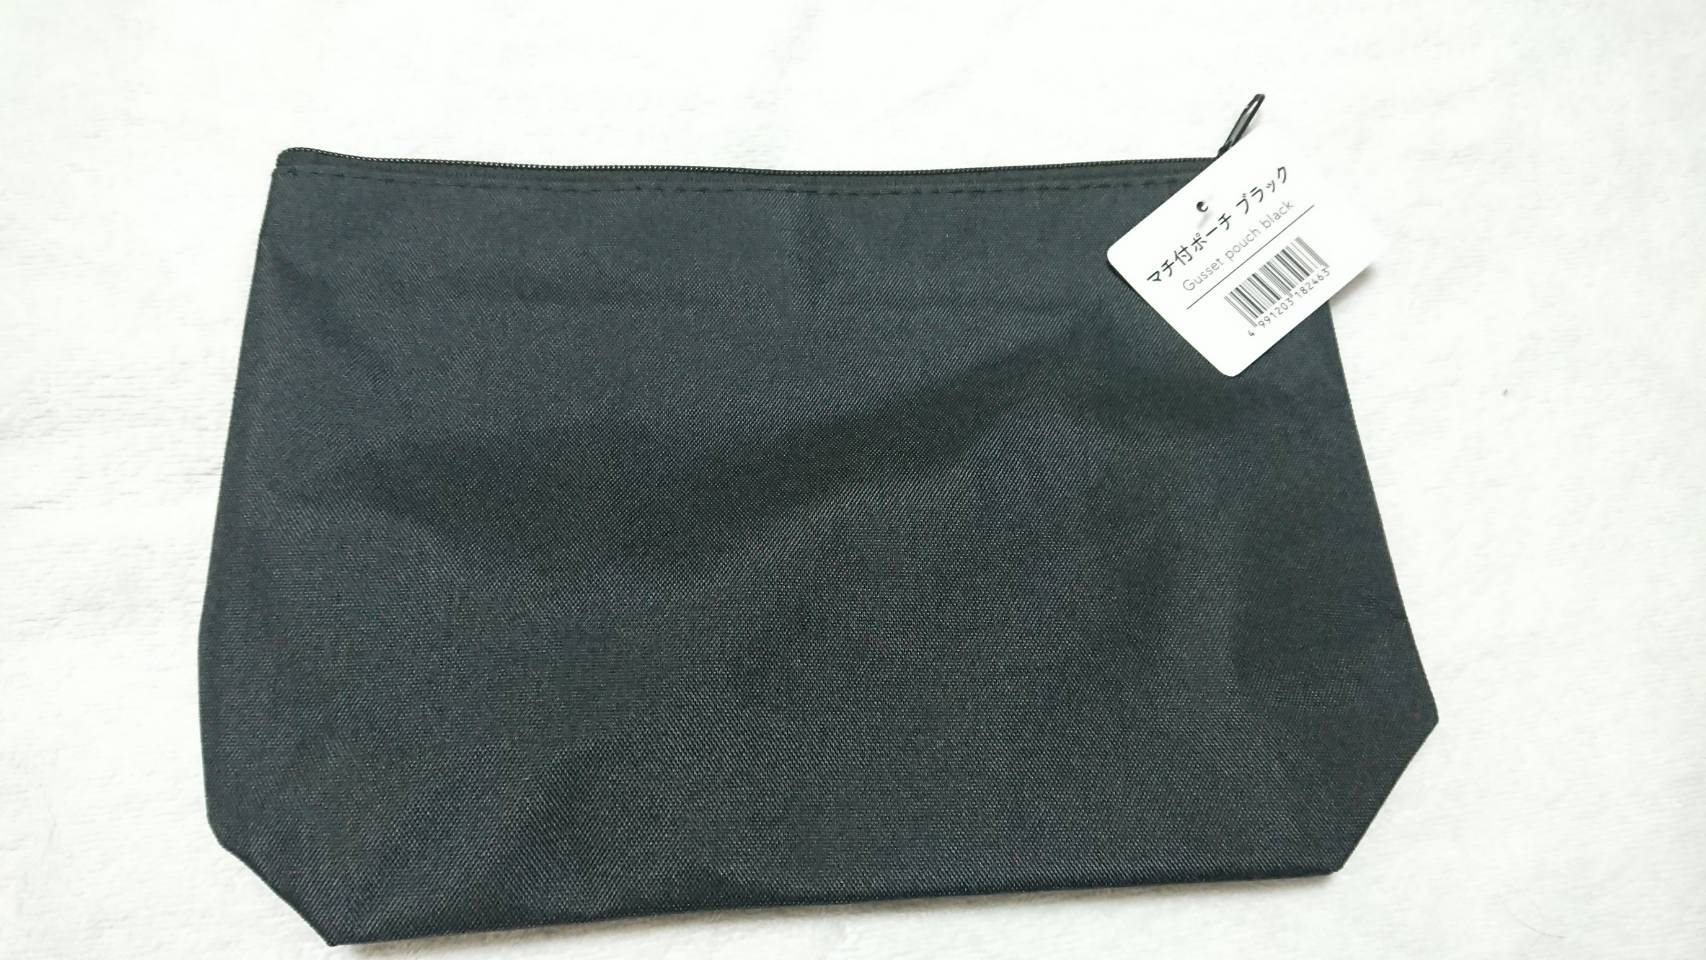
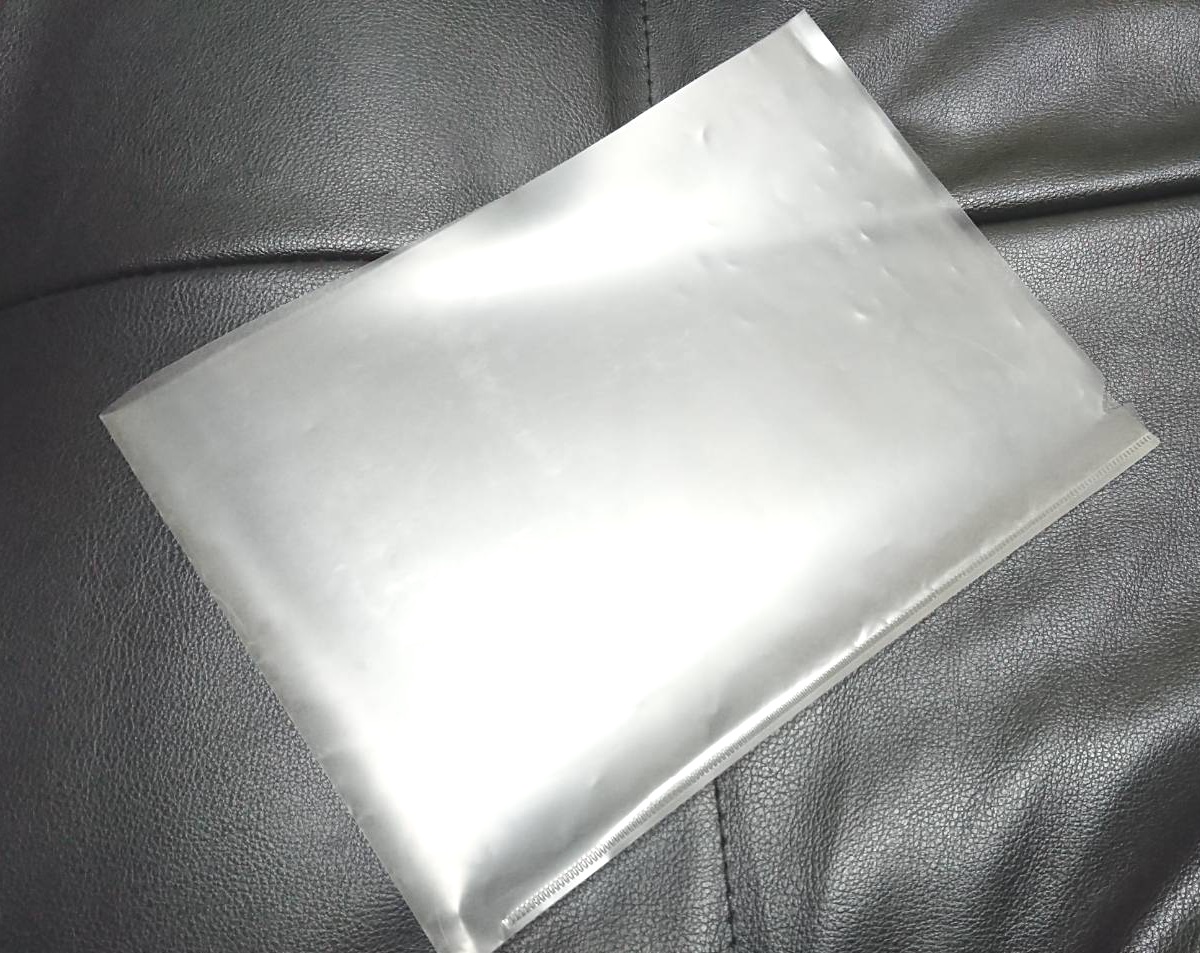
- Gusseted Pouch Black
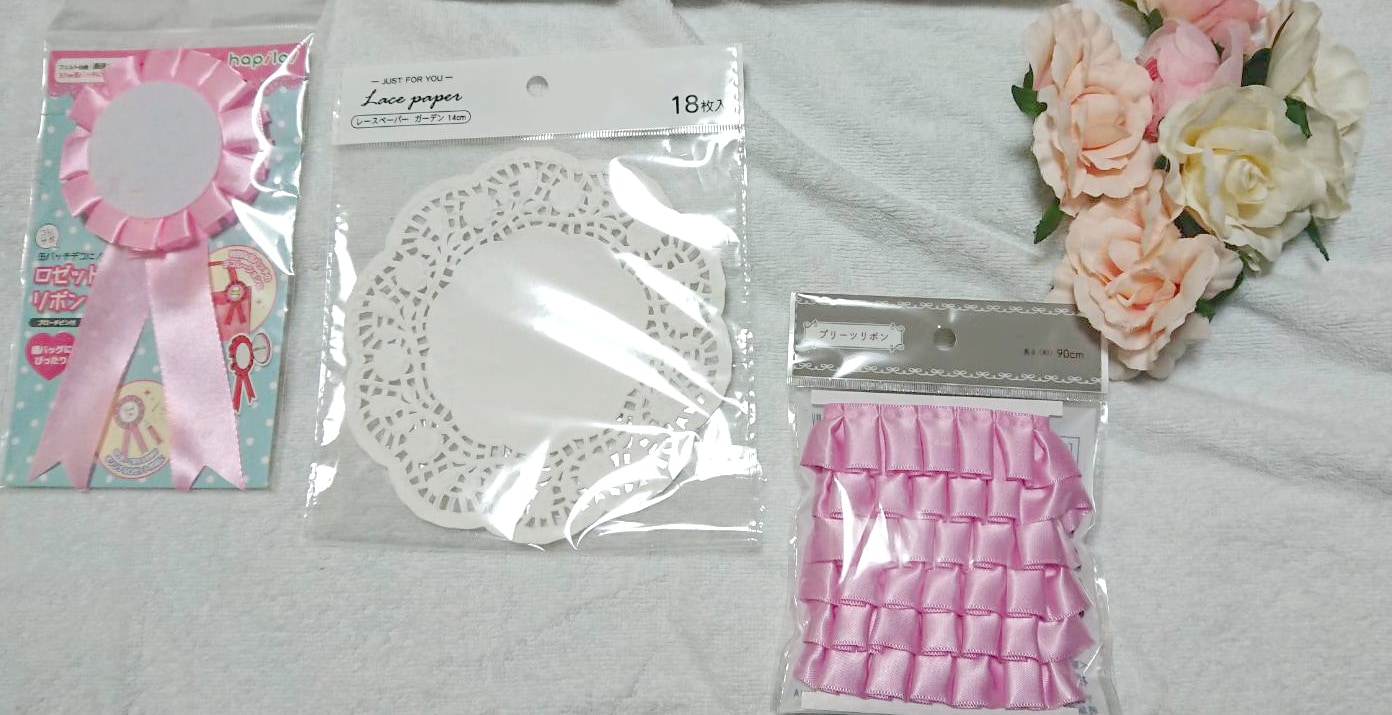
- Rosettes
- Lace paper
- Pleated ribbon (length 90cm)
- Flowers and other decorations
All materials are from the 100-yen store Seria!
In addition, you will need scissors, clear files, and double-sided tape, so please prepare those.
I’ll get right to work!
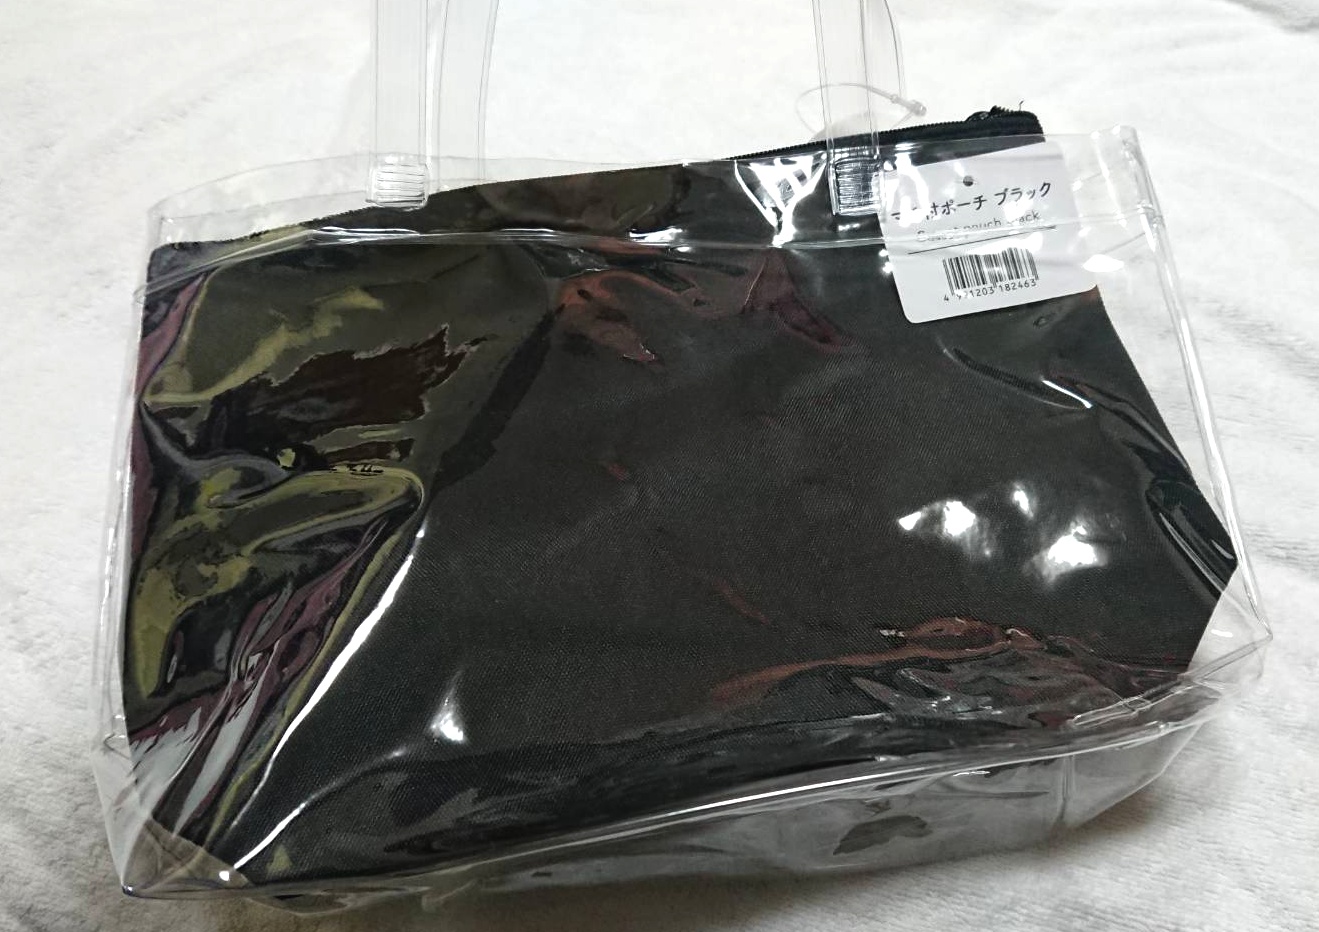
I will make a Ita Bag by combining a clear tote bag and a black gusseted pouch.

This time, we will make a bag by sticking can badges and other items into a clear file.
First, cut the clear file to the size of the clear bag.
*This time, we used an A4 size clear file.
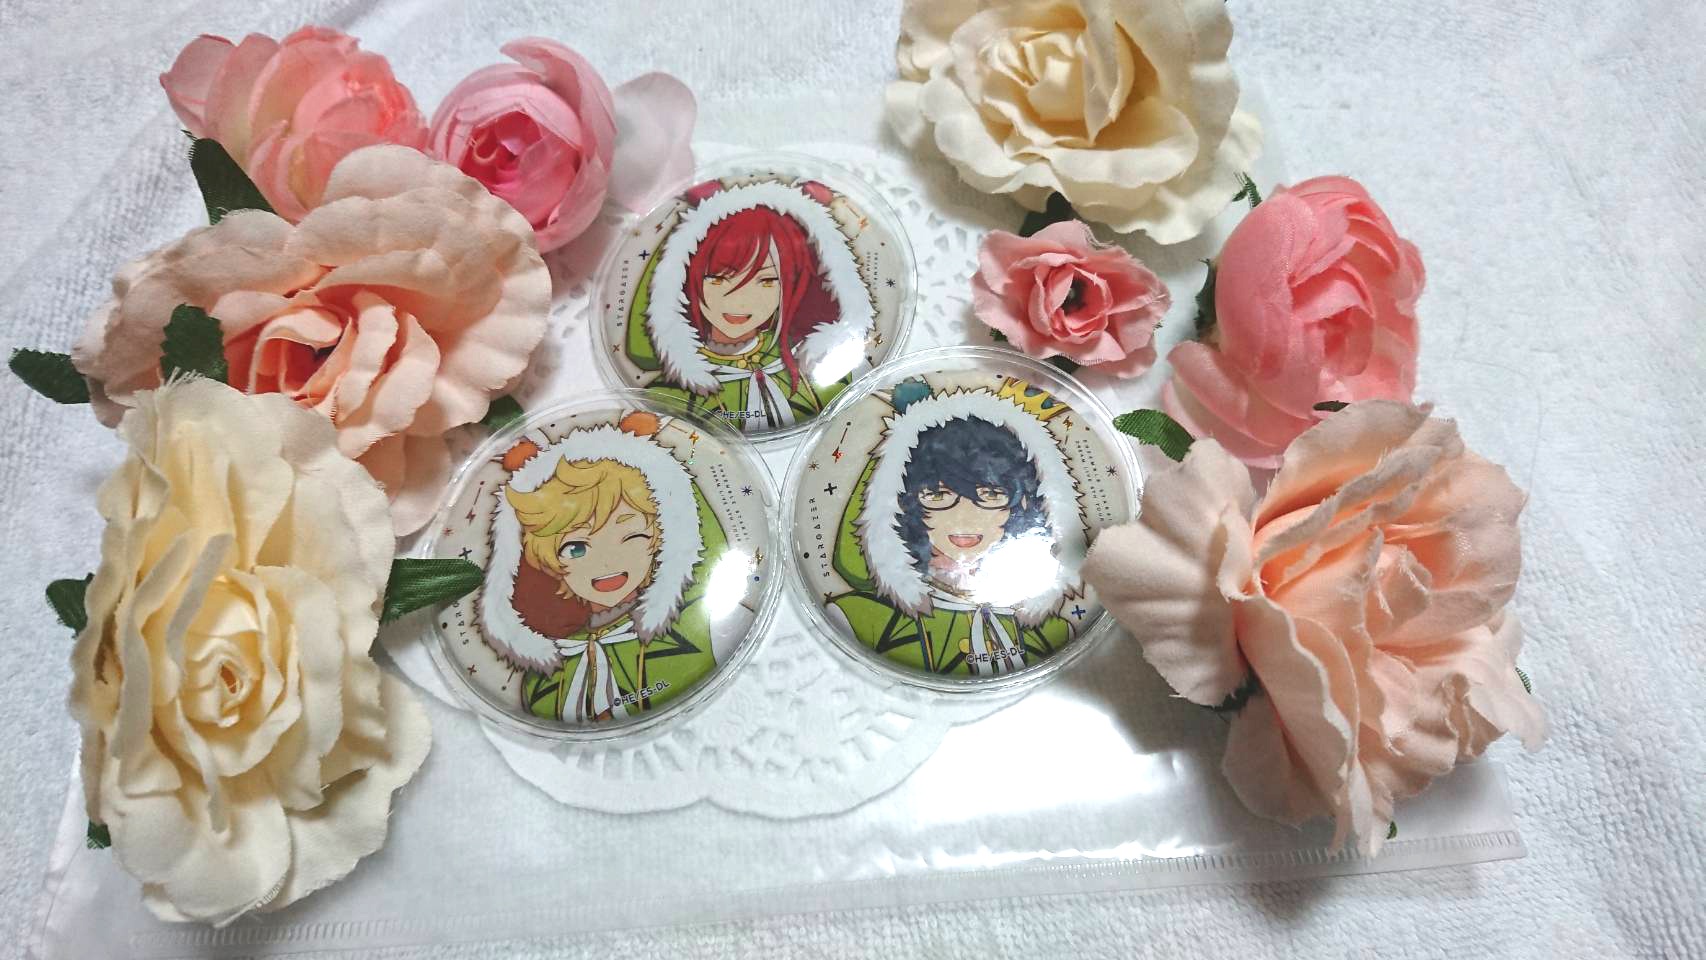
I will think about what kind of bag to make, lining up the decorations on a clear file…
Once the composition is decided, let’s start making it.
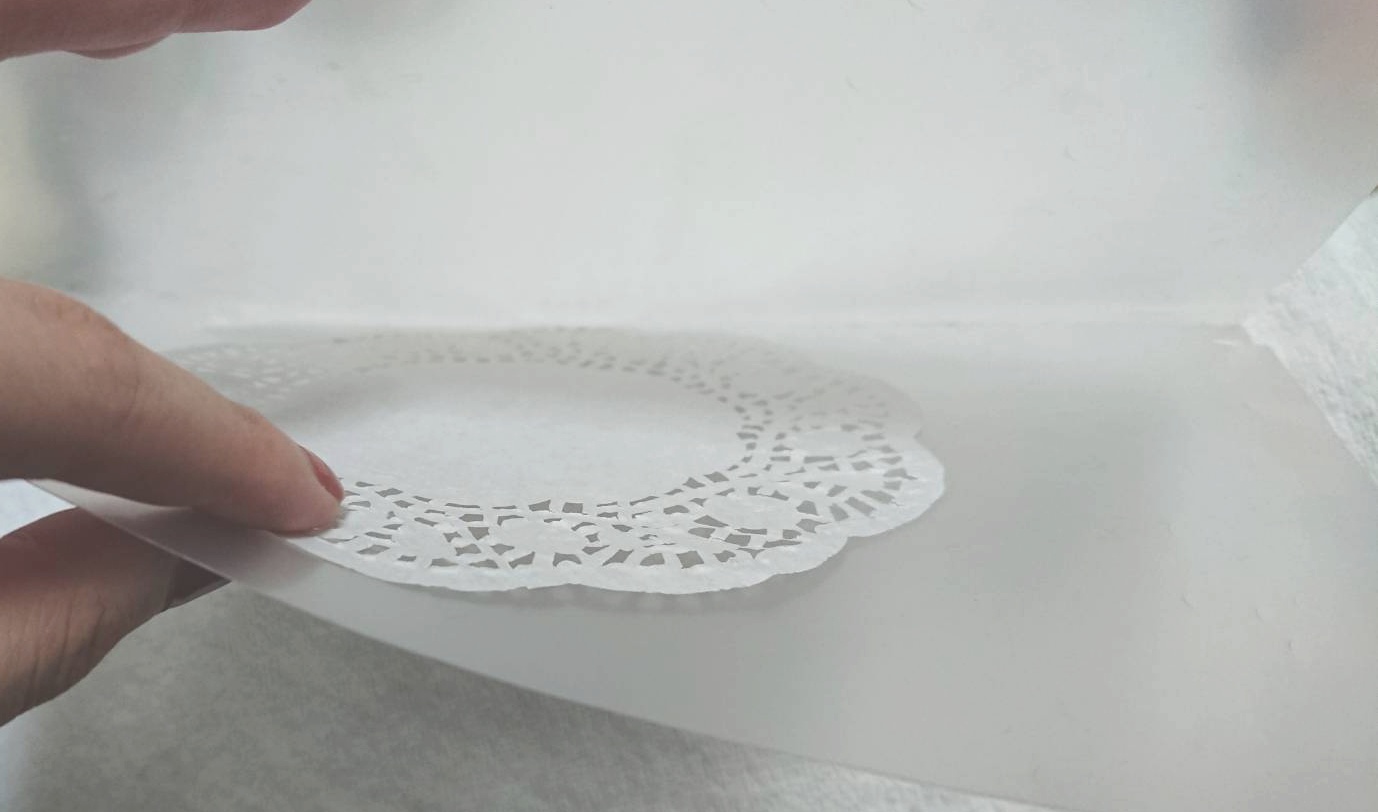
Place the lace paper inside the clear file and secure it with double-sided tape.

Next, stick the badges into the clear file.
It was easier to mark the place where you wanted to stick the badge with a pen or masking tape beforehand.
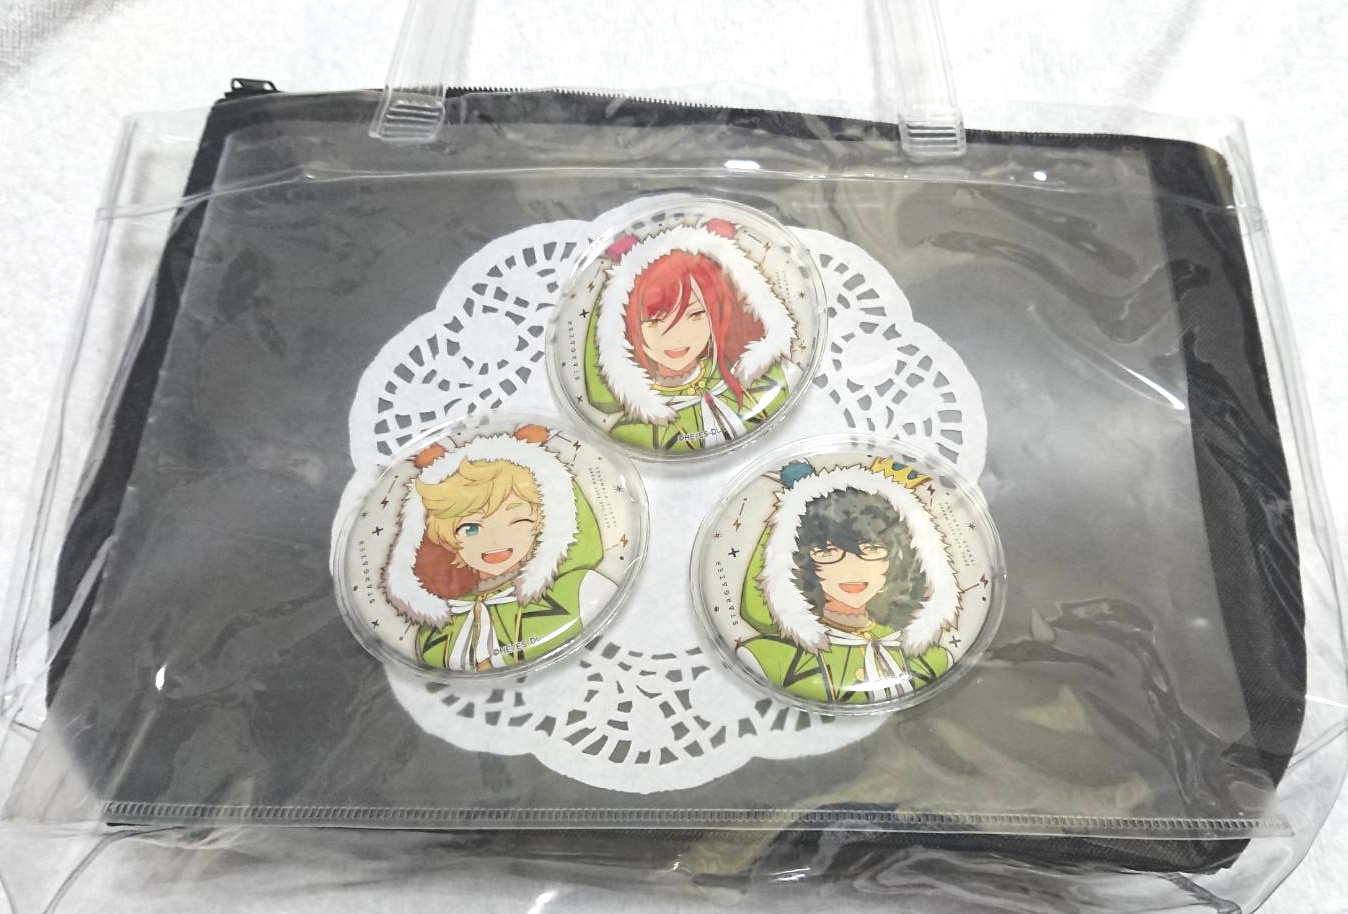
For now, I’ve got one in this condition in a clear bag! Isn’t it nice!?
It is a little bit sad as it is, so I will decorate the clear bag.
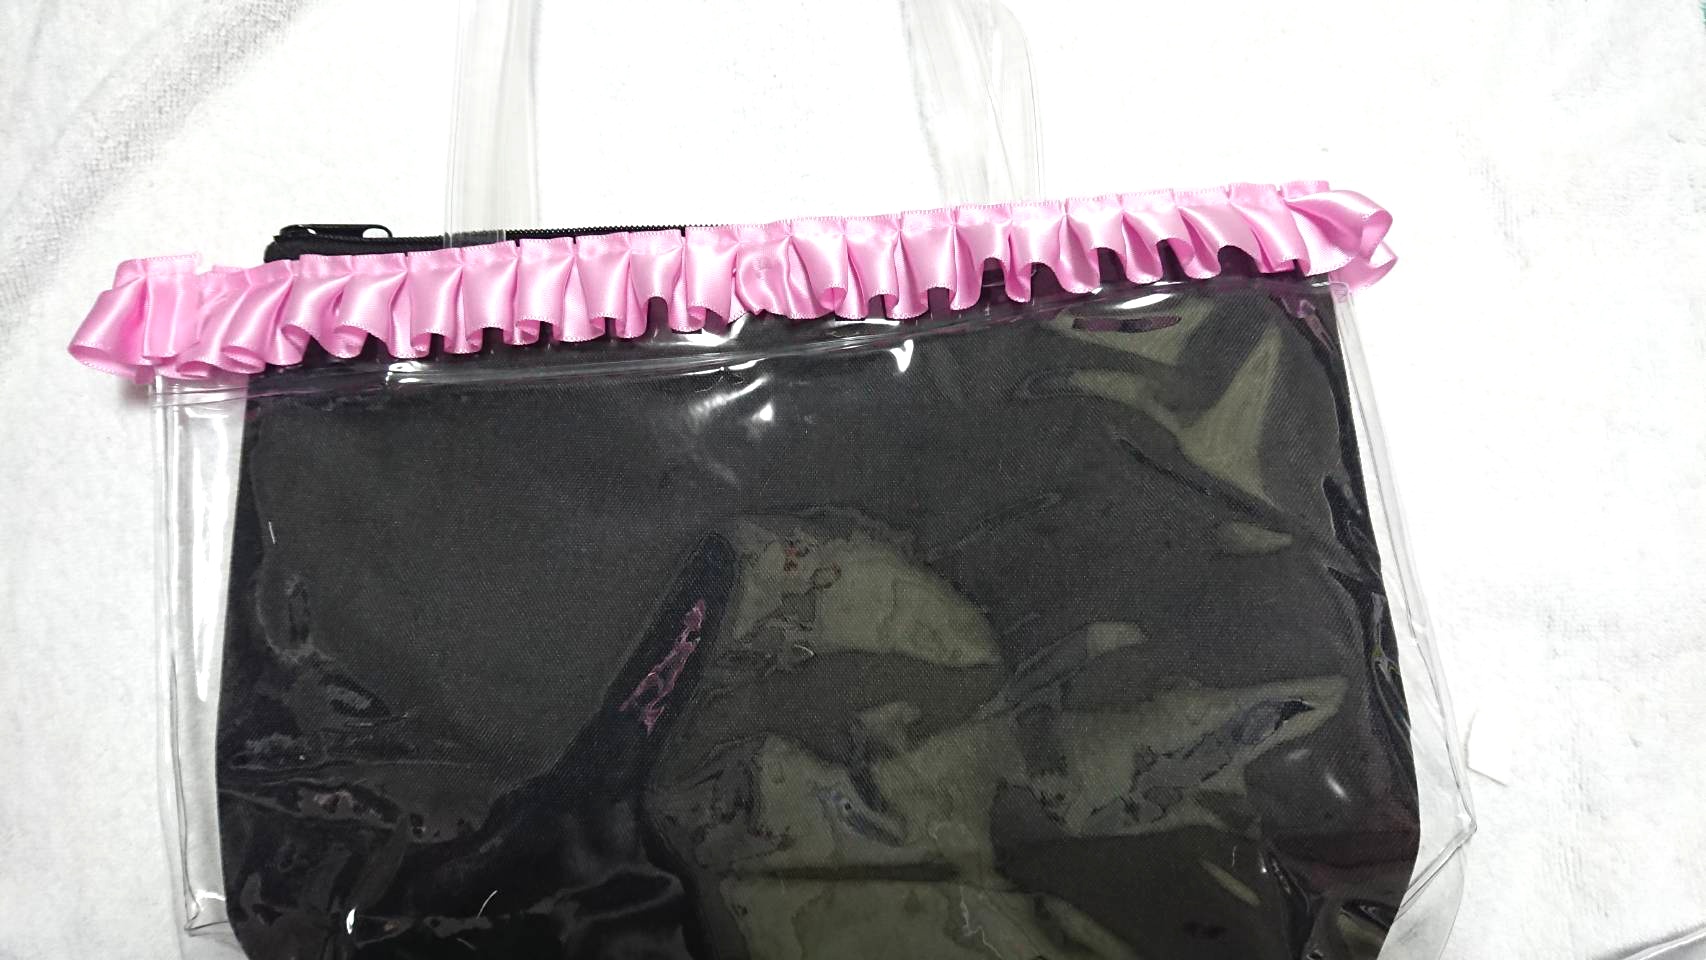
I attached a pleated ribbon to the top of the clear bag with double-sided tape.
Finished!
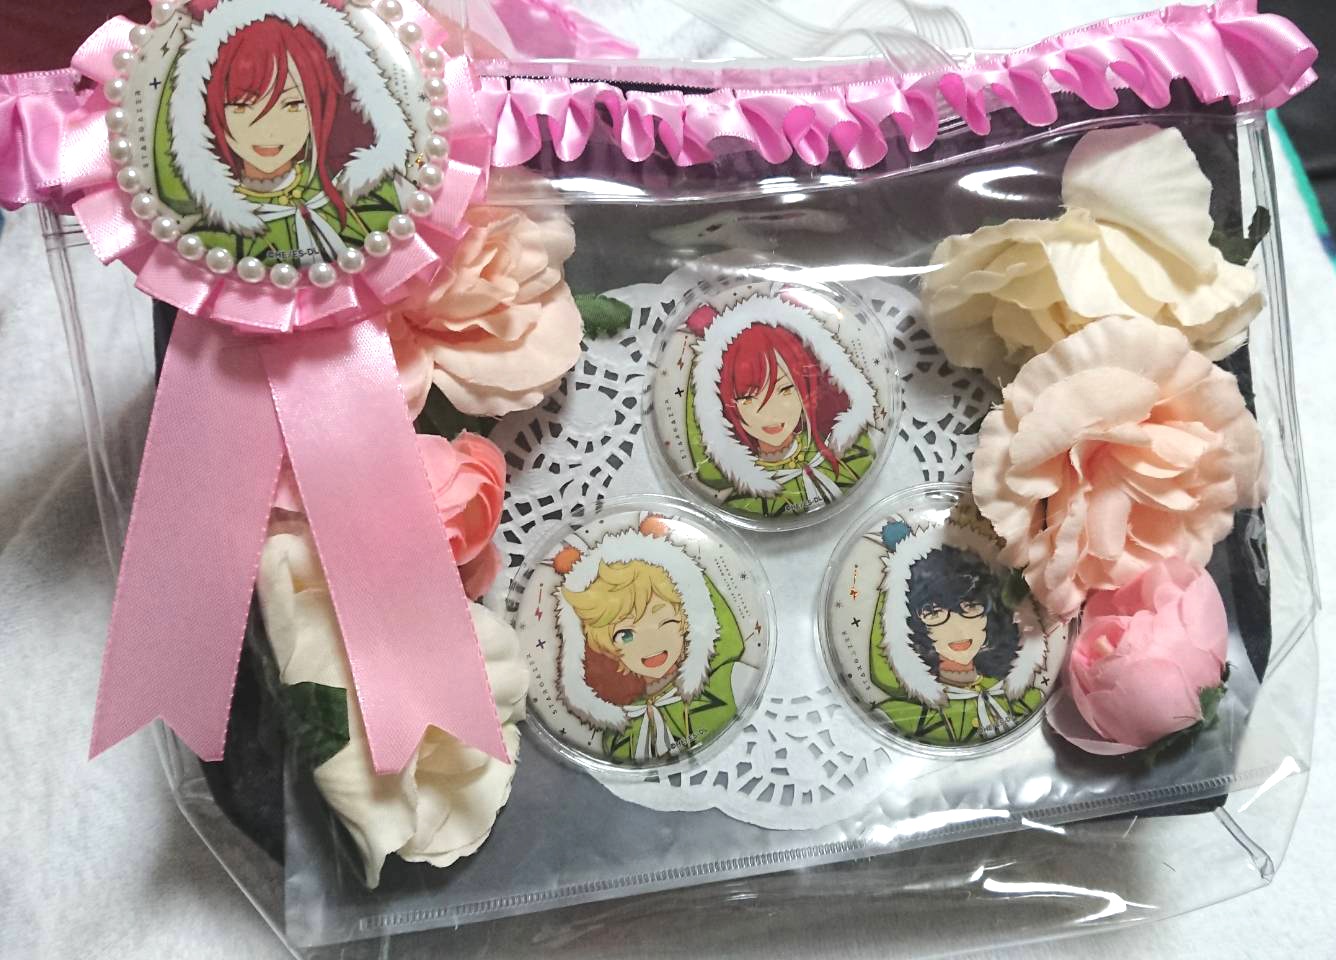
Add rosettes and put flowers inside the bag, and you’re all set!
The badges attached to the rosettes are decorated with pearl beads.
Summary of making a Ita Bag
I was able to make a Ita Bag using only 100-yen stores’ materials!
It took about an hour to make. Since you can come up with your own design for the bag, I think the arrangements are limitless.
However, since it was made with 100-yen stores’ materials, it looks cheaper and less strong than the bags on the market.
For those who think that “I want to have another bag in addition to the large one!” “I want a small, inexpensive bag!” 100-yen stores’ bags are perfect.
You can get all the materials you need at 100-yen stores, so please try to make it!
Time required: about 1 hour
Material cost: about 700 yen
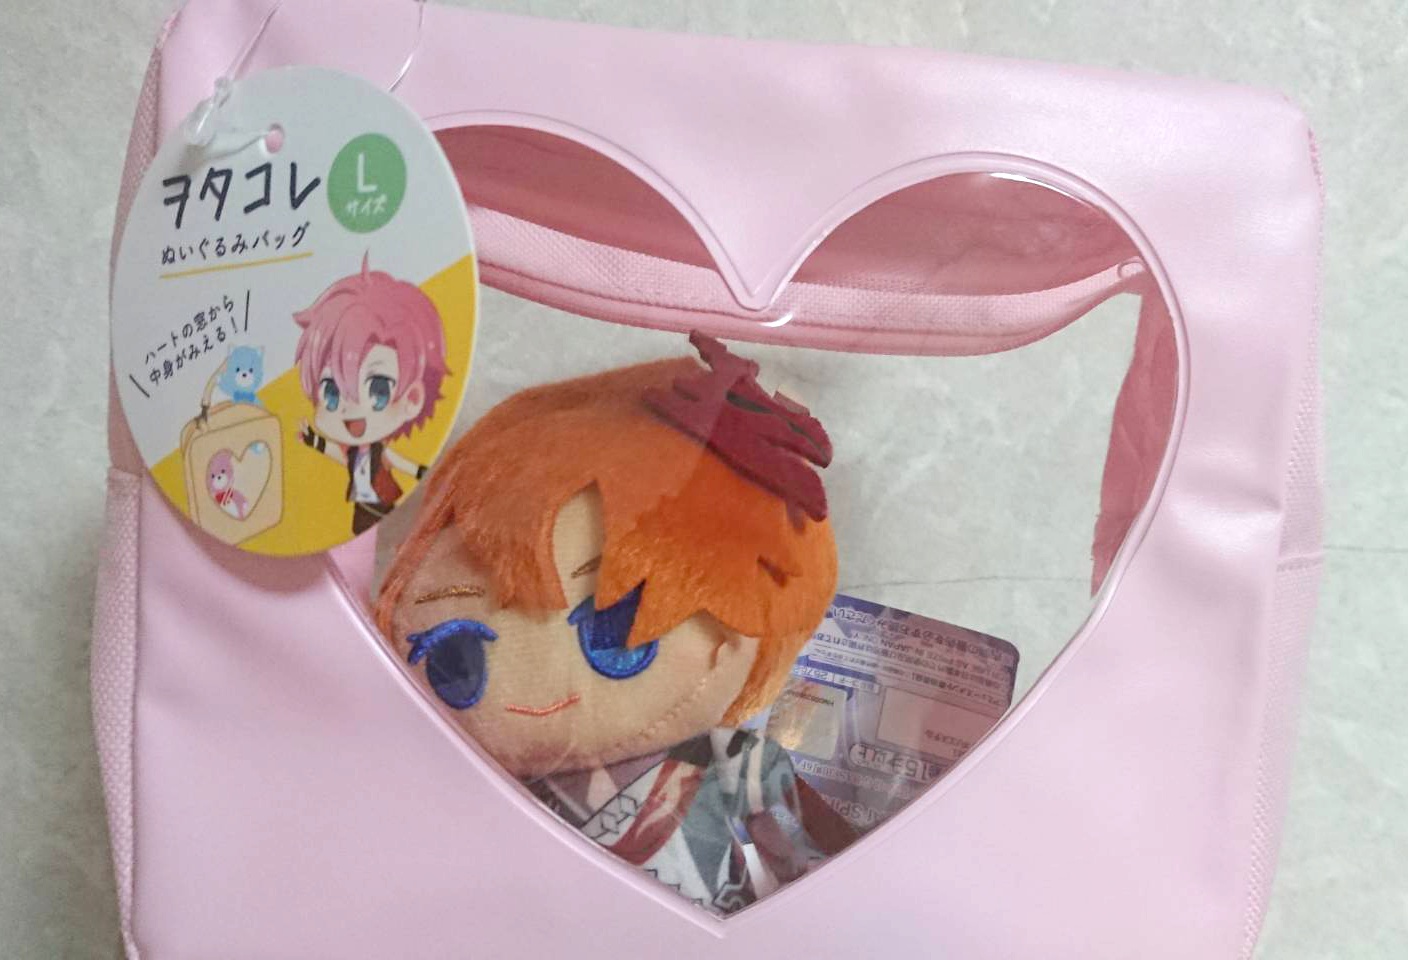
[Extra Edition] I tried using Ota Colle Stuffed Toy Pouch
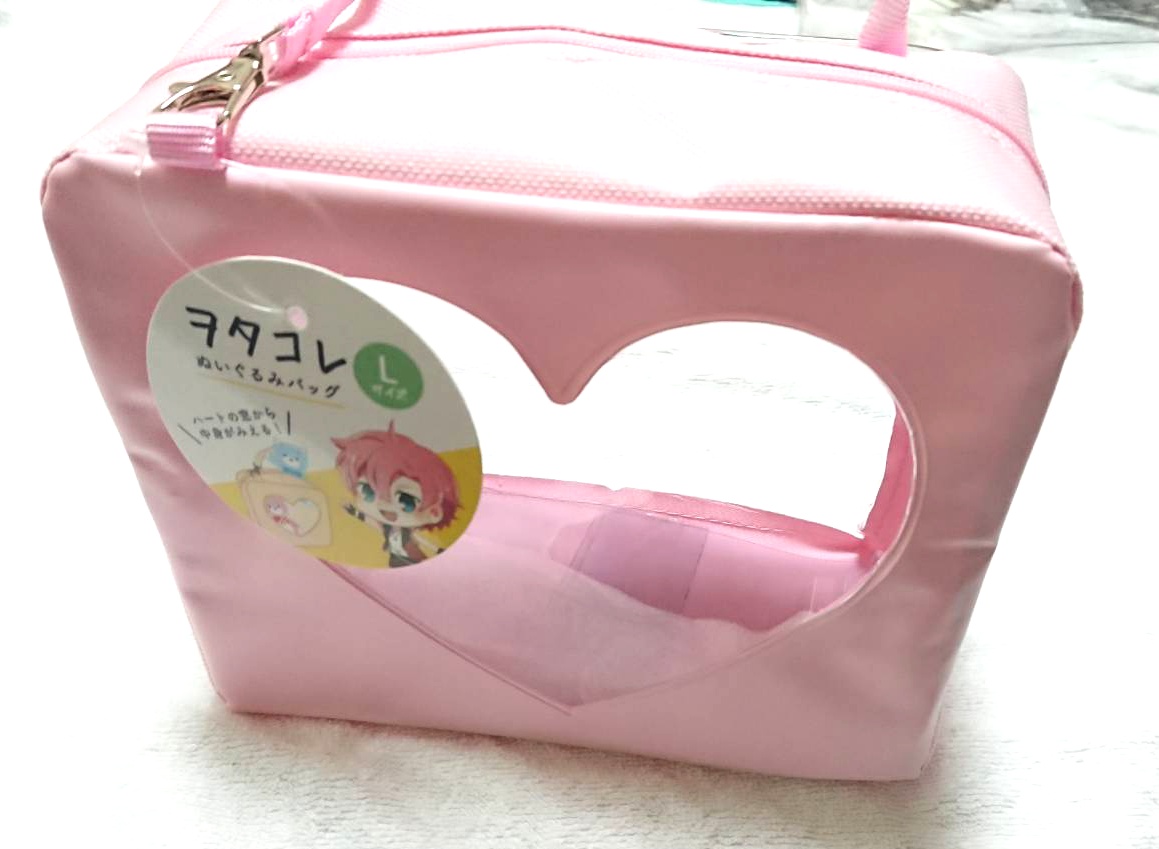
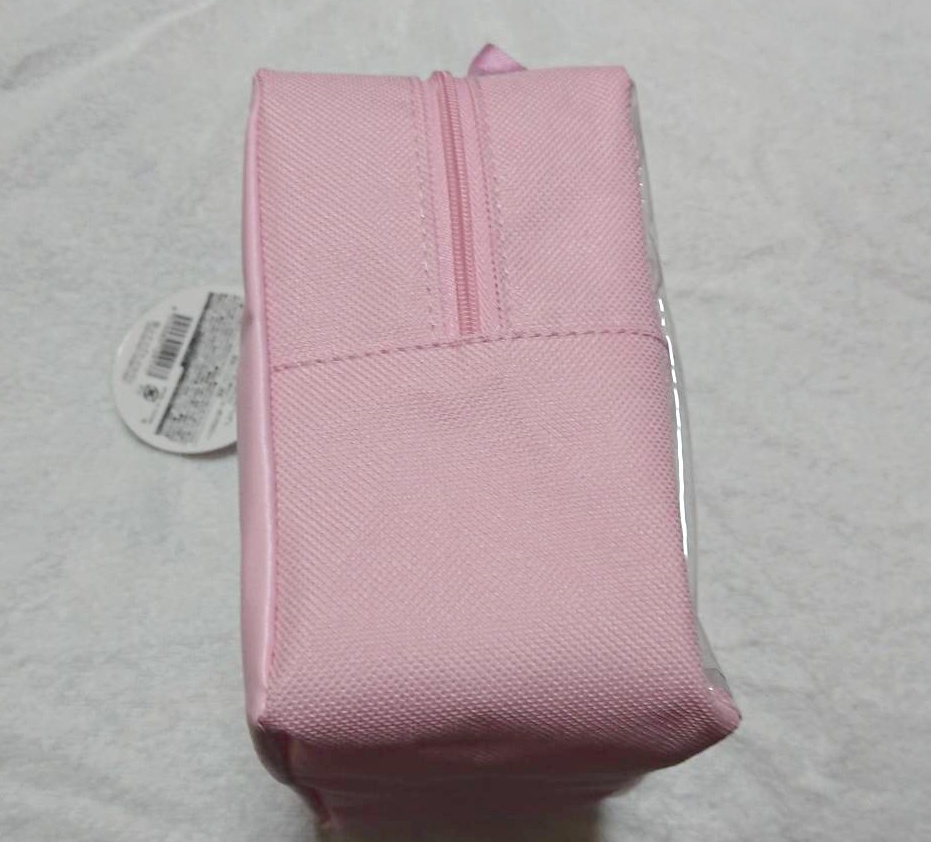
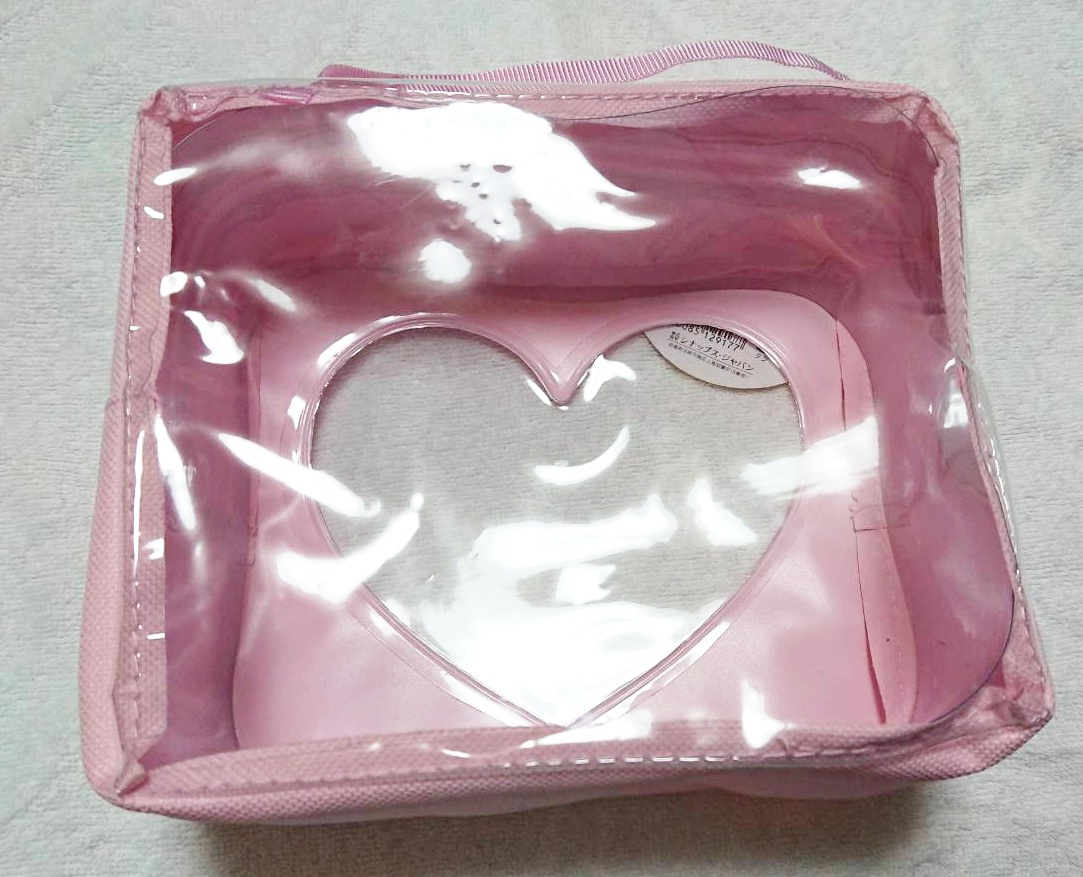
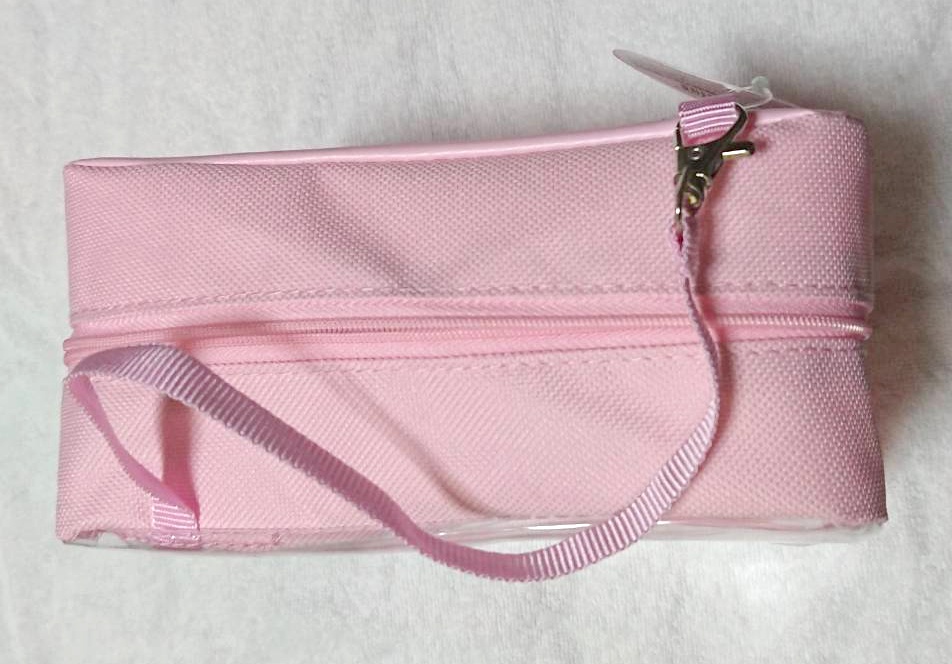
Ota Colle Stuffed Toy Pouch, a pouch for stuffed toys, is sold at Seria, and I was curious about it, so I bought it!
The size is 150mm x 175mm (gusset 80mm).
It has a cute design with a heart on one side of the transparent window.
It is perfect for carrying a stuffed toys along with the bag.
I put a stuffed toy in it
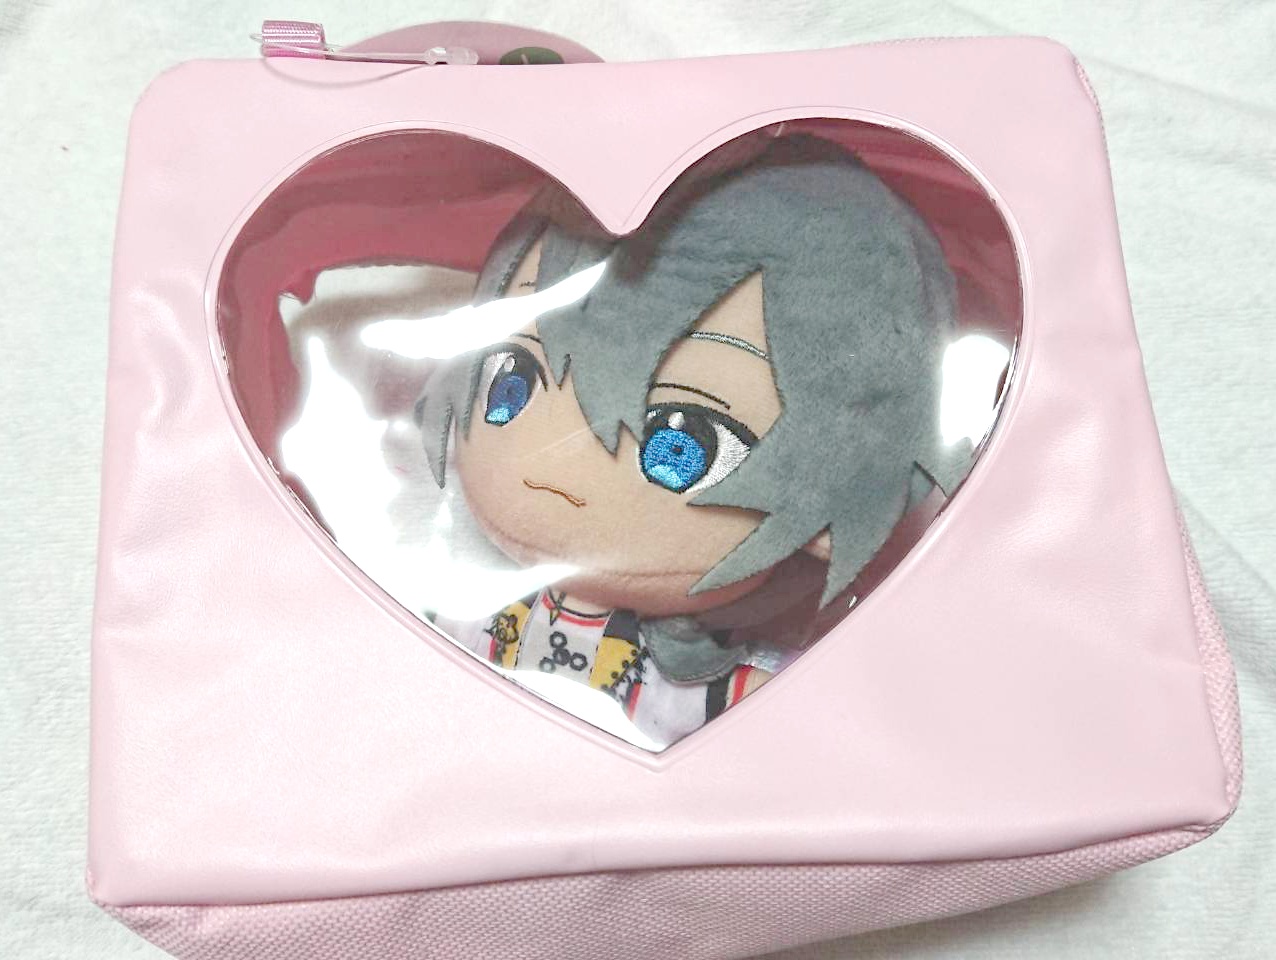
First, we put a stuffed toy of Ensemble Stars!!, which is about 16 cm in size.
Because there is space on both sides, it tilts when moved a little.
The height is just about right.
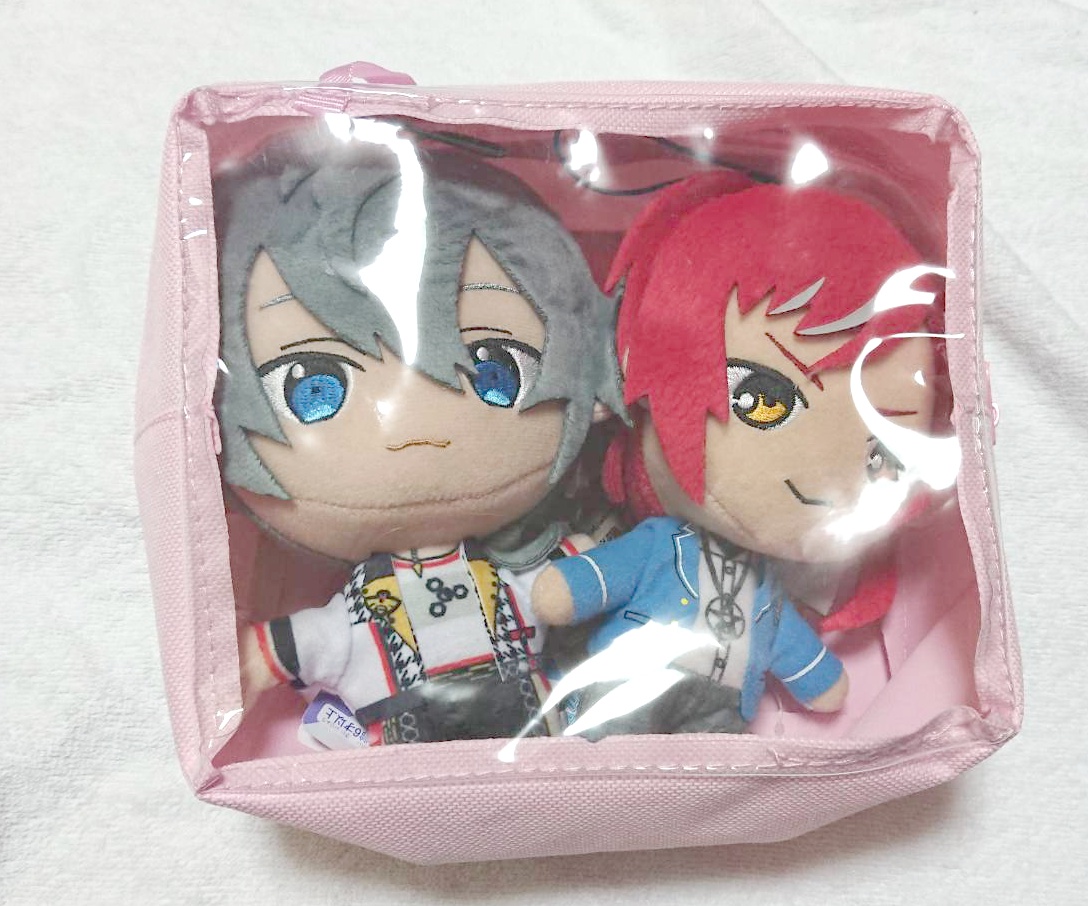
We could have put two of them in there!
We recommend that you face the transparent window on the opposite side, not the transparent window of the heart.
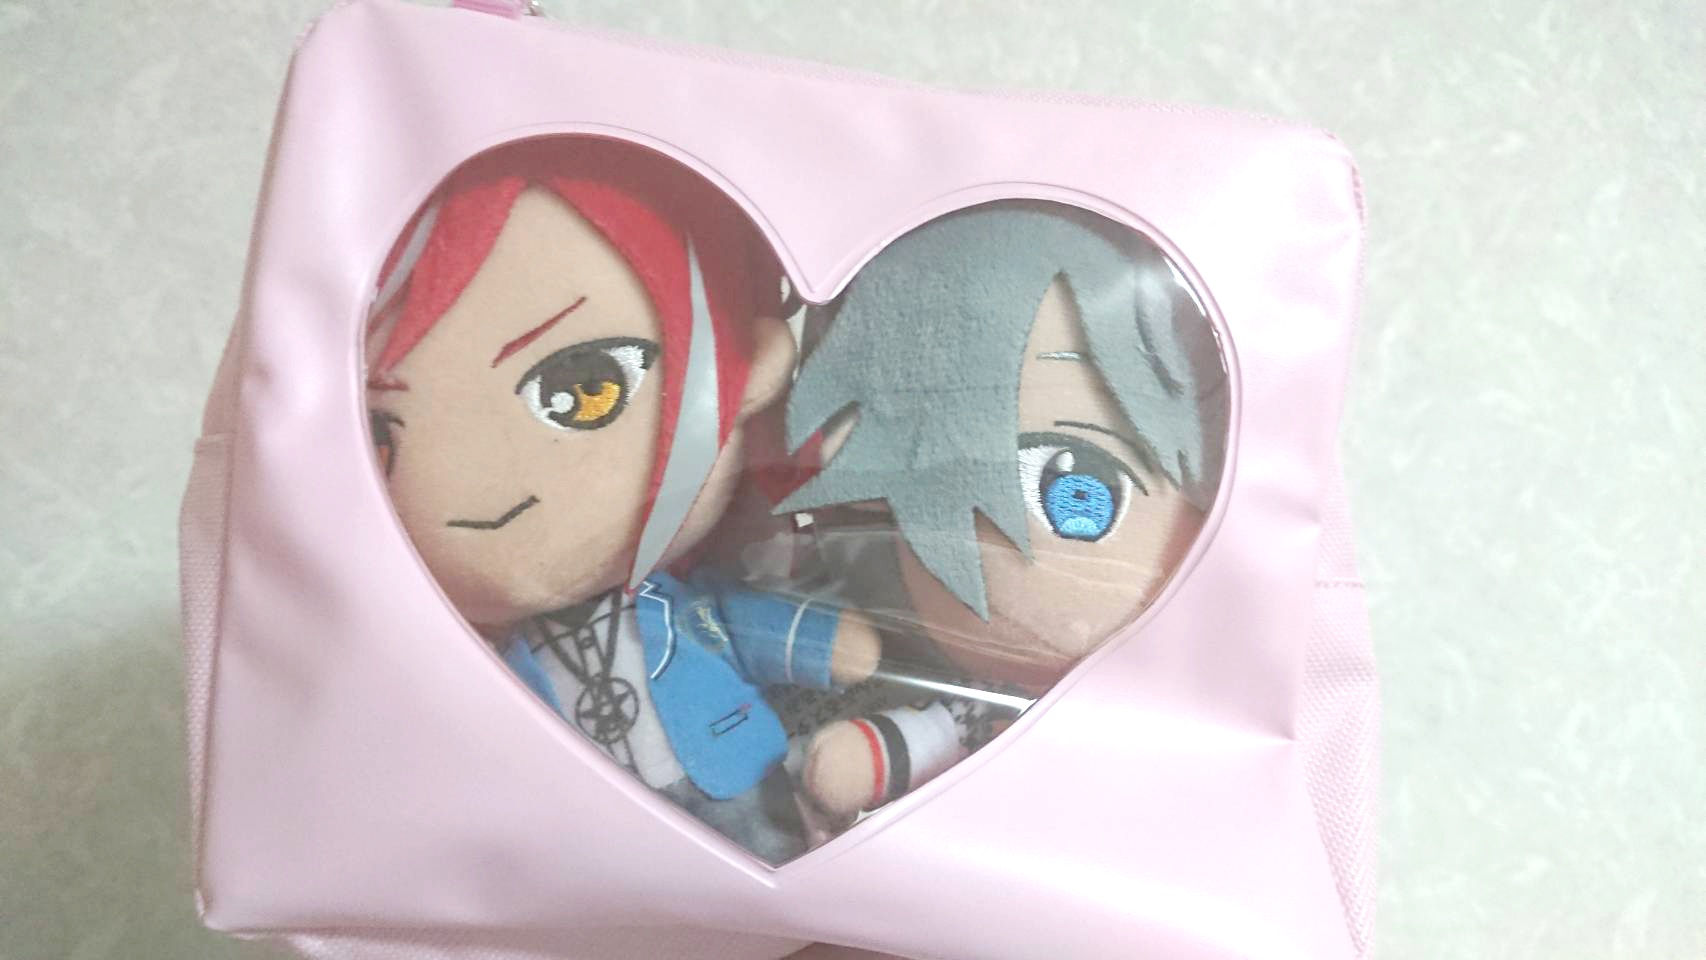
Next, I put the Genshin Impact small stuffed toy, which is about 11 cm in size.
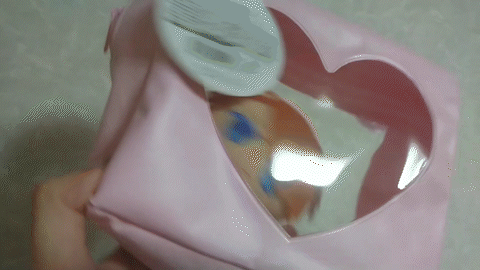
Lightly rolling!!!!!
Because the stuffed toy is small, it has too much space and rolls around.
When carrying it, it might be better to put two stuffed toys in it.
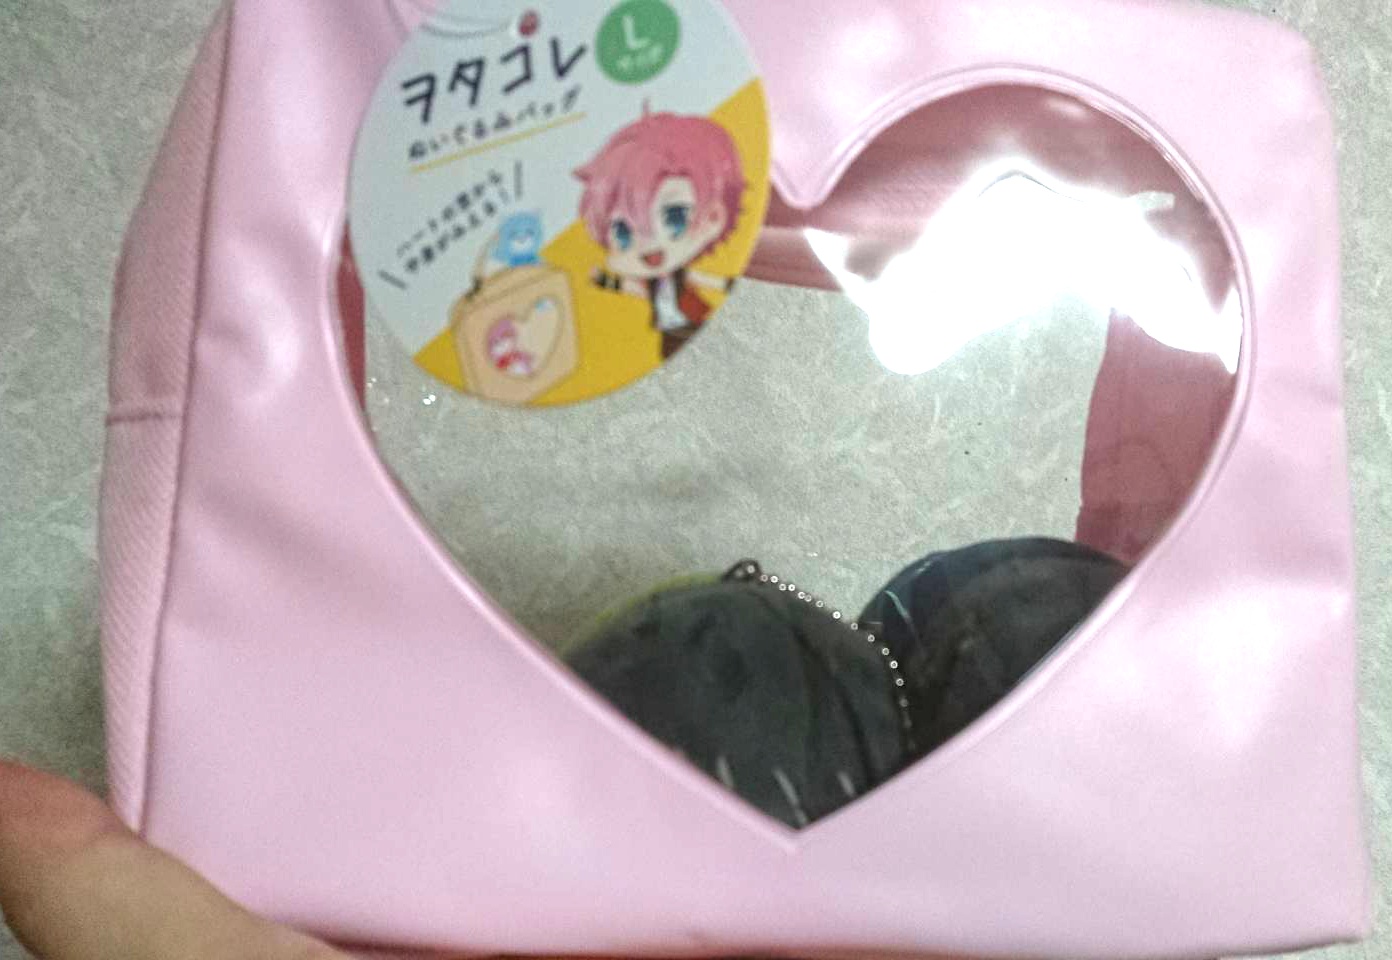
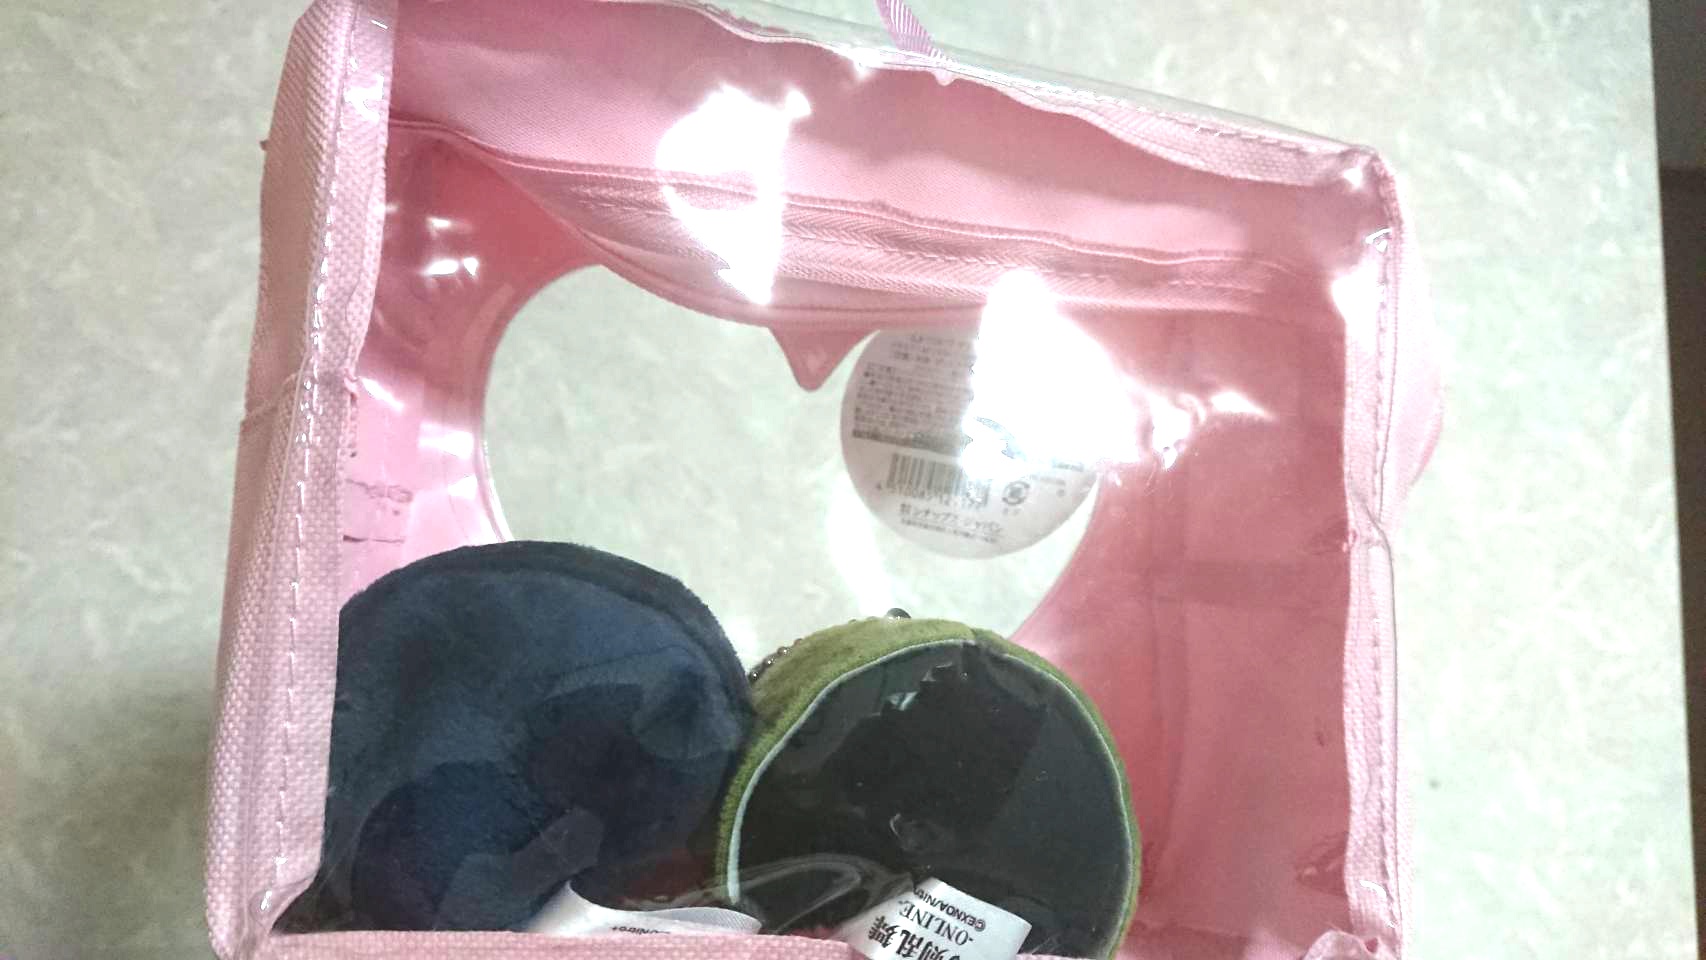
The last one is Mochi Mochi Mascots (size: approx. 50mm x 85mm) from Touken Ranbu.
With two mascots, you can’t see their faces through the heart window.
It looks like you can stack stuffed toys on top, so you can carry several of them together in a cute way!
Summary of using Ota Colle Stuffed Toy Pouch
I felt that the stuffed toy’s pouch is compact and perfect for those who want to carry their stuffed animals around!
It is also recommended for those who want to store stuffed toys or display them in their rooms.