

[Otaku Activity] Challenging myself to make a plush toy using the popular Handmade Fave Plush Toy Book! Forging my fave with the effort of sweat and tears
![[Otaku Activity] Challenging myself to make a plush toy using the popular Handmade Fave Plush Toy Book! Forging my fave with the effort of sweat and tears](https://nijimen.net/en/wp-content/uploads/sites/2/2022/08/7c74b07a88651549d80c85b93494f000.png)
Do you know Dressable Handmade Fave Plush Toy Book that you can make a handmade plush toy? Those plush toys are human shaped and possible to change their clothes.
The book tells you how to make a handmade plush toy, including providing pattern papers.
It has become a hot topic on SNS such as Twitter, as it is an easy-to-understand explanation of how to make a plush toy, which is now an essential item for Otaku Activity.
I got this book, so I tried making a fave plush toy!
I am a sewing beginner. Therefore, I was struggling a lot. Please have a look at my record of how I made an effort to create a fave plush toy.
Point
- Can we make a fave plush toy even if we were sewing beginners?
Introduce the process of making a plush toy and material you need to use.
Important points, time for making a plush toy and how much does it cost
Challenge to make my fave plush toy referred to Dressable Handmade Fave Plush Toy Book!
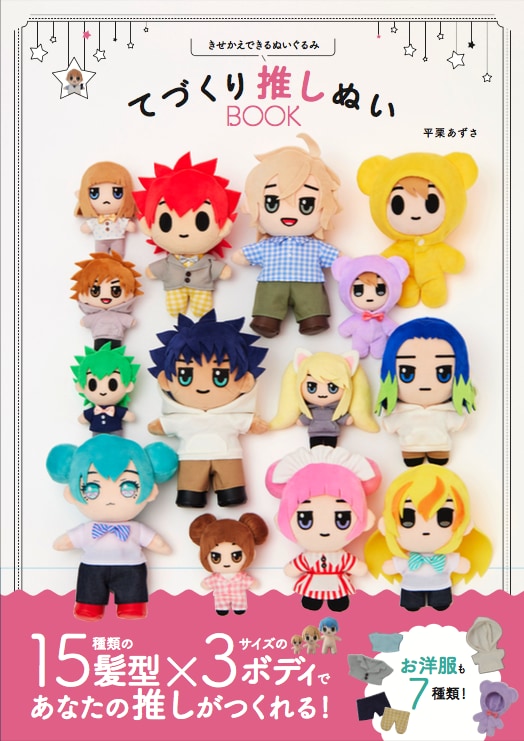
In the Dressable Handmade Fave Plush Toy Book, it have instructions about 15 different types of hairstyles and 3 different sizes of the body, 7 different types of clothes with pattern papers.
First of all, you will decide the size of the plush toy. Then, you decide the hairstyle and what kind of clothes to let him/her wear. At last, you decide which character you will make!
The writer,myself, picked the smallest size of the Nylex plush toy (approx. 11cm) as I am a sewing beginner.
I decided to make Yu Nishinoya (nickname is Noyassan), one of the anime characters’ in Haikyu!!.
About the writer, myself
I am a beginner at sewing, so I usually only attach buttons that have come off.
How to make plush toys process and materials
Materials
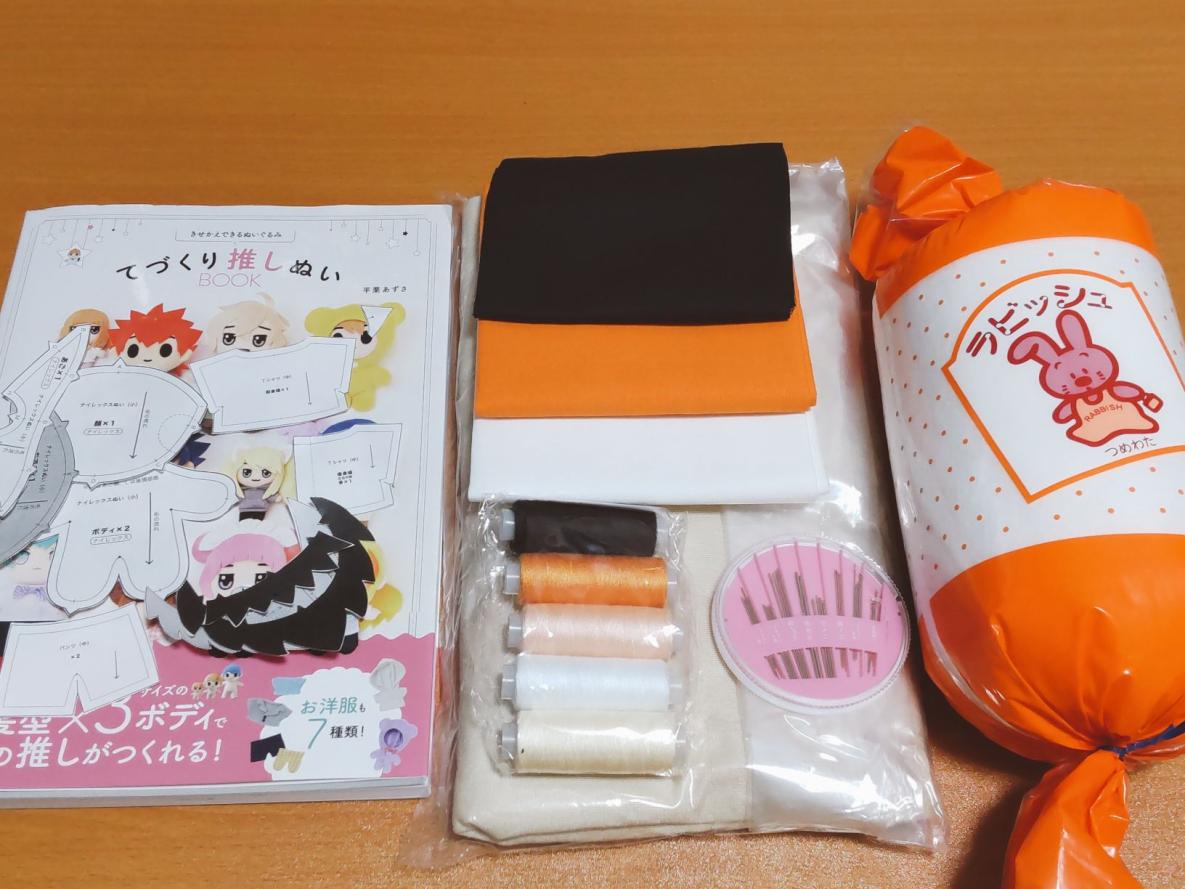
Making a plush toy’s materials are very simple, such as clothes, cotton, scissors and thread. Pattern paper is included in the book, you just use it after it is printed out.
Process
Making a small plush toy’s process is roughly three.
Making a plush toy…
1. Making a plan for the plush toy(Decide the toy’s size, hairstyle and which clothes to make)
2. Cut the cloths to follow the pattern paper
(As much as possible to follow the pattern paper accurately)
3. Read the book instruction, sewing together
(Read the book carefully when you do the sewing)
Let’s try making it!
1. Making a plan for the plush toy
I decided to make a character Yu Nishinoya in Haikyu!!.
There is an advice that you can draw Illustrations in the book. However I don’t have a sense of drawing. So instead of drawing, I searched on the internet about the character’s image, and tried and tried the image of the character in my head…
I decided on the size and hairstyle of the plush toy, and decided to make a uniform out of a T-shirt and trousers.
2. Cut the cloths to follow the pattern paper
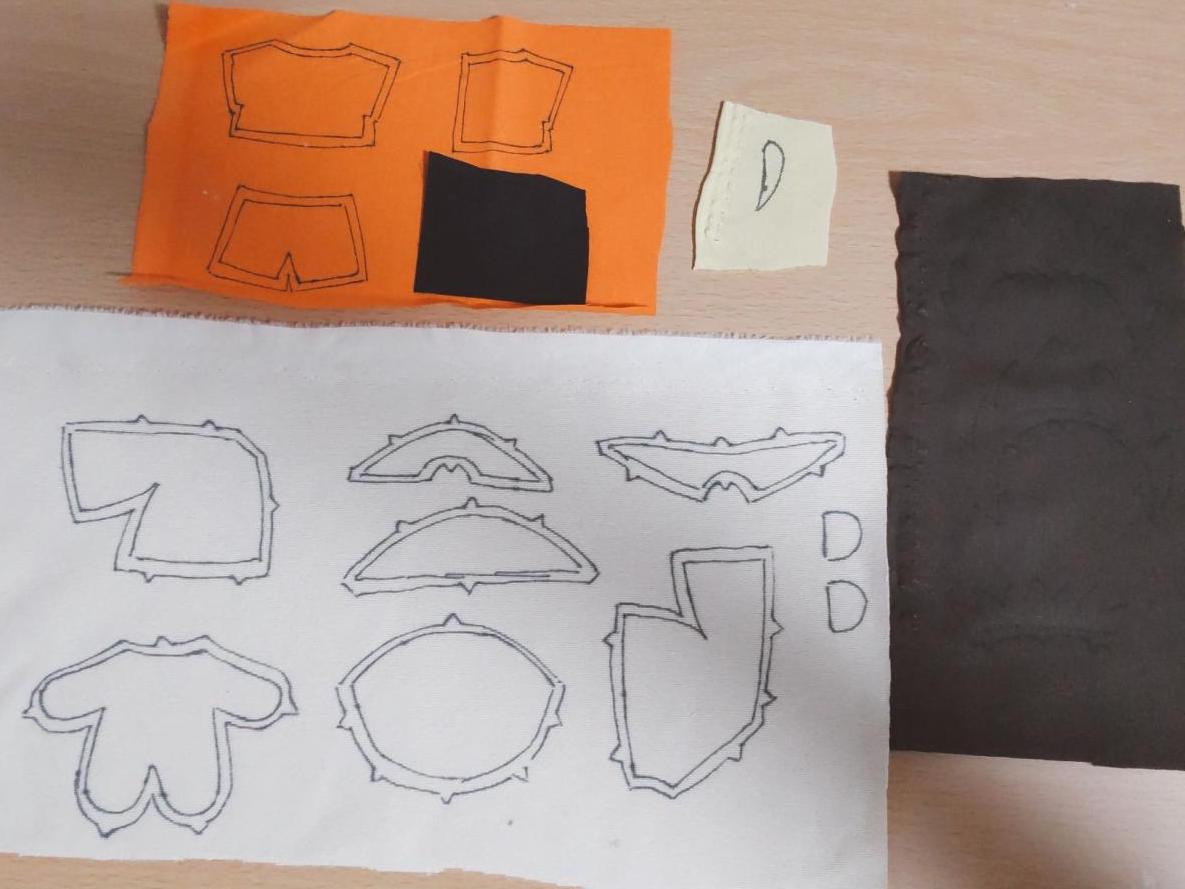
I printed out the pattern paper and cut the paper with scissors. Then put the paper on the cloths to draw to follow the paper.
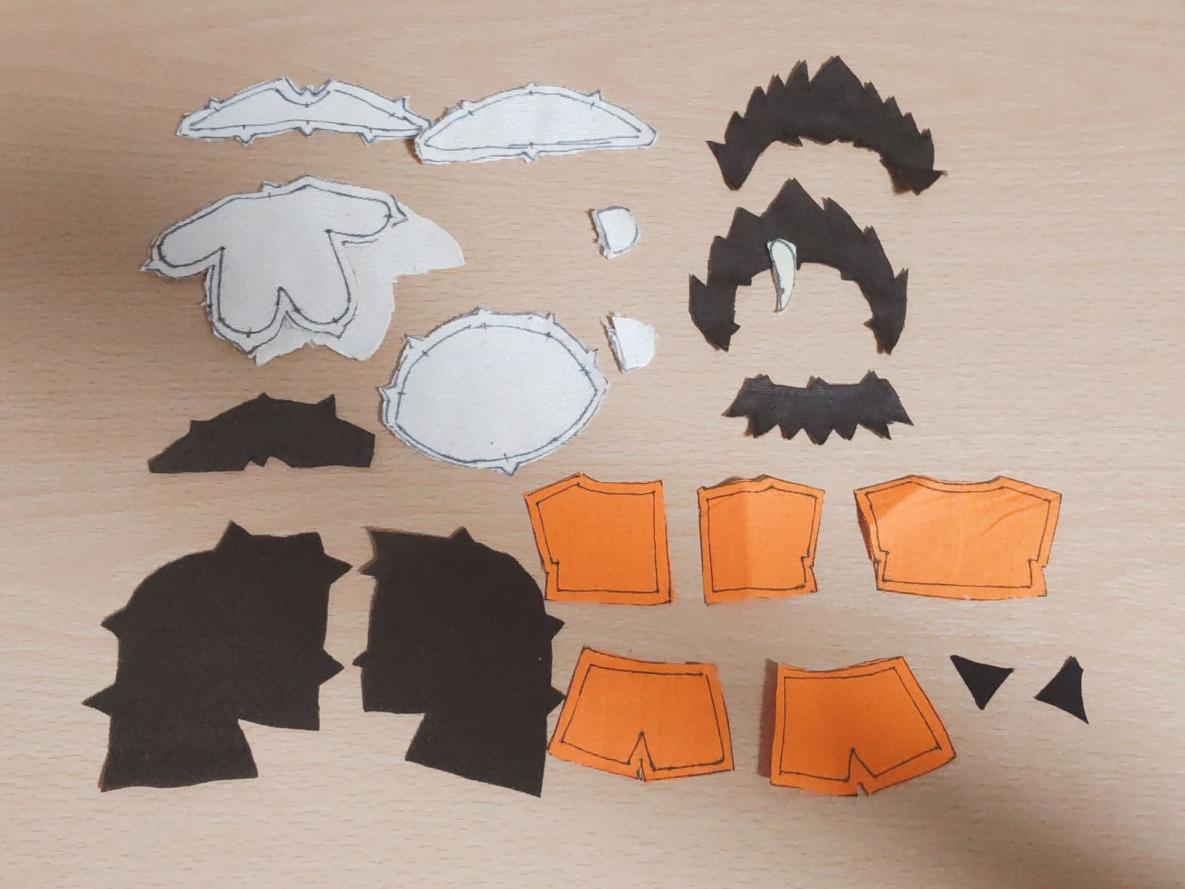
Only when I cut the cloths, I felt excited as it looked like a Noyassan.
(At this stage, there are so many mistakes. However, I just found out later on, I had to keep changing the right way…)
It taked almost 2 hours for this process.
(Really? Does it take so long?????)
It was so difficult that I was worried whether I would really be able to complete it.
3. Read the book instruction, sewing together
Finally I was going to sew the parts together!
Making for face and body
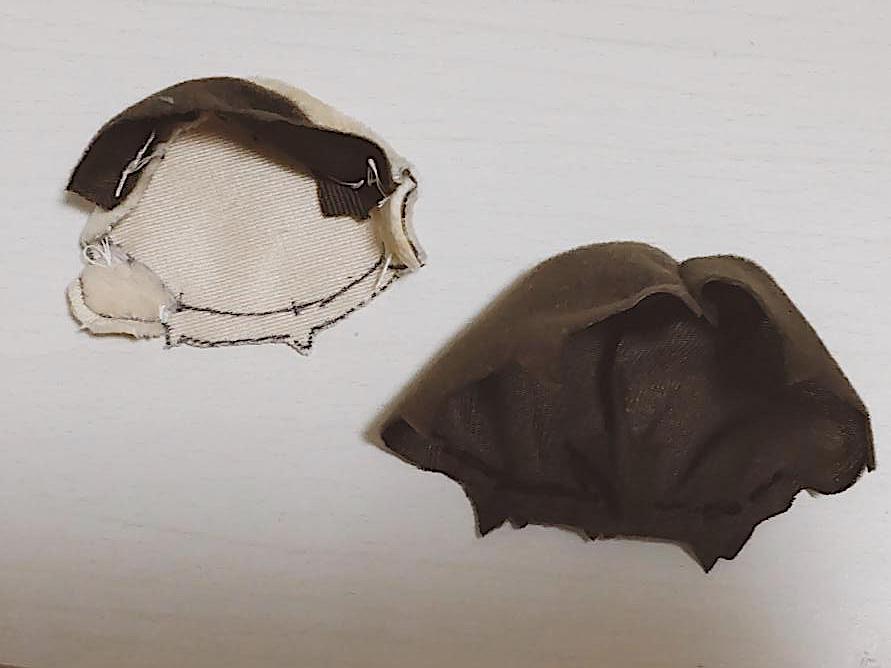
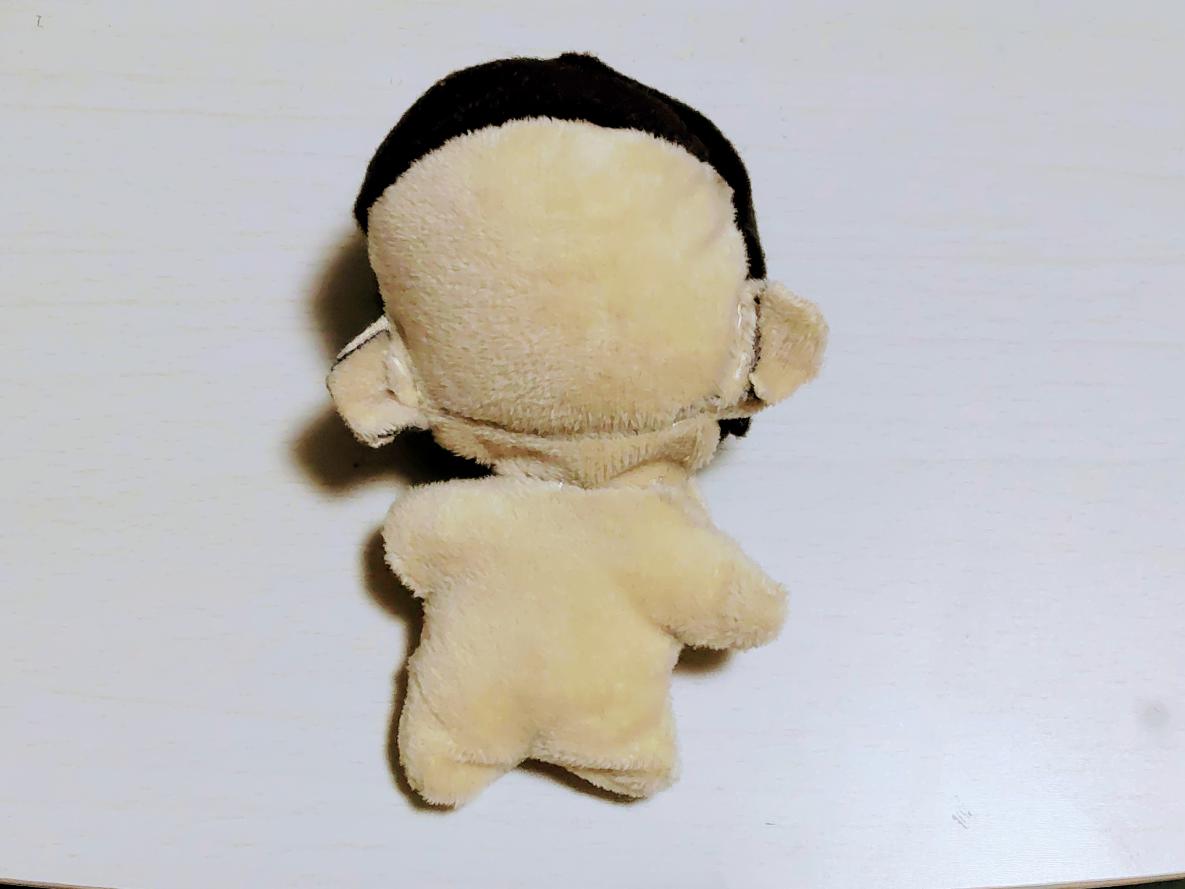
△I started to sew at the back of the head and face.
By the way, facial expression parts are better to embroider or print with Iron before cutting the cloths.
However, the facial expression parts that I want were sold out online already. There is also no stock in the craft shop near my place. So I was just aiming to complete the body parts.
△I sewed the back of the head and body parts.
△I just did it inside out.
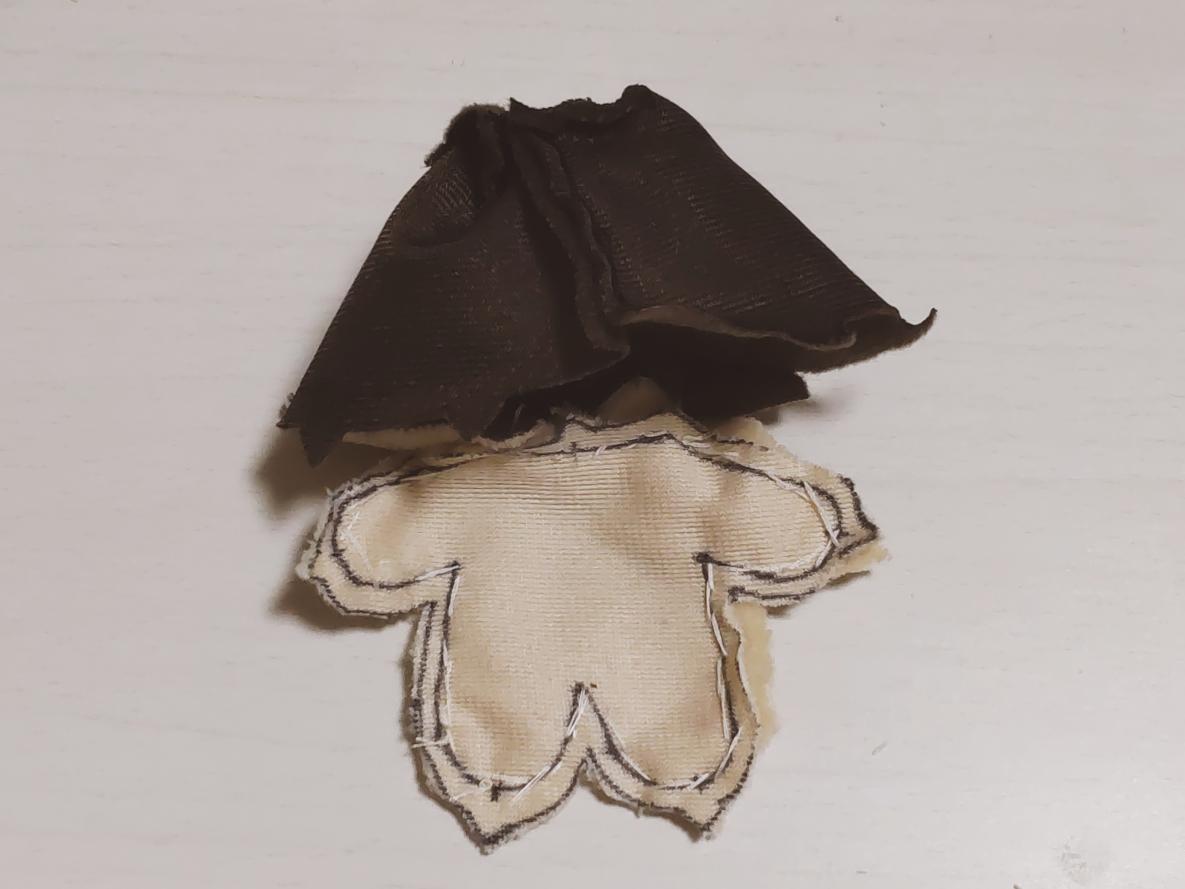
Does it seem like I got the wrong way to sew the ears?
It is also arms’ and legs’ lengths are not the same as the result, but I don’t have much energy to remake, I just went through without fixing the lengths.
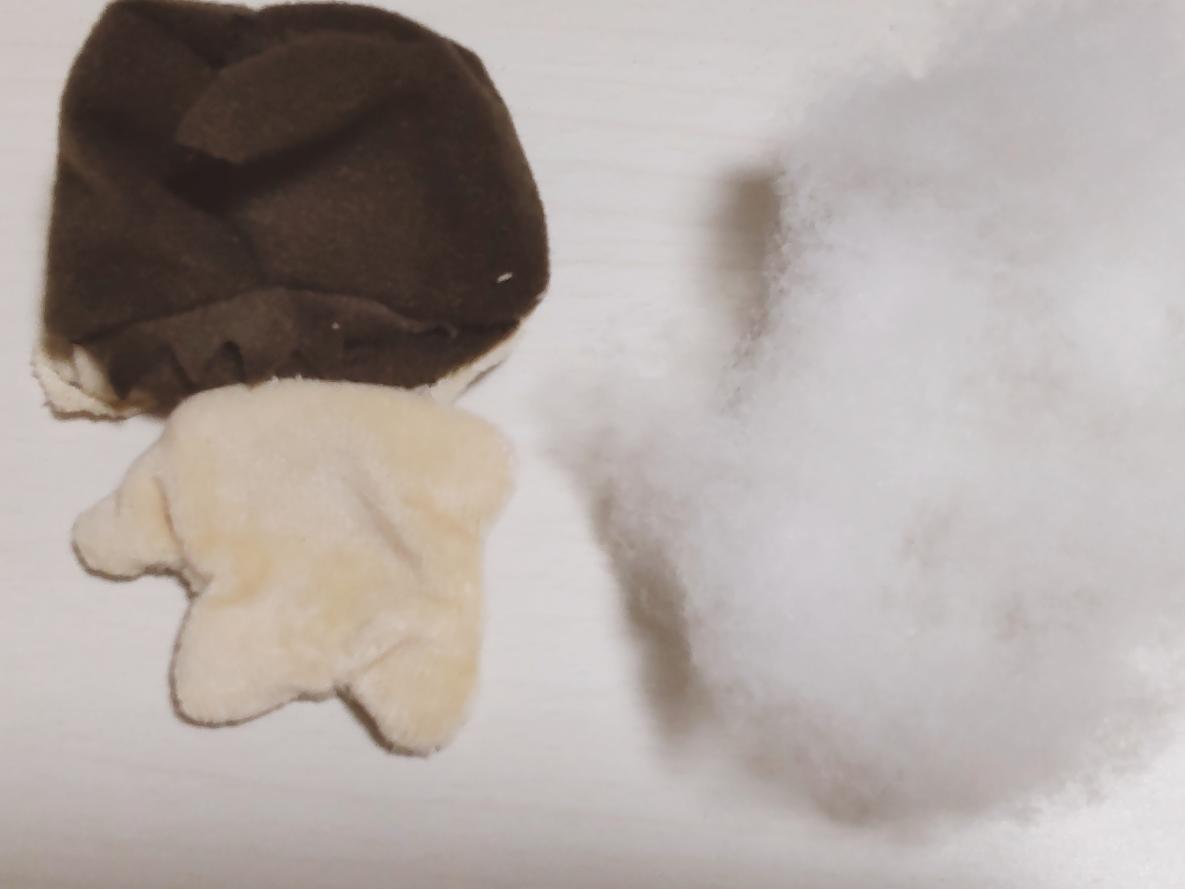
△Well, I’m going to put cotton inside!
If the plush toy becomes puffy and browses, I was hoping that it may be cute, and filling the inside with cotton.
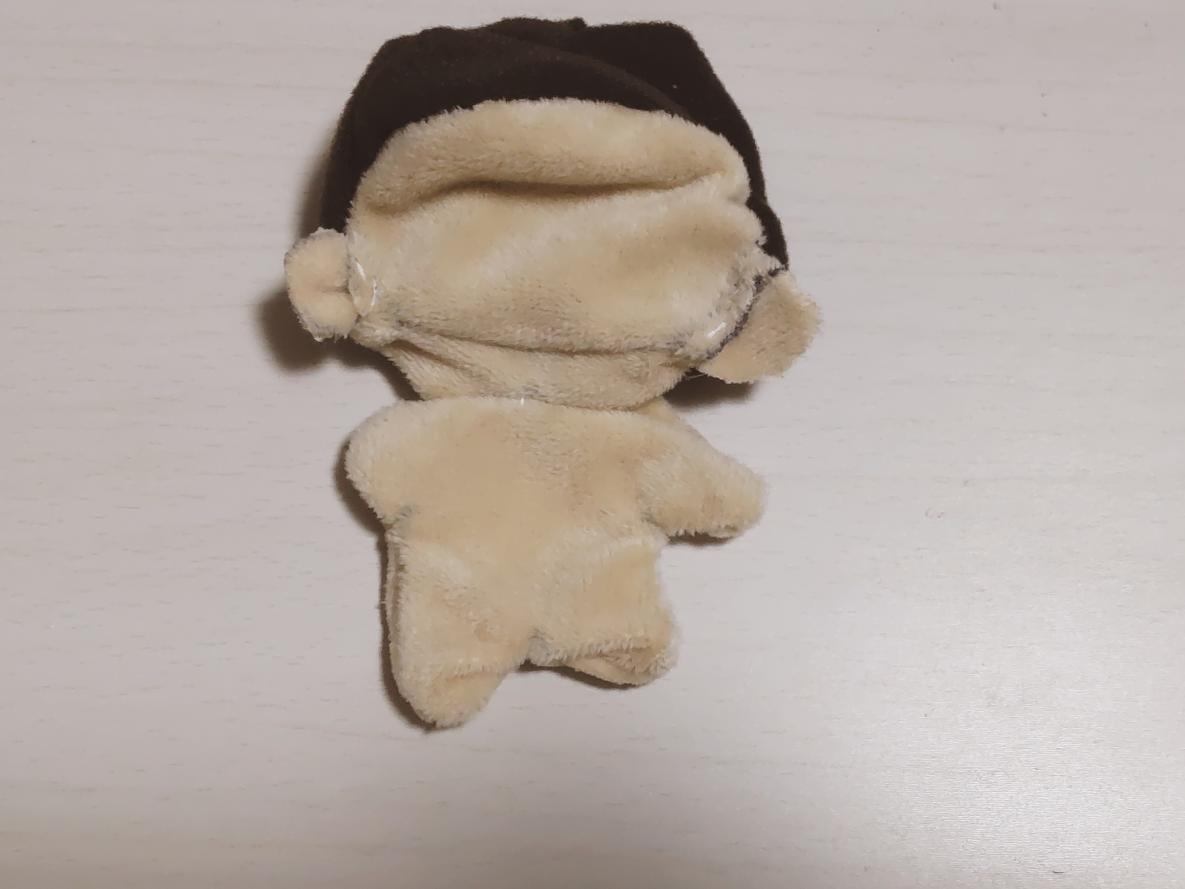
△This is after filling the inside with cotton.
I feel a bit cuter than before as it looks puffy.
Here is a little break…
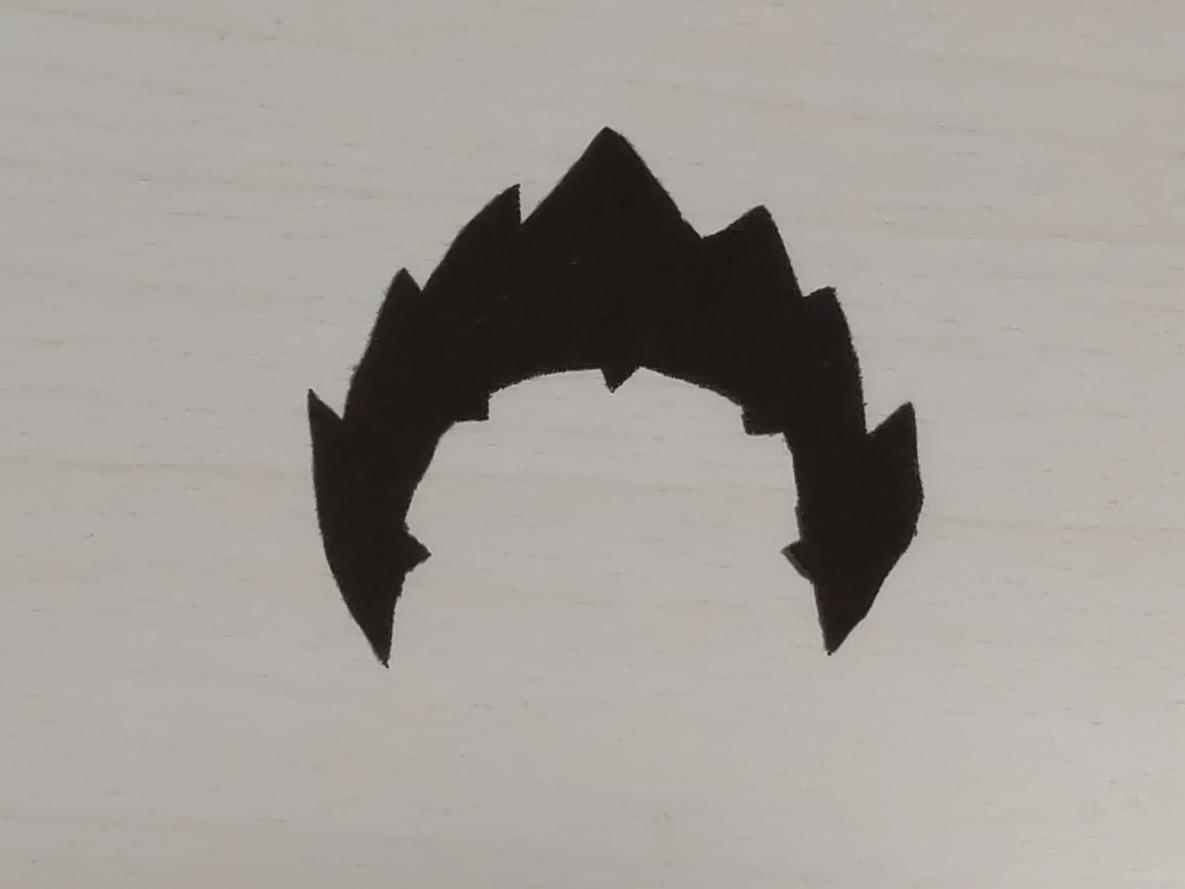
△Hair parts
How come you are still here?????
When I checked the book instructions again, they actually explained “Hopping hair is another work”.
I realised that I skipped the process and sewed the head and body, and I even put it inside with cotton already. I felt extremely disappointed…
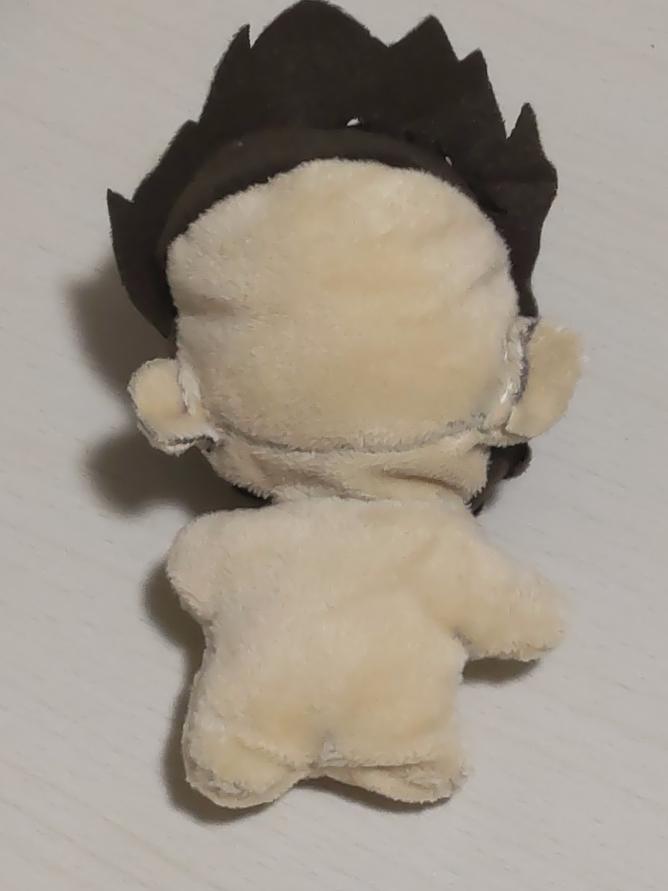
△I just sewed left hair parts after that.
Yeaaaaaaaaaah, forcibly stitch them together!!!!
*If you were patient and you have enough time, I recommend to take the threads away and do it right way.
Don’t you think my plush toy looks ok, even though I was forced to sew?
Anyway, I will keep continuing the next step.

△I pasted the bangs parts.
I only put on the fringe, but it already looks like Noyassan!
After that, I’m going to make uniforms.
Making uniforms
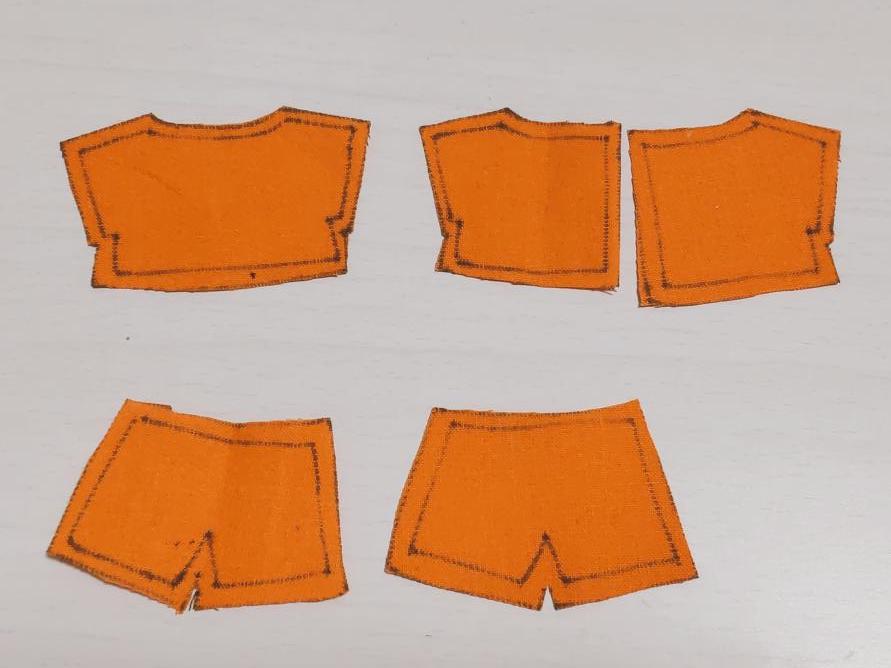
△Cloths for Uniforms
I am going to sew T-shirts and pants as uniforms!
Here, I made the mistake of forgetting to take pictures of the work process…!
*T-shirts and pants were easier to sew than plush toy’s body. (It’s in my opinion.)
Finally I made it!!!
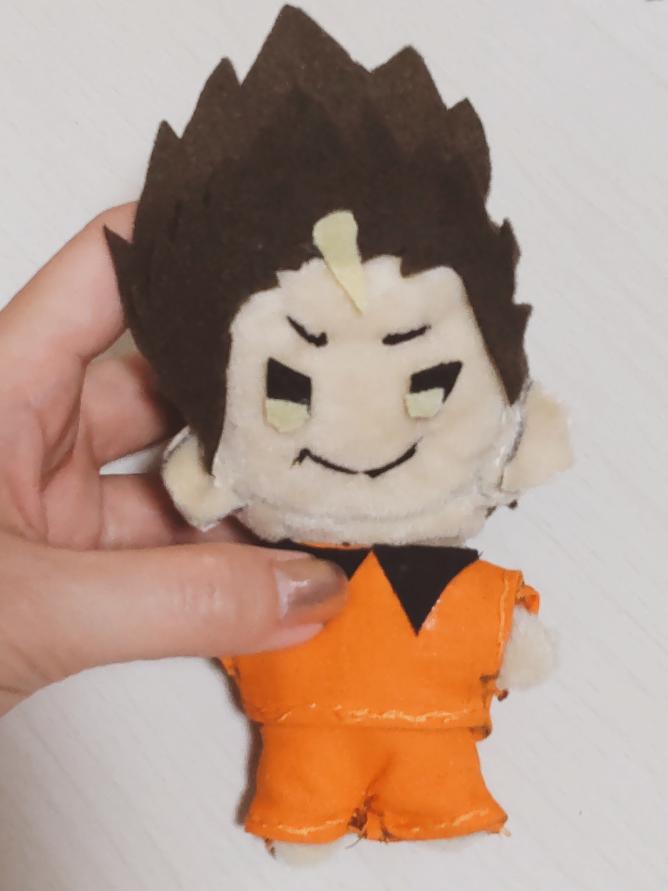
△Completed (Don’t! Don’t throw stones!!!)
I couldn’t get the face parts, so I bought felt stickers and embroidery thread at a 100 yen shop and made it.
What I made the plush toy is you can recognise that the character’s Noyassan in Haikyuu!! …However, I am not satisfied with that fact at all!!!
Although I put my love into creating the plush toy, I was attached to this toy. I will cherish putting it on my bedside.
What are the reasons for failure?
At this time, I concluded how come I couldn’t be satisfied with my first small plush toy.
First of all, when I cut the pattern papers, it was too rough. So when I sewed 2 pieces together, it happened sometimes, such as “What? The sizes didn’t match each other.”
In the future, people make a small plush toy, as much as you can you try to cut properly
Next is face. In case you can’t get the face parts, you should find alternative solutions and before you cut the clothes, you should make a face.
Forget about the ideas, which is “You can sort the issues out after you put the cotton inside.”
At last, I would say my voice loudly. When you decide which character you make and imagine how it looks. Then, you should read the book thoroughly.
You escape the issue of “Oh, I skipped the process.”
I forgot to read the important information in the book about “If you were the sewing beginner, medium size is recommended,” “Hopping hair is for sewing advance people,” etc…
This is some advice after you read this. (for the sewing beginners)
>When you plan and make an imagination, read a book thoroughly.
>Forget your own style, following the book’s instructions.
>When you get the wrong process, take the thread away and make it the right way.
After I make a fave plush toy, about my own thought
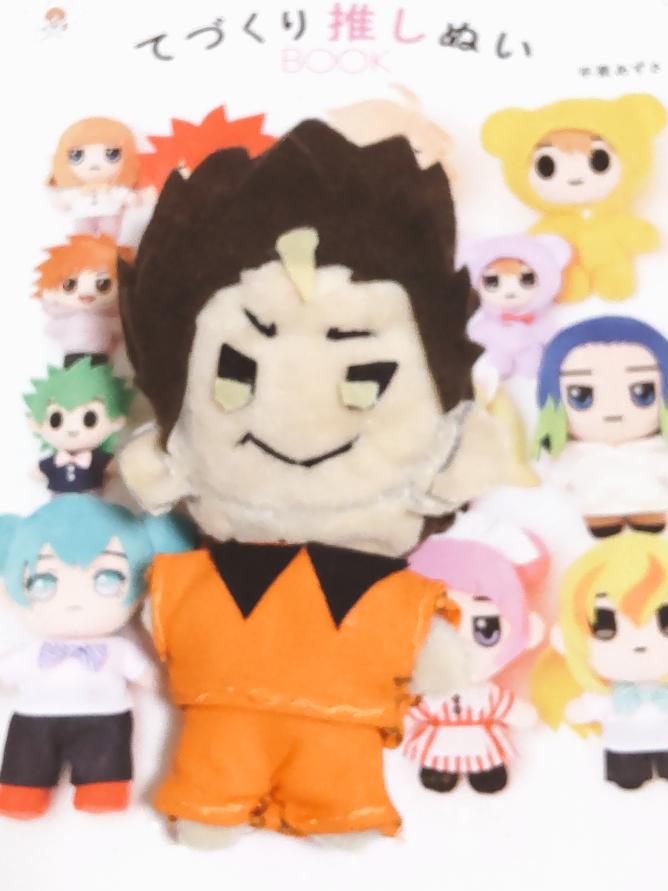
△Completed relax type of Noyassan
Sewing a plush toy was extremely hard to make than I expected.
However, the book was easy to understand and it is also a variety of pattern papers. Therefore, if you were good at sewing, it will be very easy to make them.
One work to make is 6 hours in total. I took most of the time cutting the pattern papers.
It does cost about 2500 yen to make one character plush toy for myself. However, I still have plenty of cloths left, so you can spend less cost for one you make. (If you can use the same type of cloths to make characters, you can make 2 of them.)
I was quite enjoying sewing and making a small plush toy even though I am a sewing beginner and last time I had sewed 10years ago.
I will take revenge again, to make it a better one!