

[Otaku Activity] Let’s make a rosette by using materials from the 100 yen shop! It’s easy to make and sewing is not needed
![[Otaku Activity] Let’s make a rosette by using materials from the 100 yen shop! It’s easy to make and sewing is not needed](https://nijimen.net/en/wp-content/uploads/sites/2/2022/09/045ab52037bf5f3240369c1047a4598e.png)
A lot of people are decorating their favorite character’s can badges, and use a rosette as a logo to decorate their Ita Bag*.
Recently many people make their own rosette, and a lot of people might be thinking they want to start making their own one.
So for this article, we would like to show how to make a rosette using a Rosette Maker from the 100 yen shop Seria. This does not require any sewing, so I hope you all try this out!
*Ita Bag is a bag decorated with anime characters. “Ita” means “pathetic” in Japanese and is pronounced “itai”.
Point
- Making them only from the materials from the 100 yen shop!
Using the Seria's Rosette Maker
You don’t sew it but you stick it!?
Making a rosette without sewing! Materials just from the 100 yen shop
These are the materials we’re using!
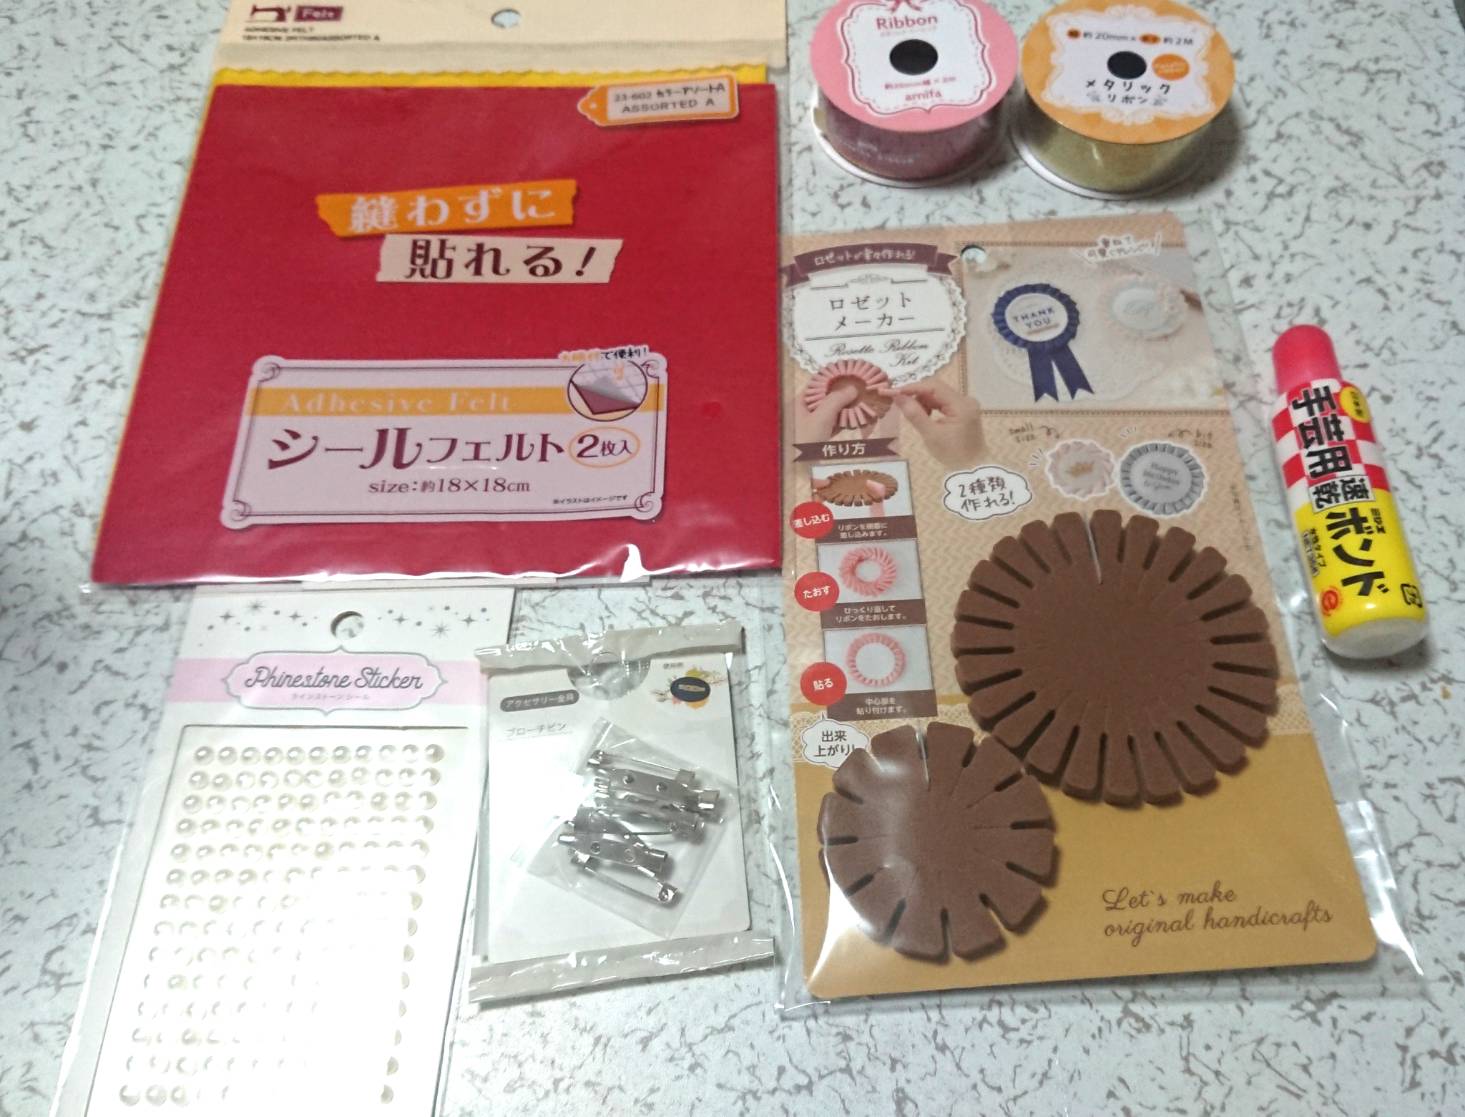
Here are the things that I bought.
- Rosette Maker
- Handcrafting bond
- Sticker felt
- Stickers to decorate your can badge
- 2 types of ribbons (20mm x 2m)
- Brooch pin (to attach it to the back of your rosette)
*Safety pins or Ball chains on your key chains can be used as well.
I bought all the items at the 100 yen shop Seria!
You will also need scissors so make sure to prepare one.
Let’s get started!
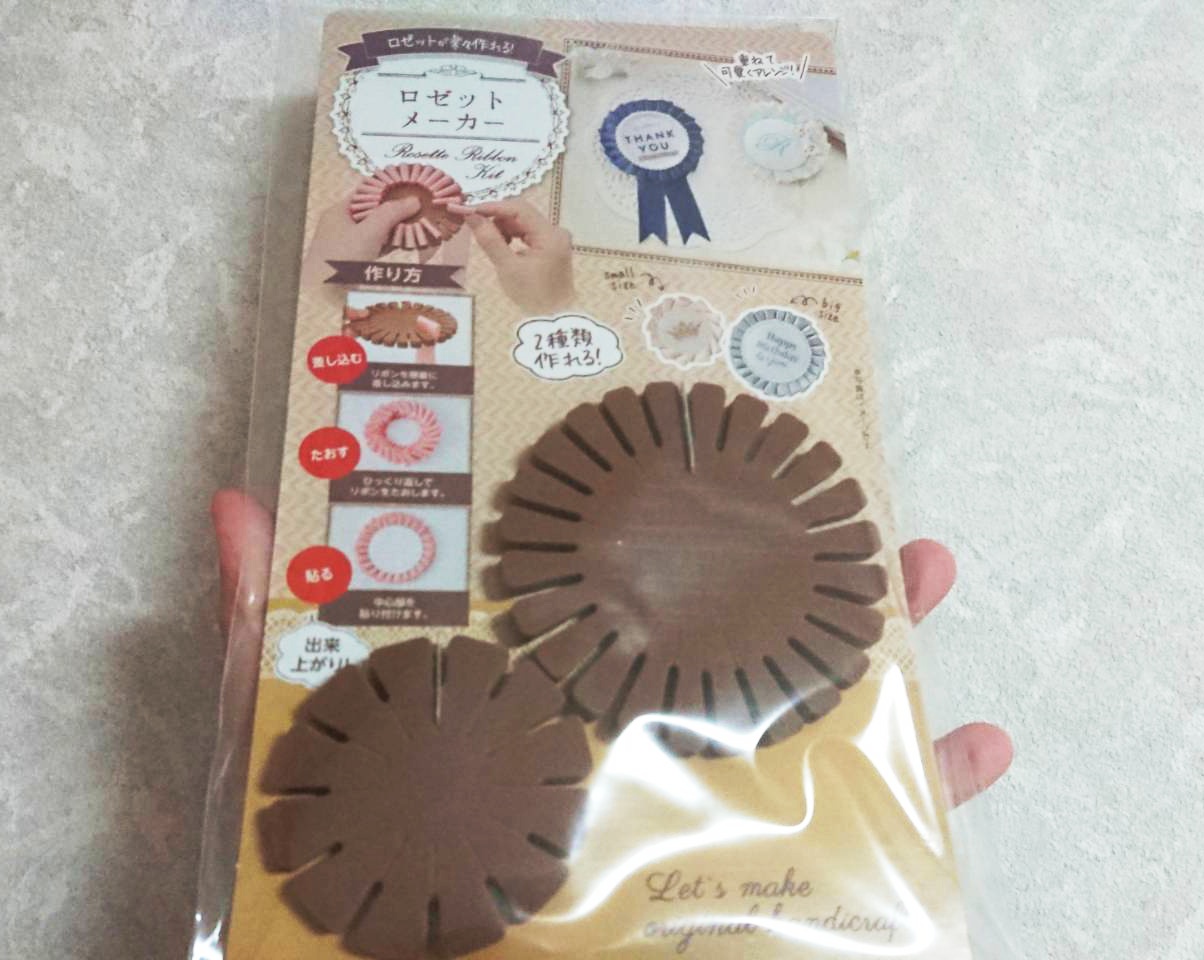
Rosette Maker
For this time, we will use the Rosette Maker from Seria which does not require sewing but just sticking.
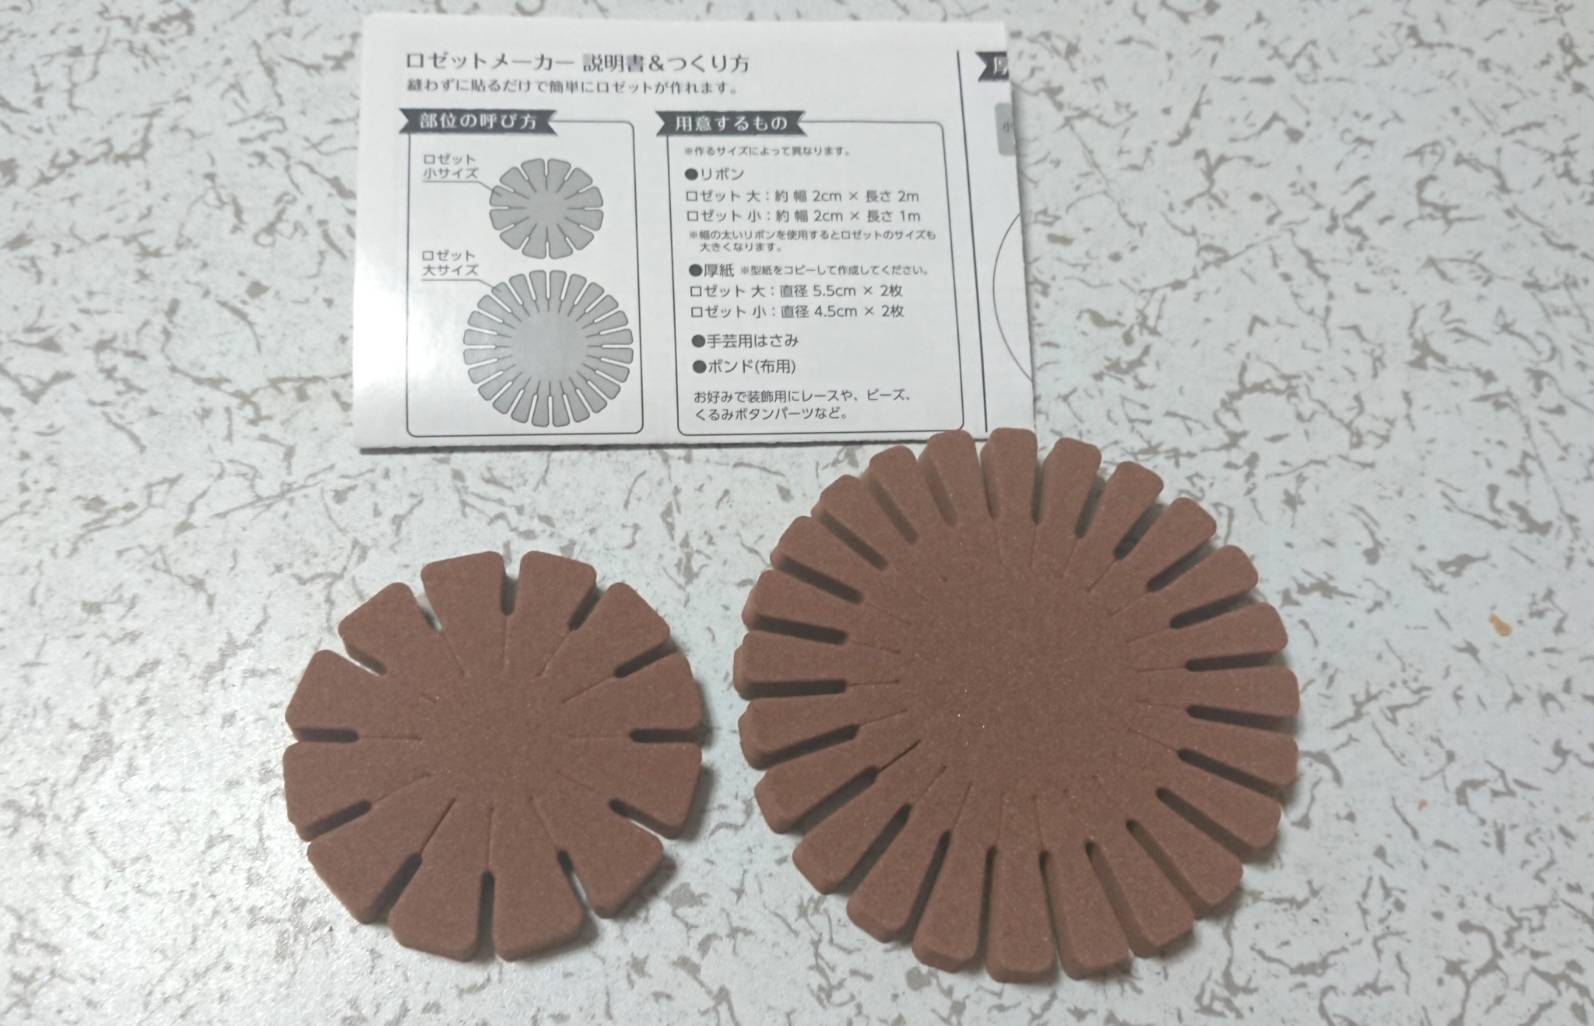
There were 3 items included in the product: Rosette Maker (large / small) and the instruction.
In the instruction, they have all the required materials and the steps written, and it is also used as a pattern paper.
Let’s follow the instructions and get started!
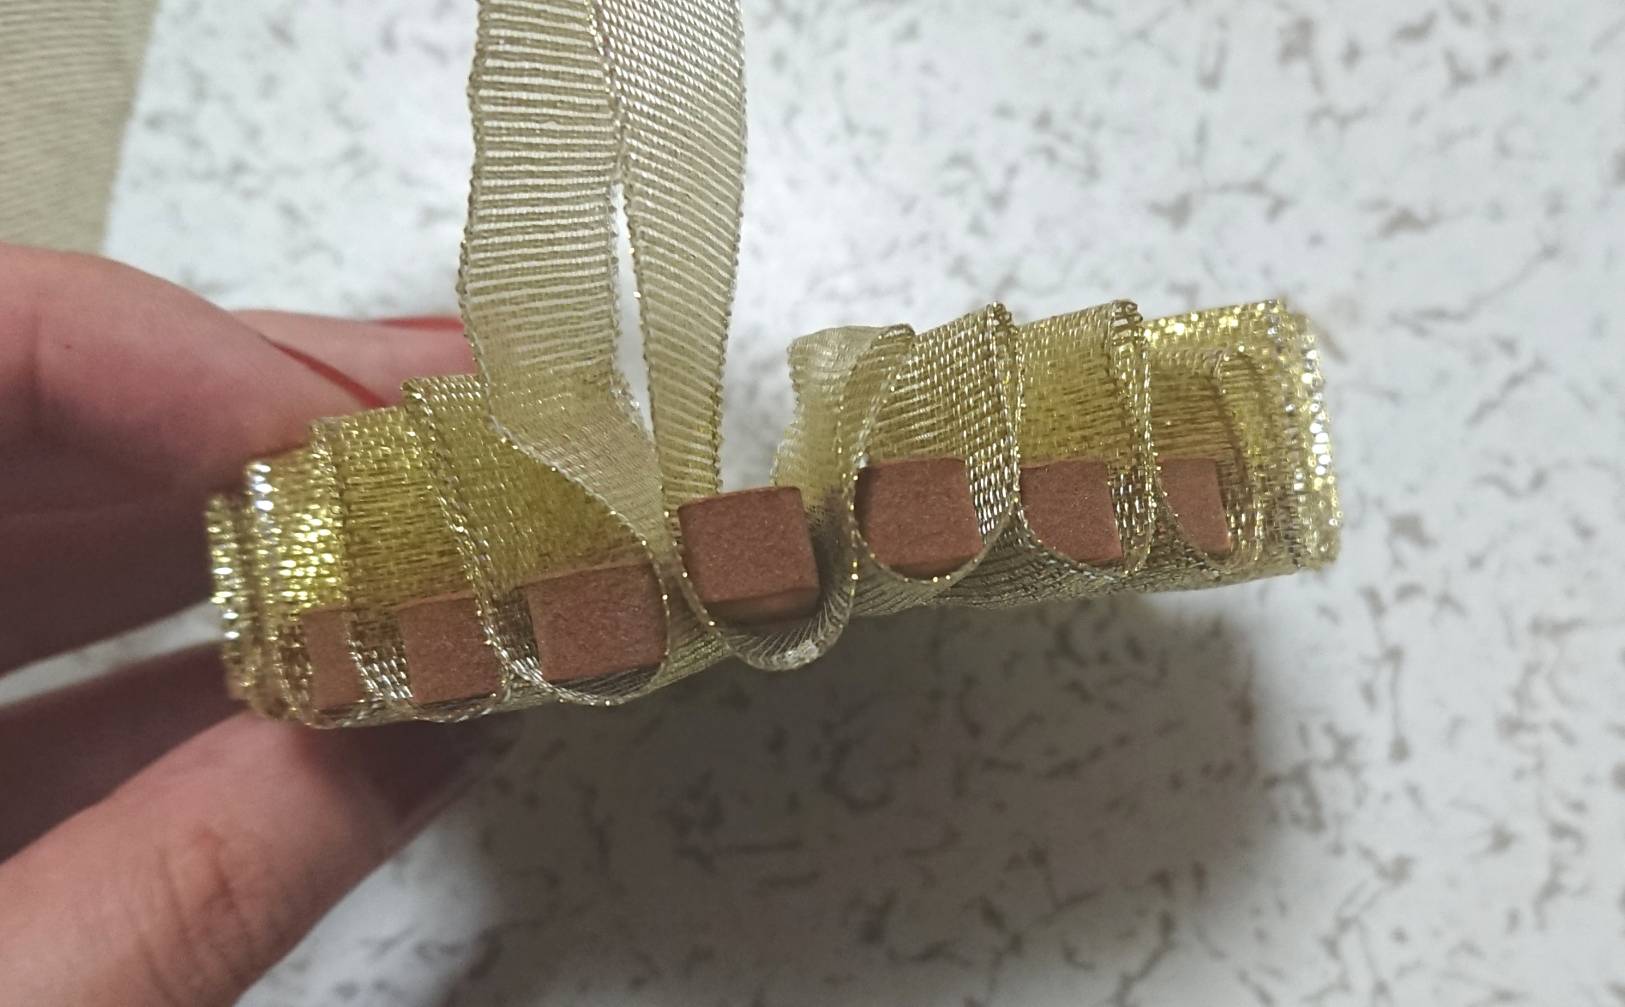
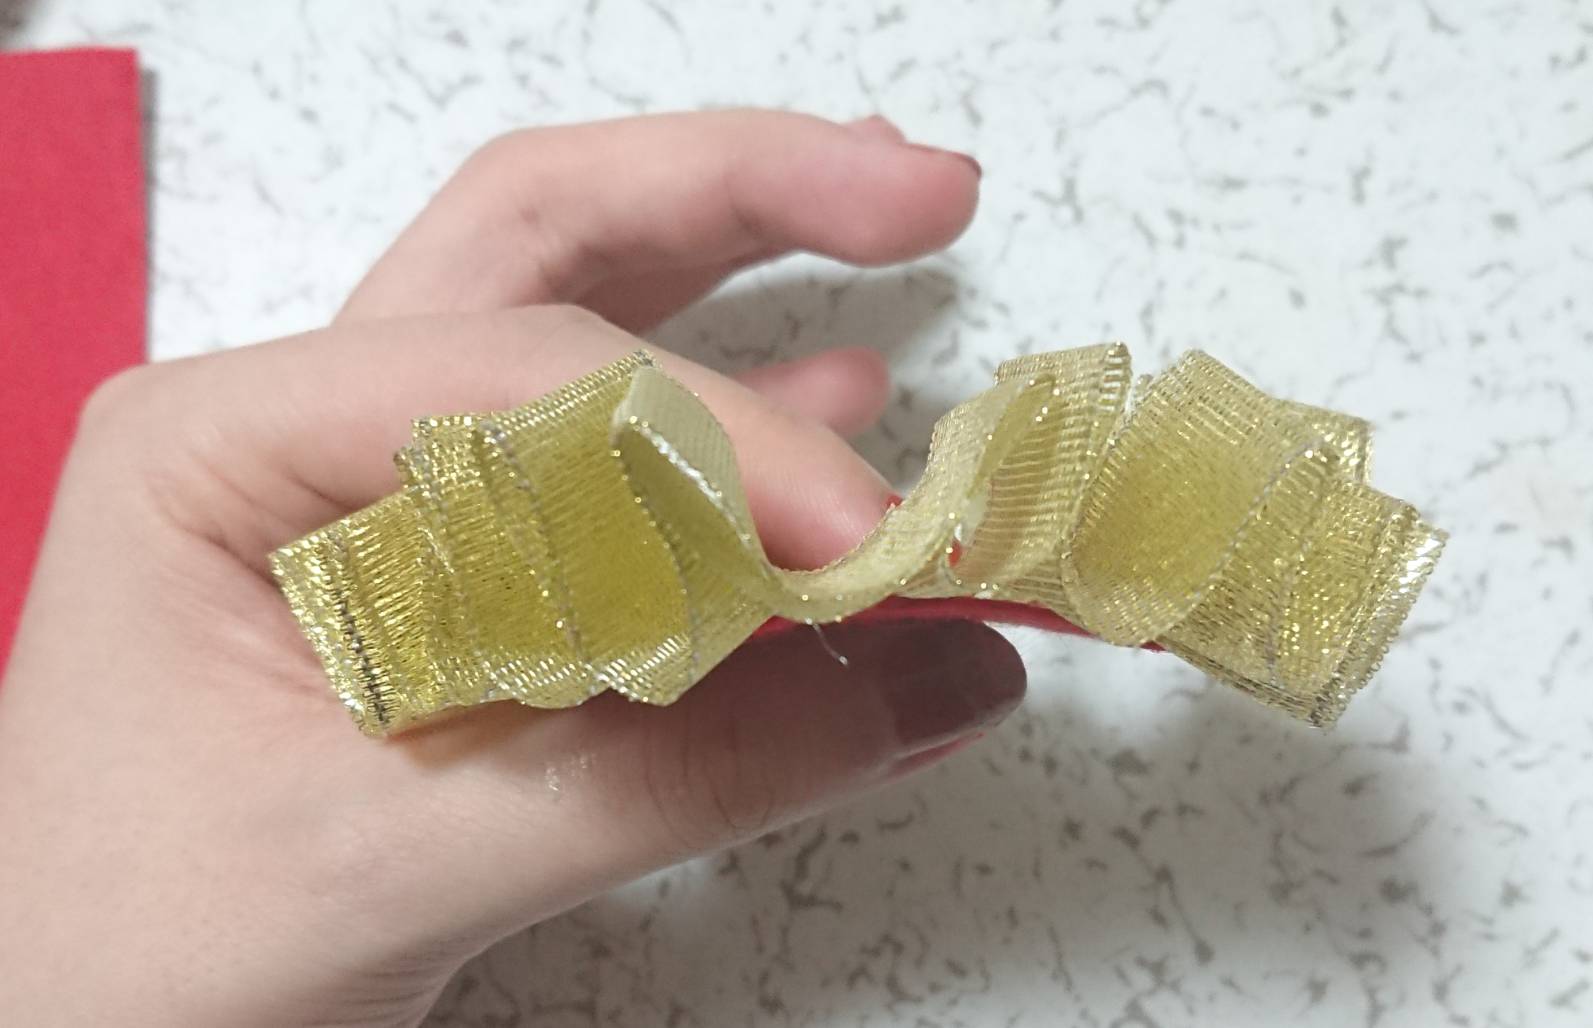
Roll the ribbon around
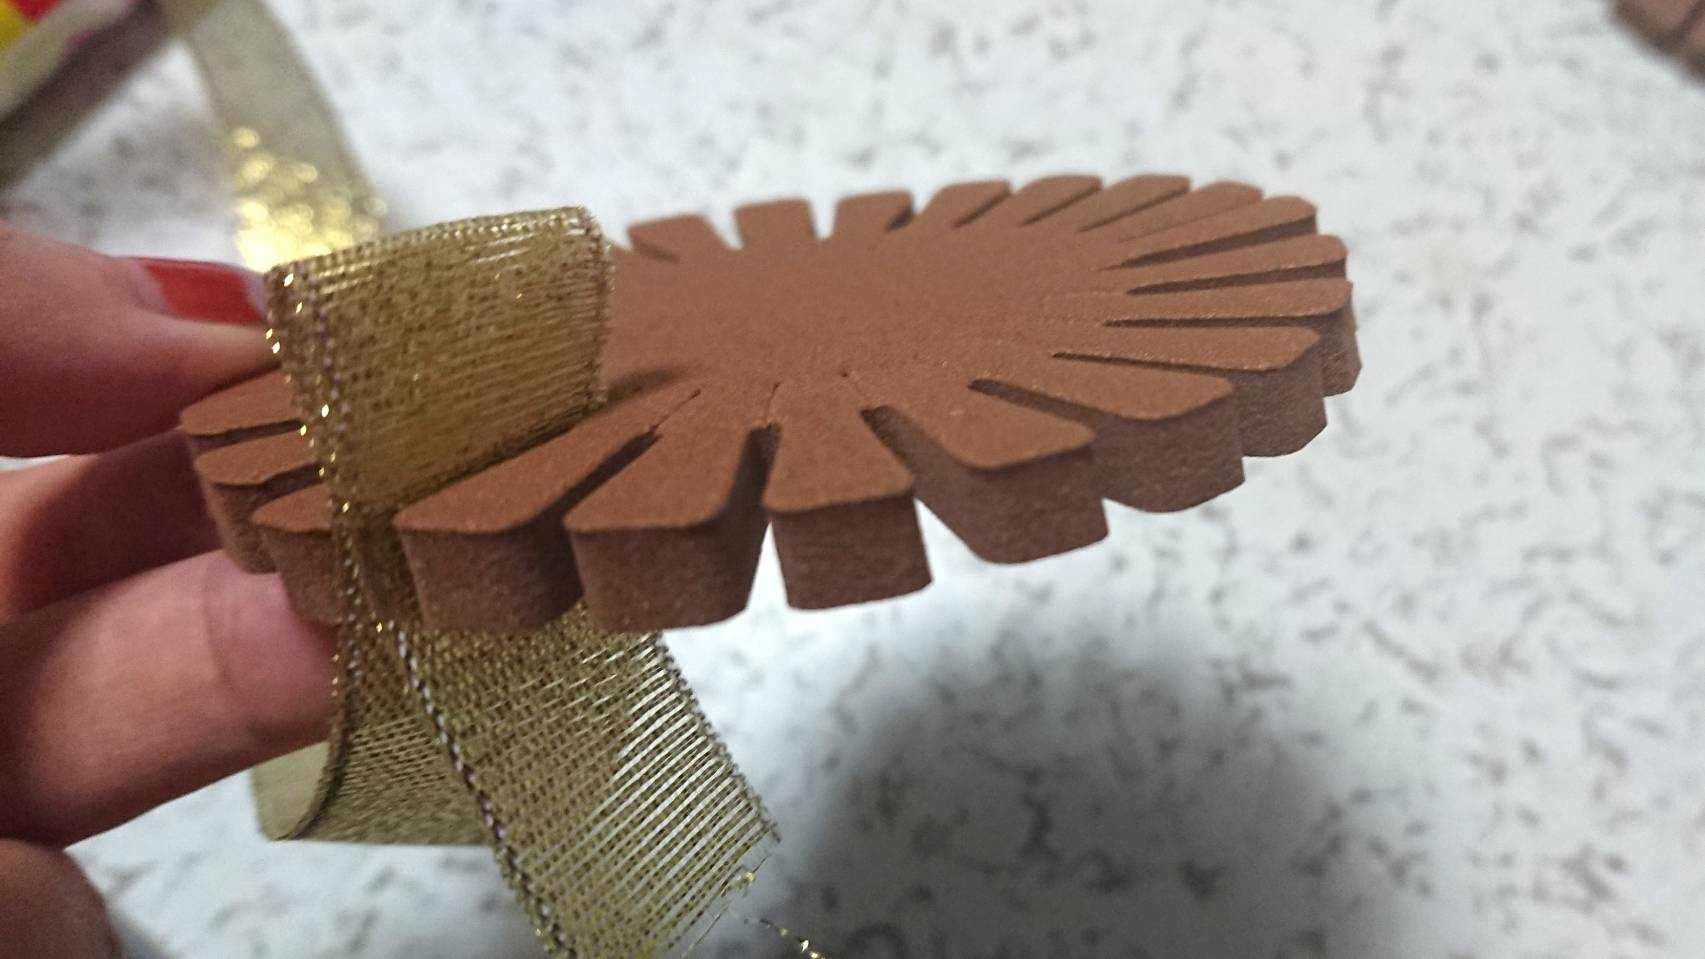
I first tried making it with the large Rosette Maker.
You put the ribbon between the gaps and fold it in half.
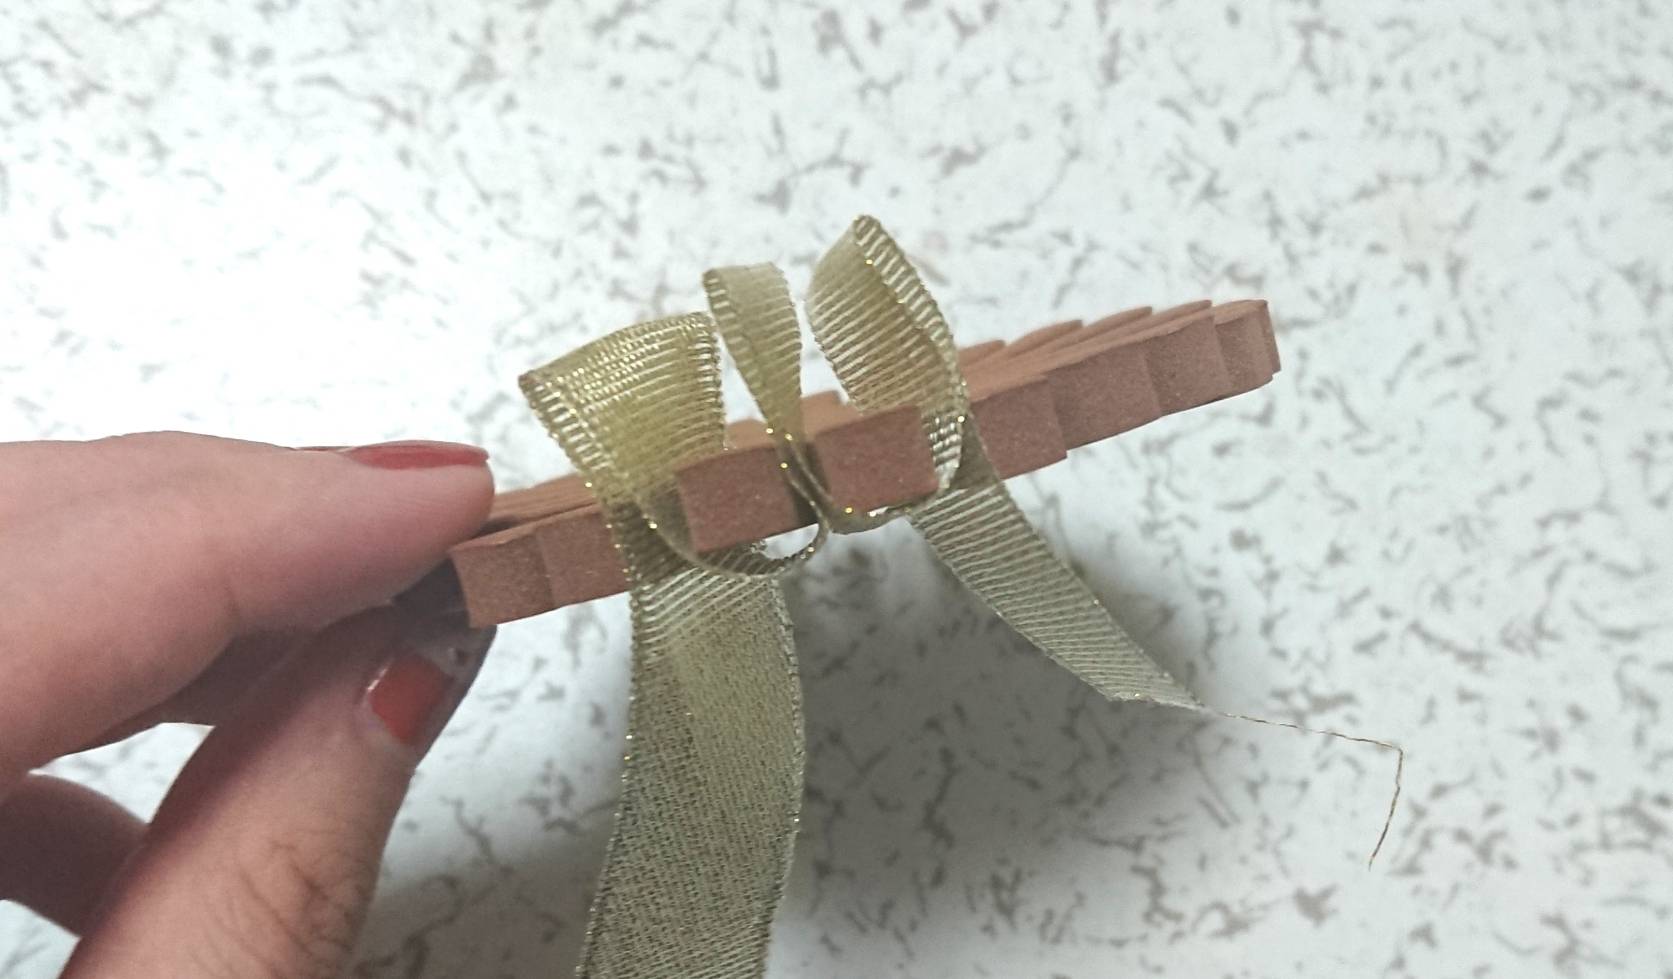
Make sure the top ribbon is aligned around 1 cm and put the ribbon in the next gap.

And you continue this for a whole circle… (This was actually a bit of work!)
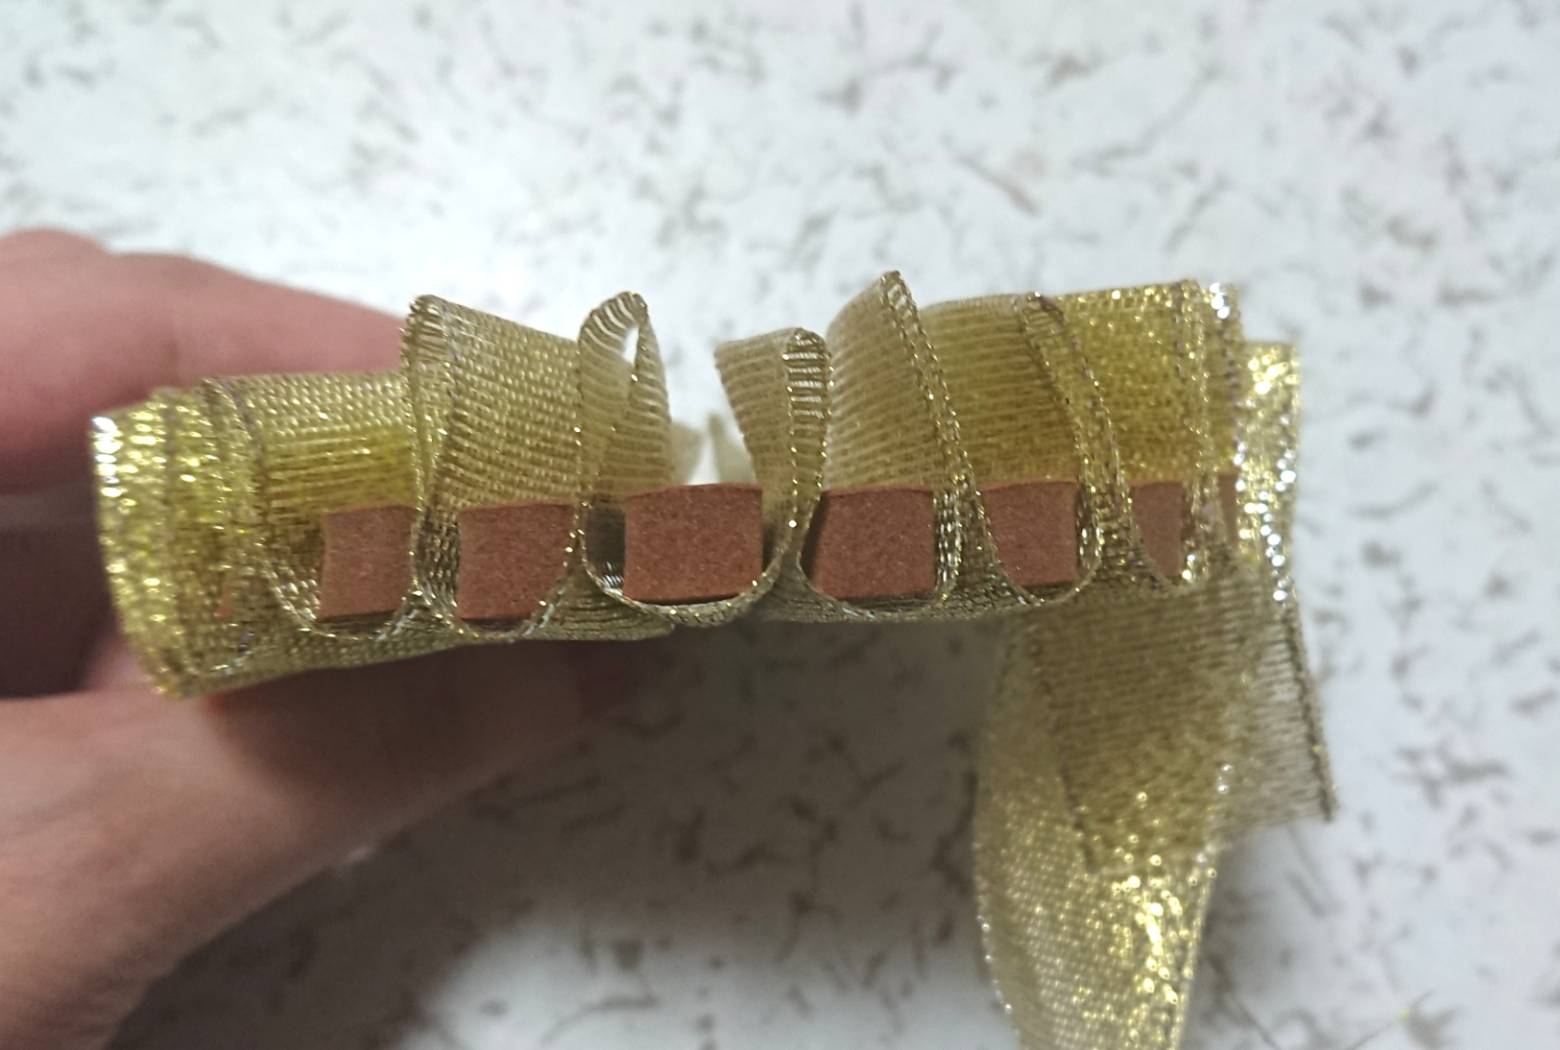
Back will be like this
After putting the ribbon between the gaps for a whole circle, place the beginning and the end of the ribbon in the same gap, and cut the end of the ribbon short.
*All the detailed instructions are written in the instruction!
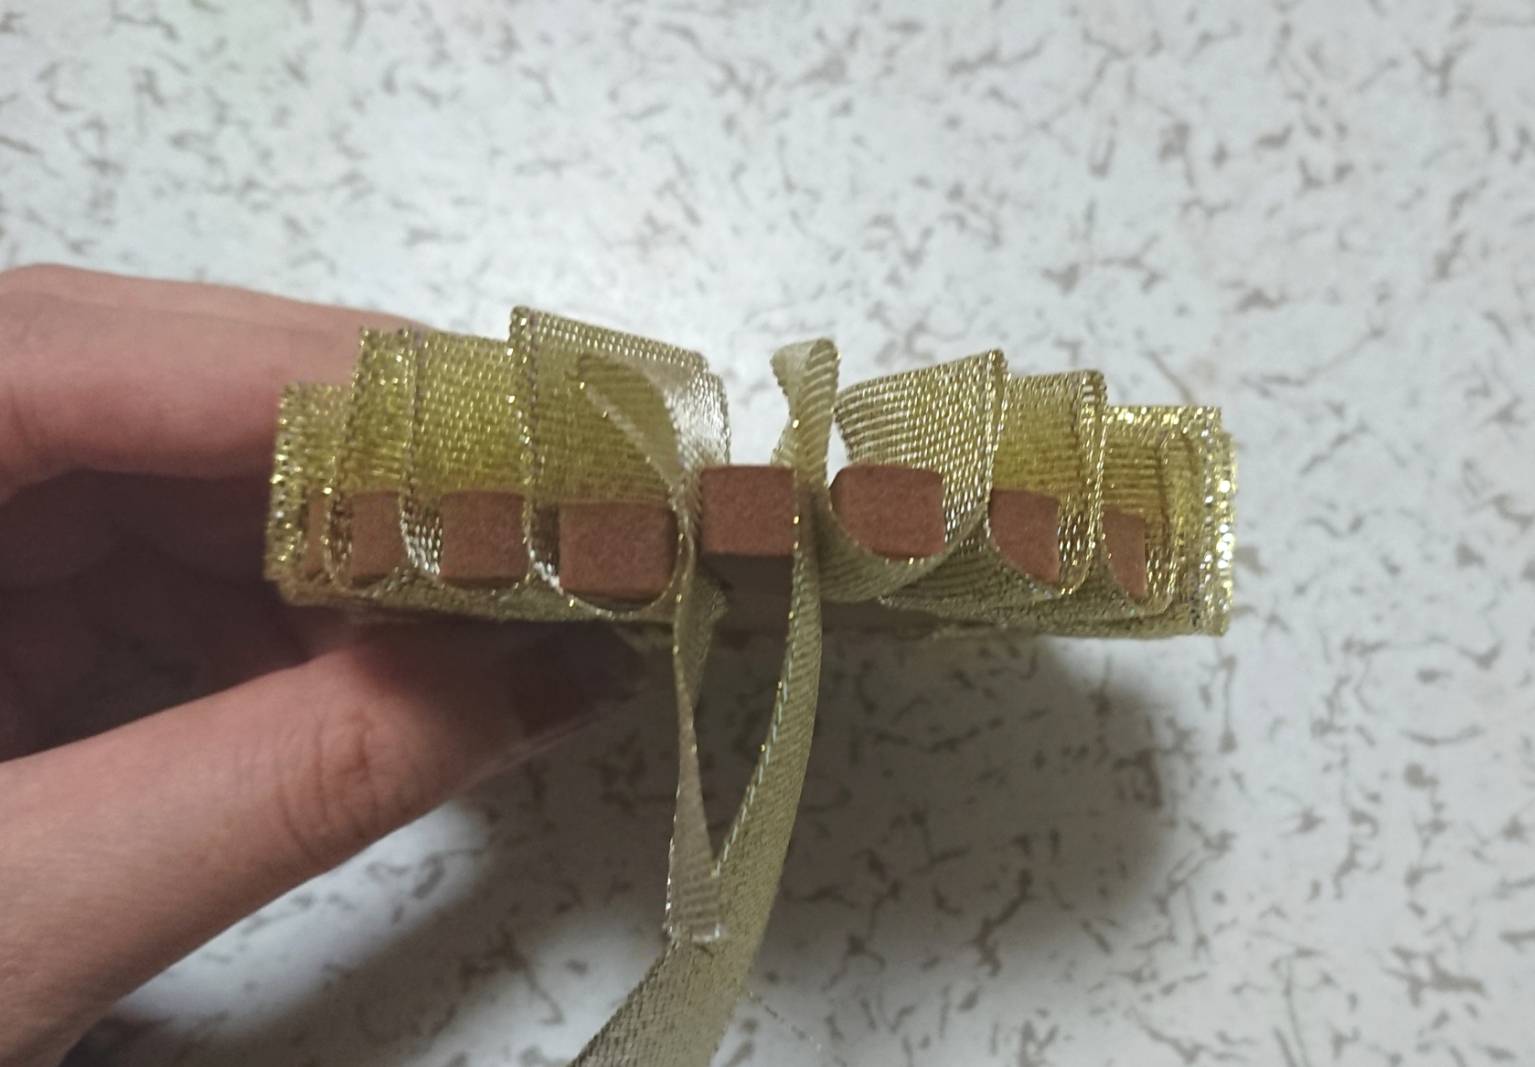
Sticking the paper mount
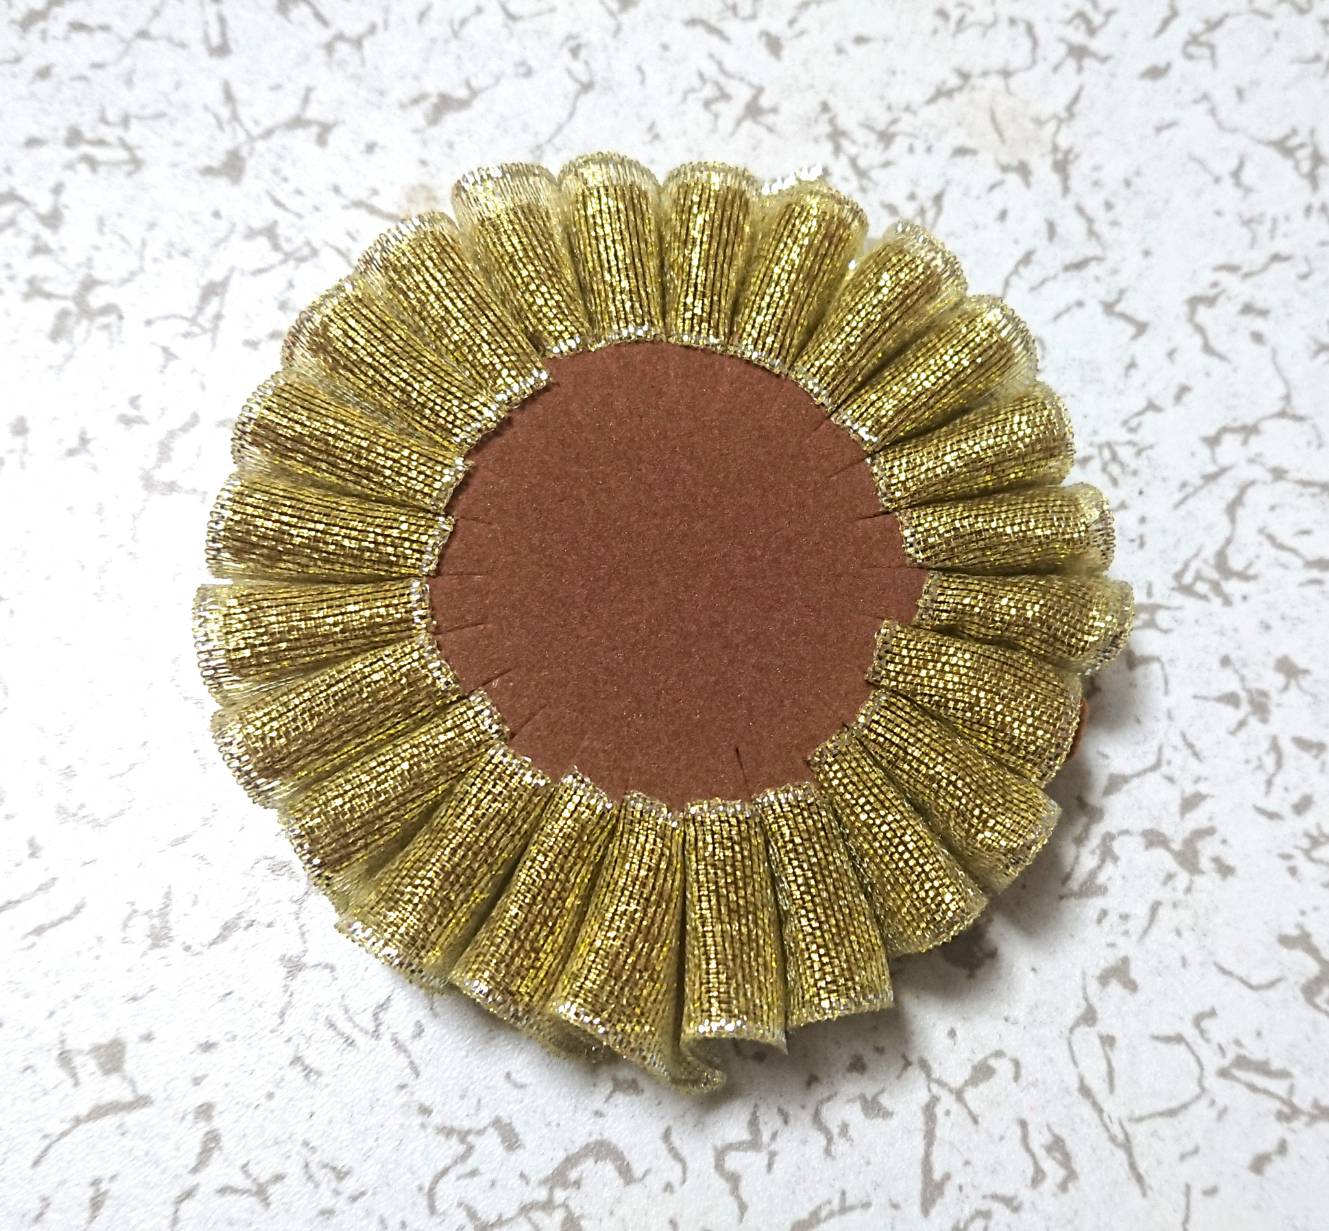
Flip over the large Rosette Maker, and cut the felt in the same size as written in the instruction.
Stick the felt you’ve cut, and take off the ribbon from the Rosette Maker!
Things I messed up
I used a sticker-type felt (the back is sticky), but the sticker stuck to the Rosette Maker itself and it was hard to take it off…
It was better to use a normal felt, or use thick paper and stick it using a bond as it is written in the instruction…!
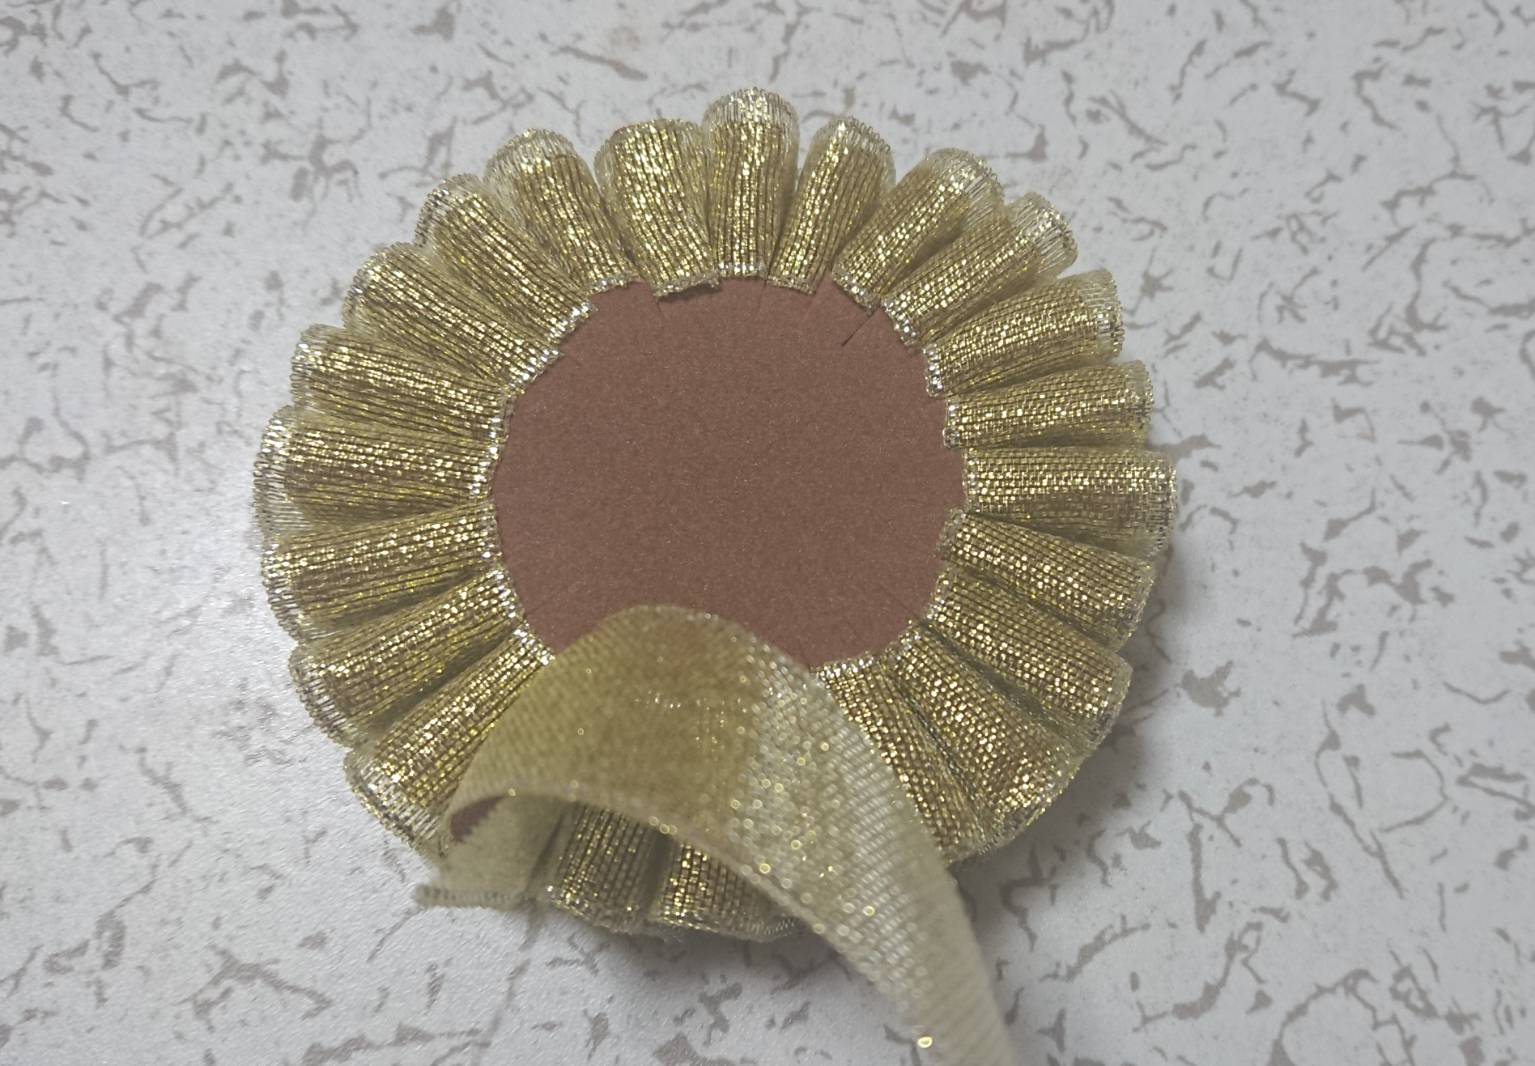
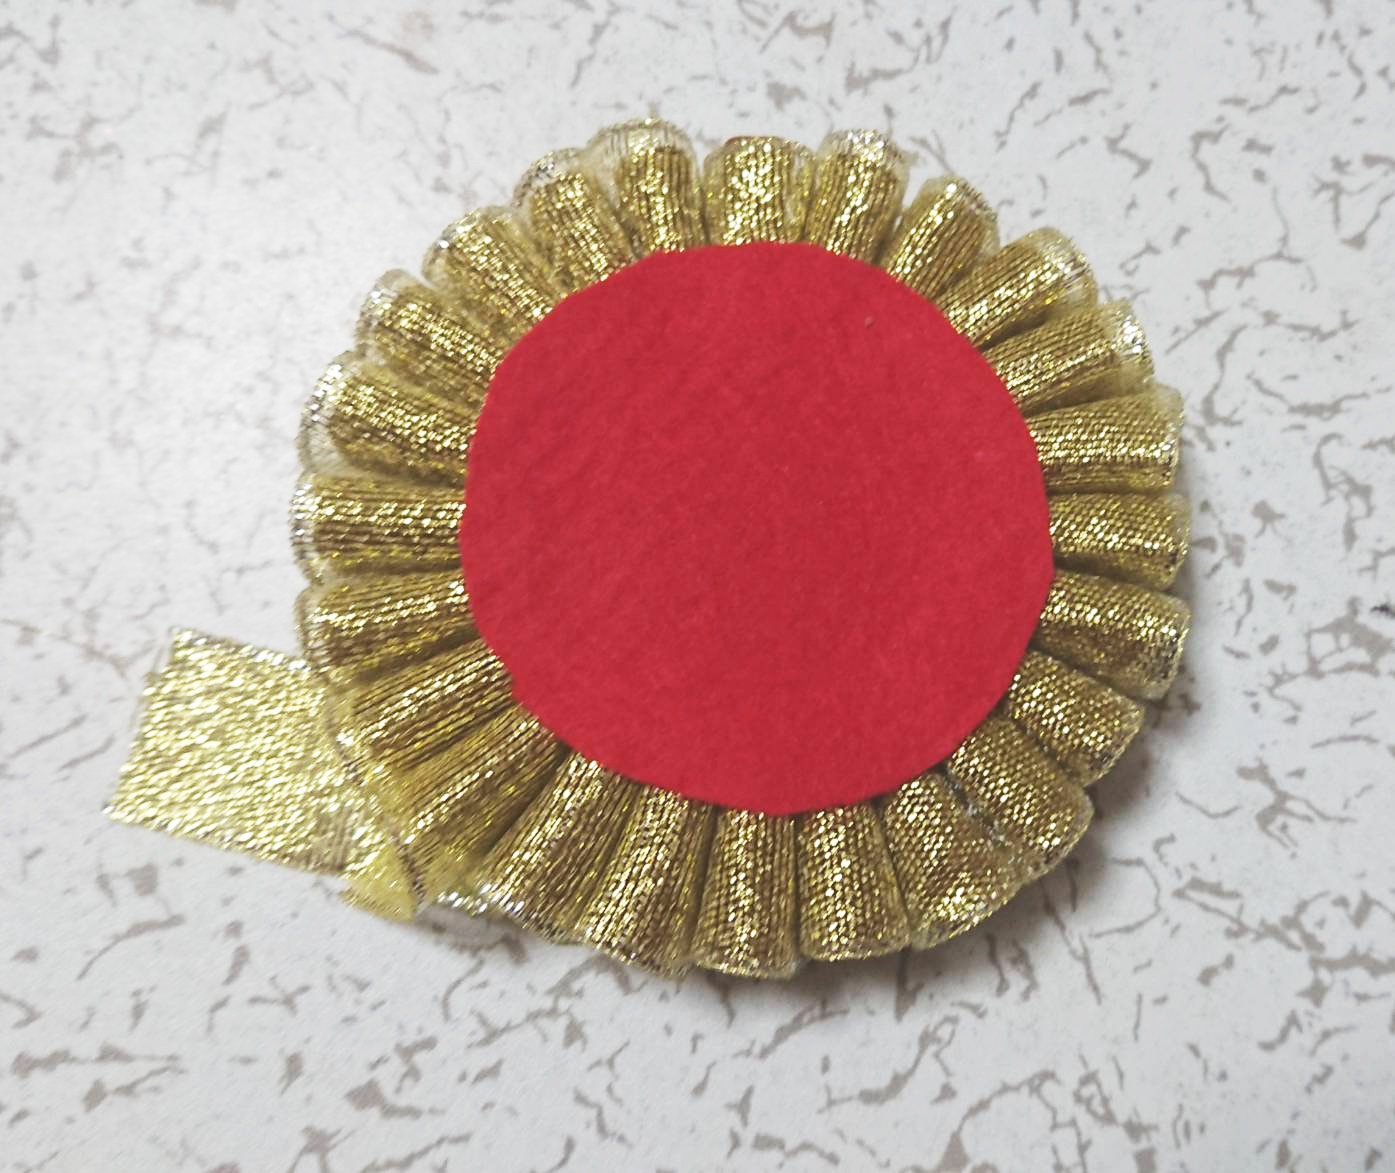
Stick the paper mount on the other side as well
After taking the ribbon off from the Rosette Maker, stick the beginning and the end of the ribbon with a bond.
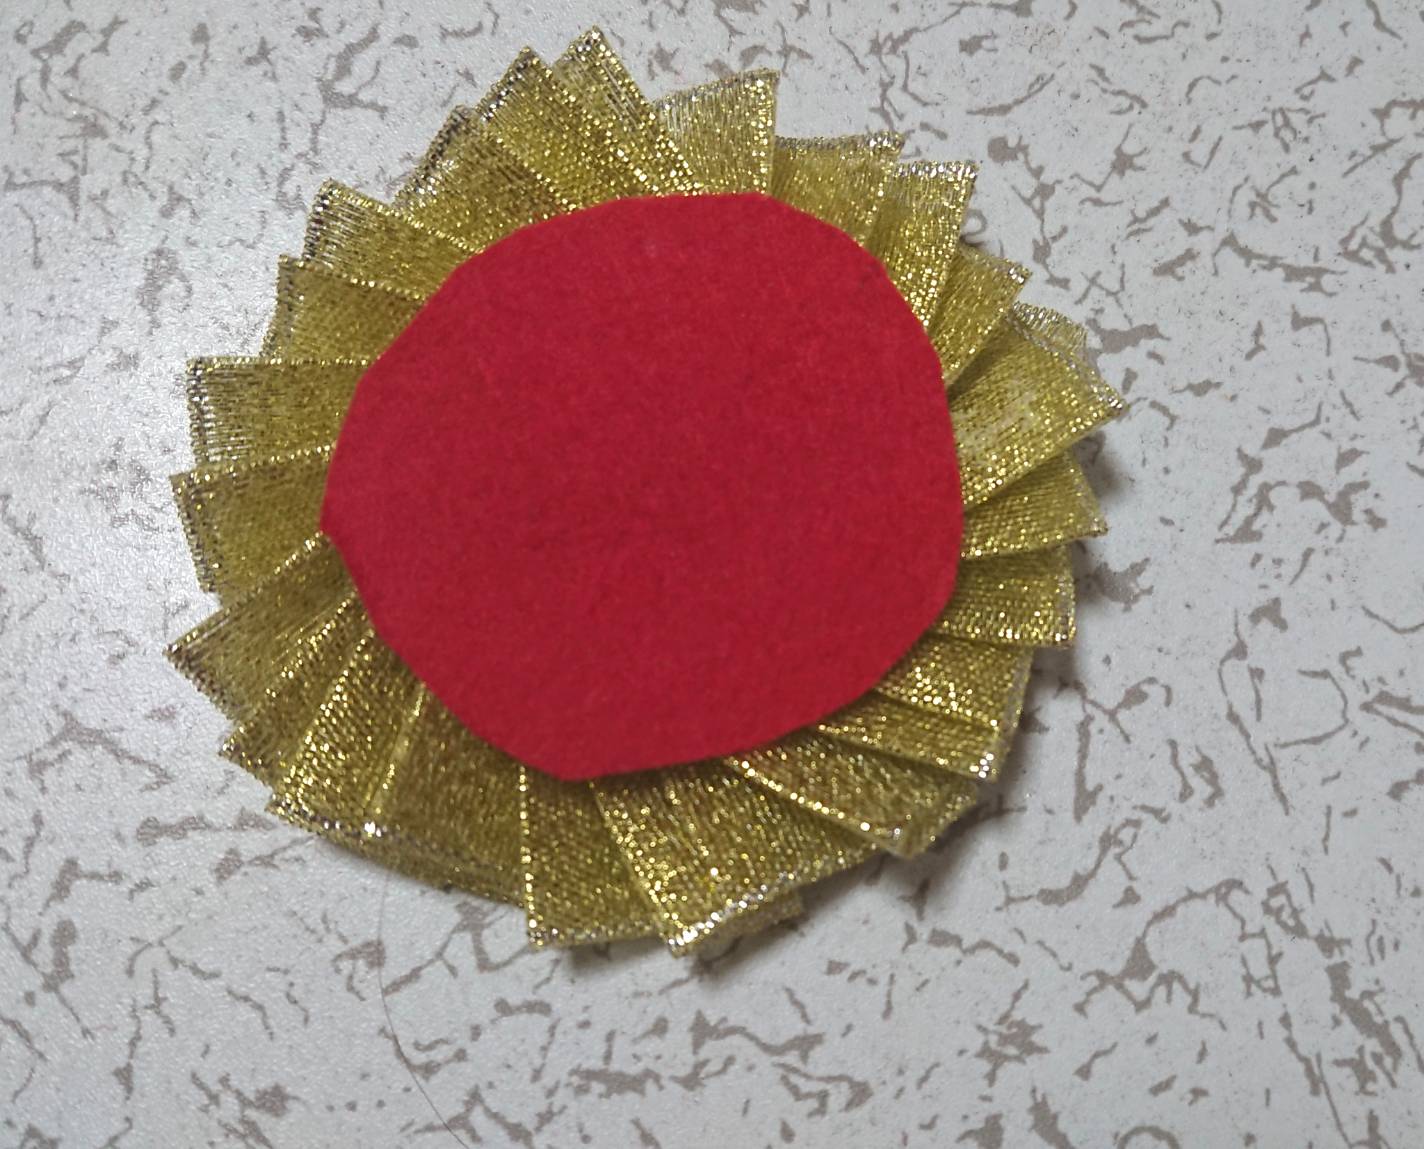
I stuck the felt to the side that had no paper mount by placing the ribbon sideways.
We are finished the first one.
Making it with a Small Rosette Maker as well
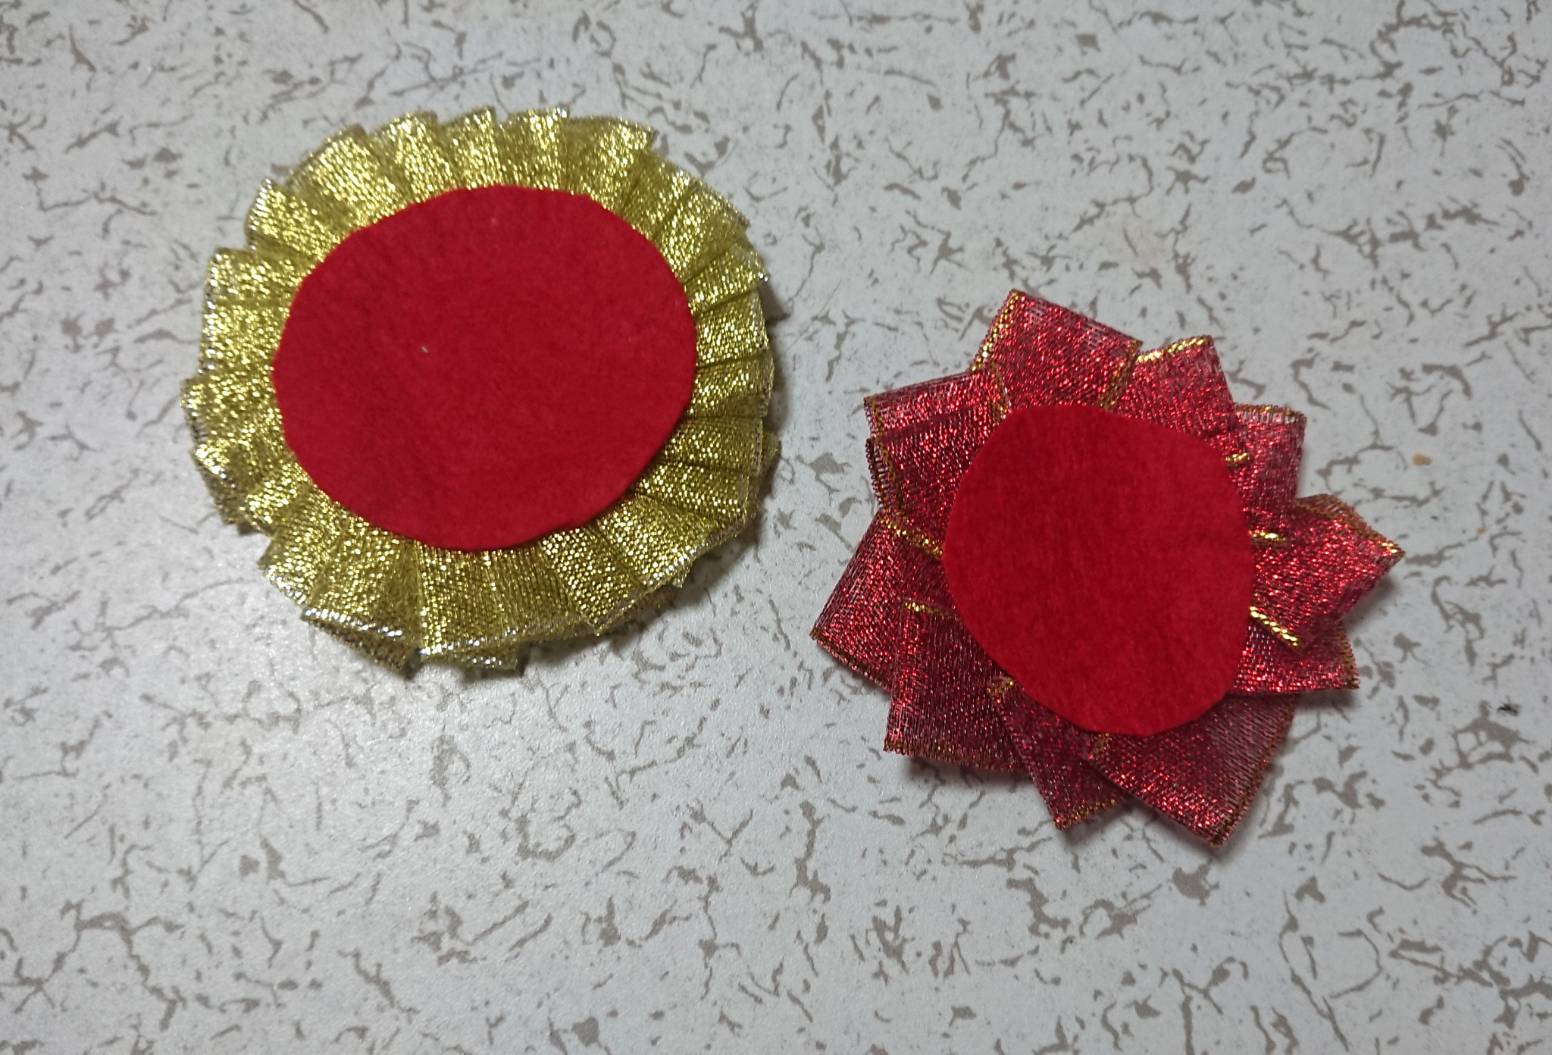
I used a different colored ribbon using the small Rosette Maker in the same way.
Here is what I made!
The smaller one looks a bit ugly, but I’ll carry on…! (It was hard…)
Decoration
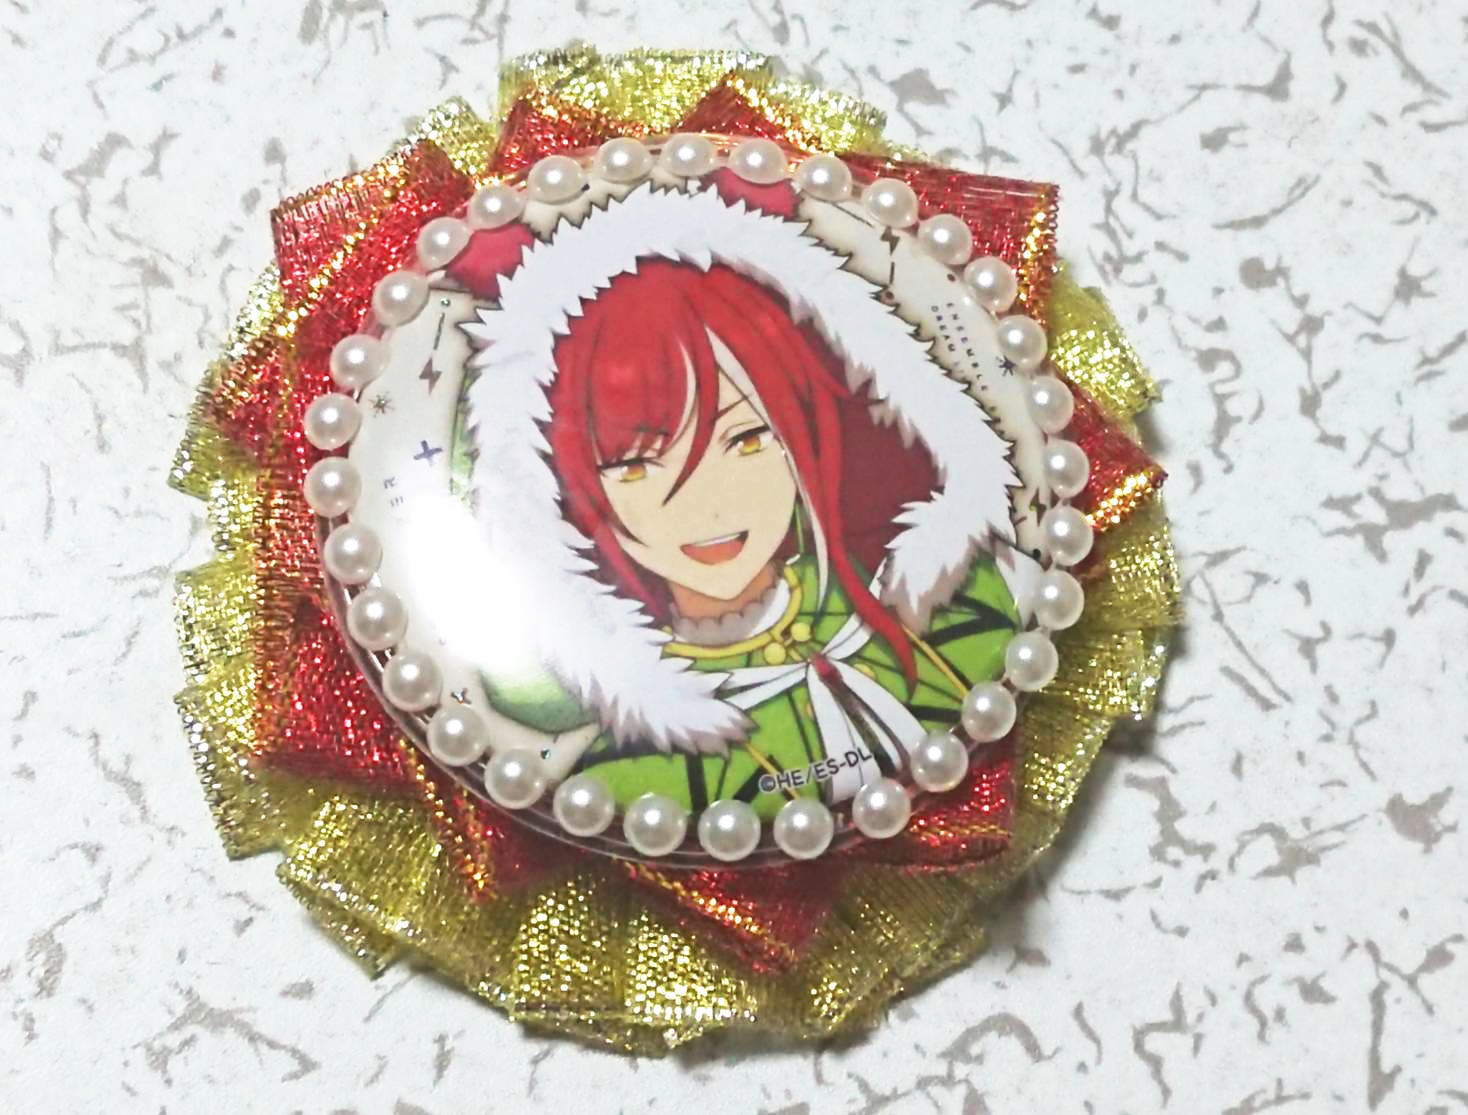
Overlap the two Rosettes together, and we will attach the can badge decorated with stickers.
It looks really nice doesn’t it…!?
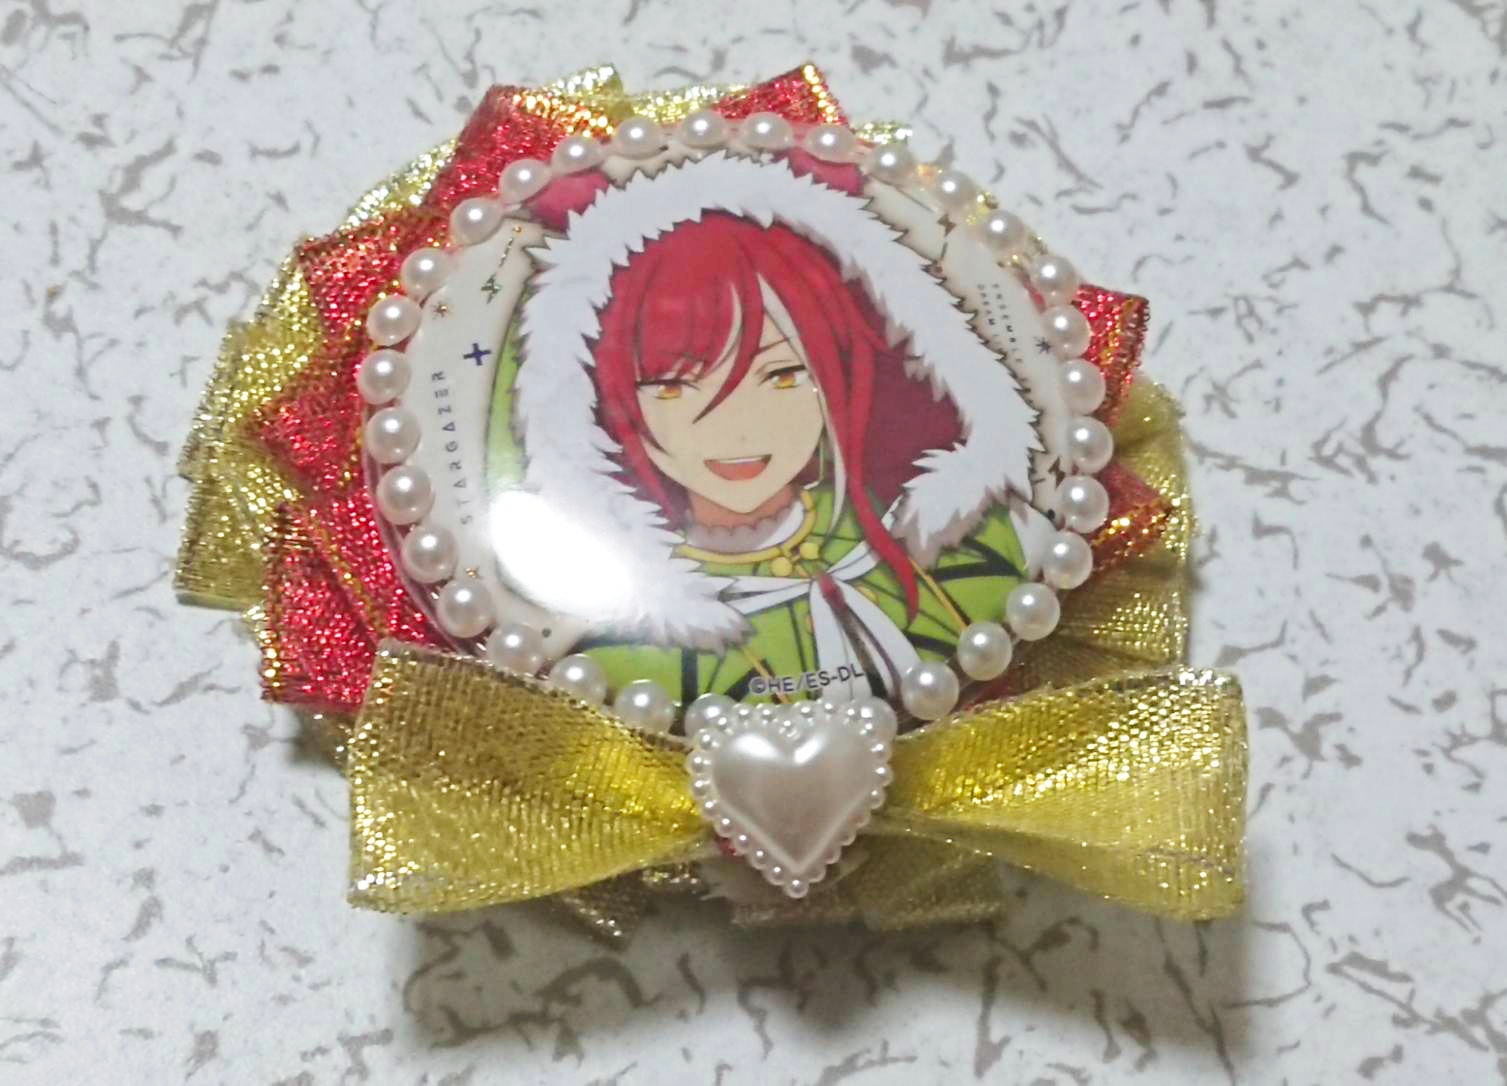
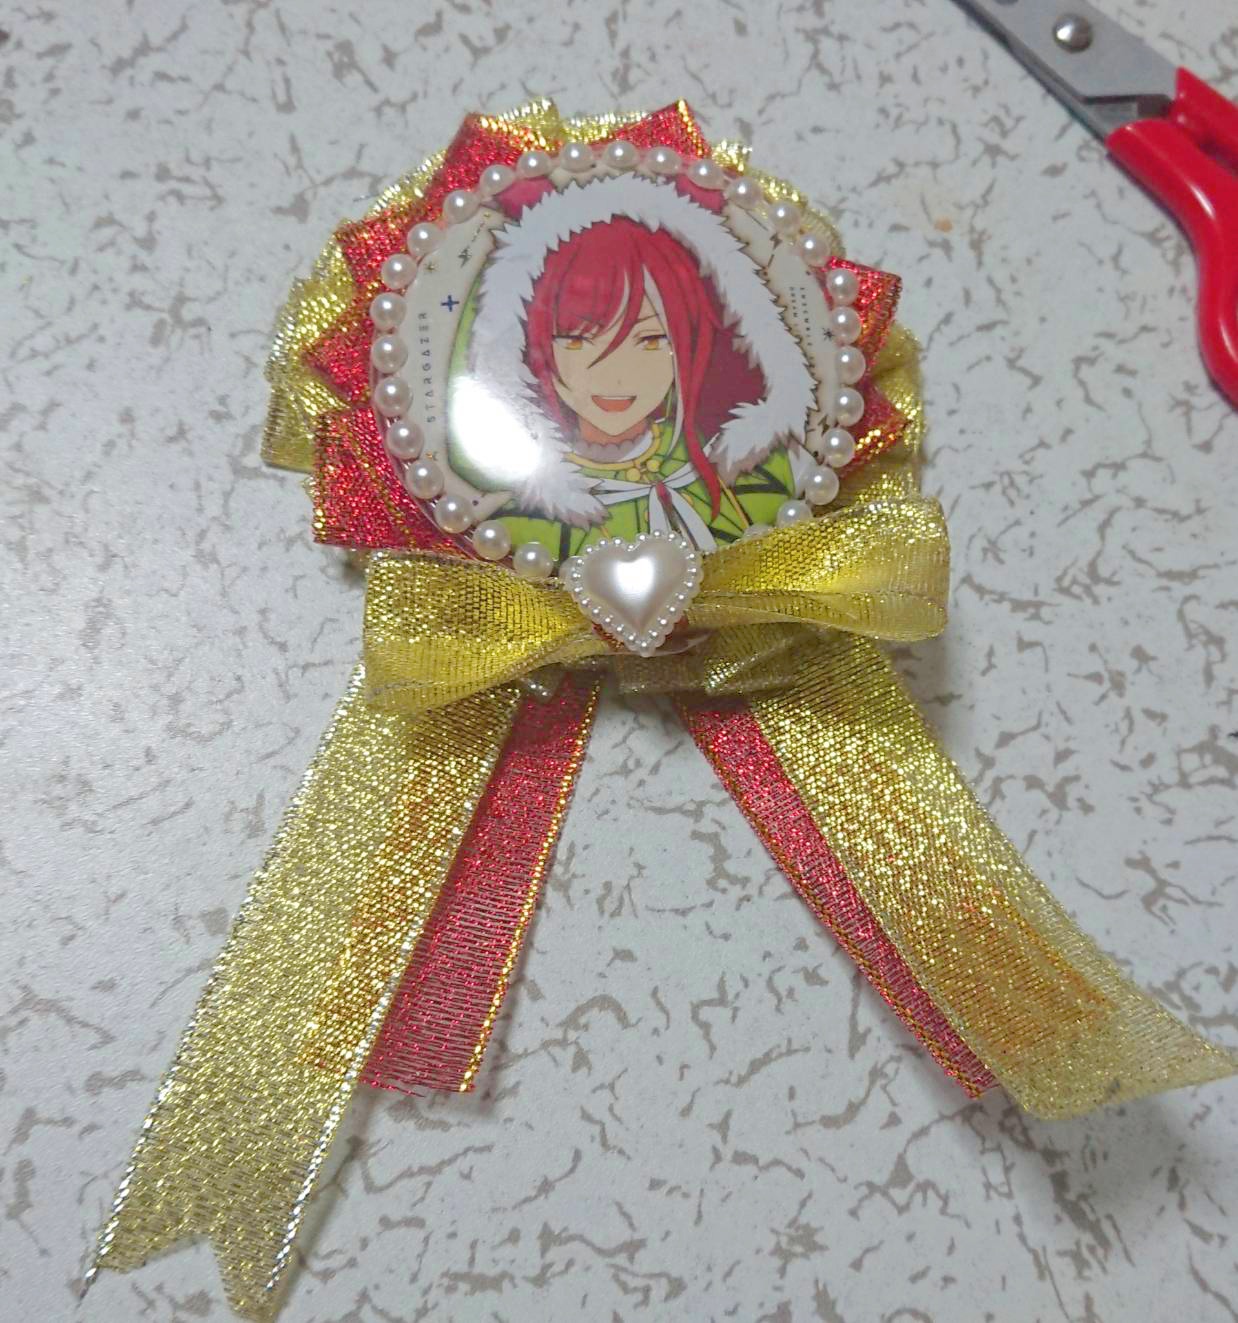
I added a ribbon and worked on the decoration…
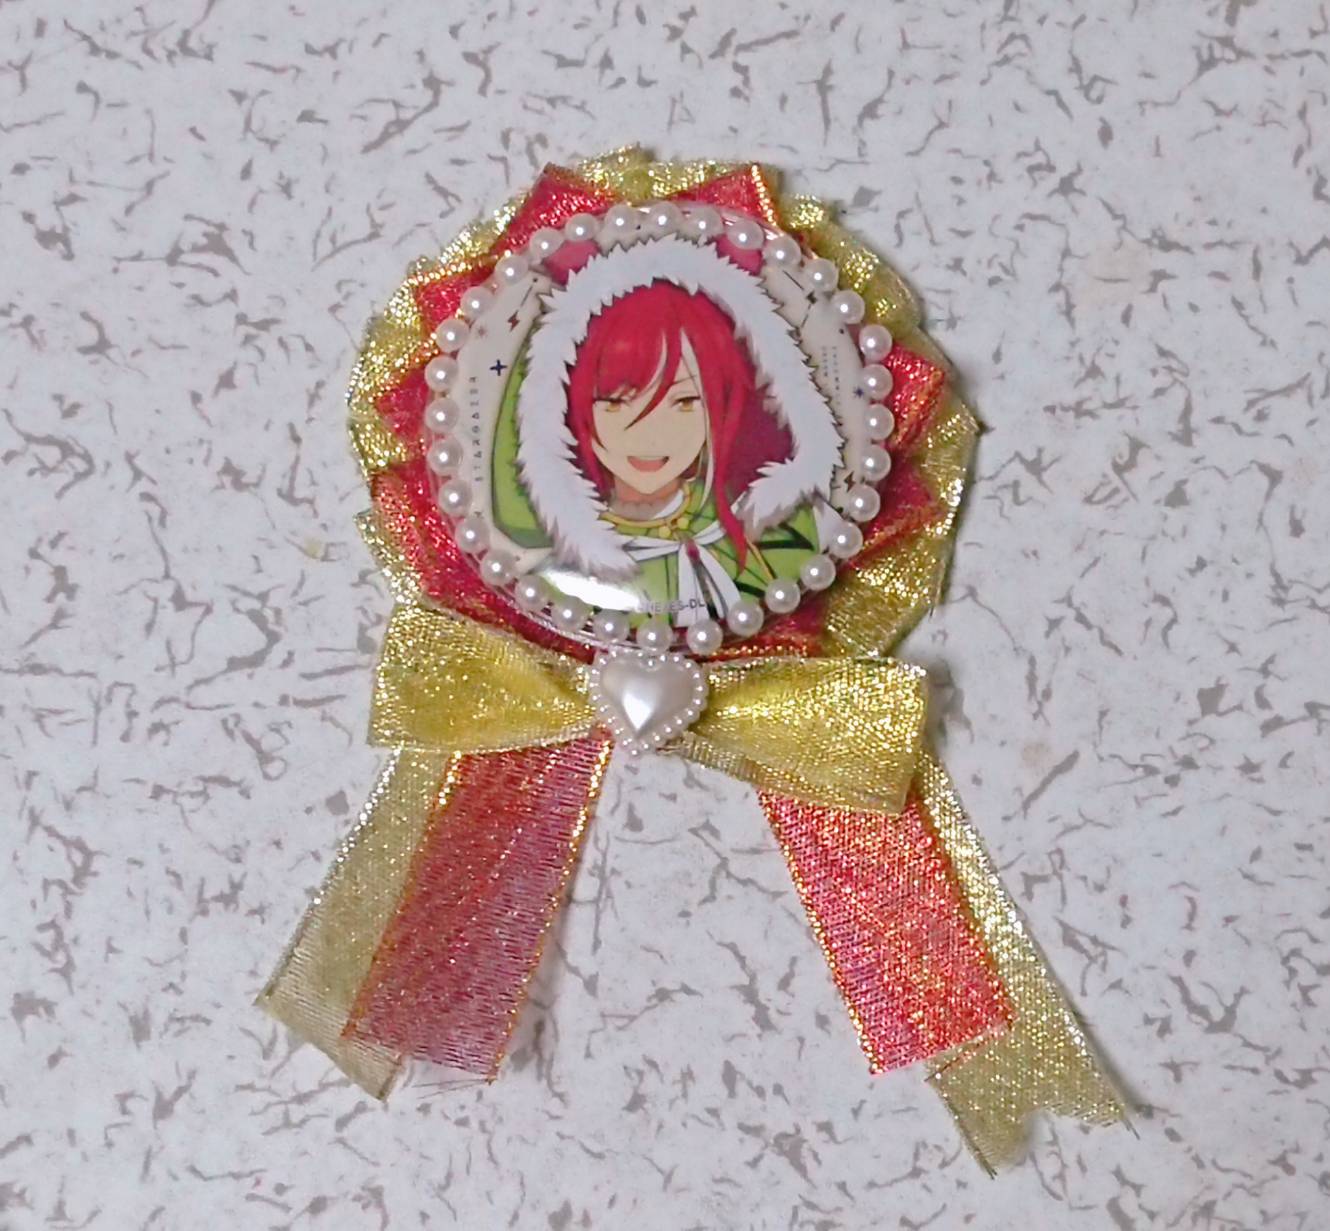
Here is the final product!
Both ribbons were Metallic materials so it seemed a little too glary…! (Feels like I was celebrating something)
Using the satin ribbon as a base and adding a metallic ribbon might be much cuter.
Also, by attaching a safety pin or ball chains on the back, you will be able to decorate your bags with it.
My thoughts on after making a rosette without any sewing
By using the Rosette Maker, I was able to make a rosette just by sticking it!
I had no trouble making it because all the instructions were written in the manual.
Also, because you don’t need to fold the ribbon and sew it by yourself, I was able to make it much faster and easier.
It is really nice how you can show your originality by making your favorite design and decorating it on your own.
You can get all the materials from the 100 yen shop, so I hope you try this too!
Can badge I used: Ensemble Stars! Dream Live 5th Character Badge Collection Natsume Sakasaki (diameter approx. 5.7cm)
Time: About 2 hours
Cost: About 700 yen