

[Otaku activity] I tried decorating hard card cases with 100 yen materials! You can easily make your favorite cute
![[Otaku activity] I tried decorating hard card cases with 100 yen materials! You can easily make your favorite cute](https://nijimen.net/en/wp-content/uploads/sites/2/2022/08/041c8e89b678b46731ac2144bc87c2e7.png)
When storing your favorite instax or postcards, you often put them in a hard card case.
Recently, it has become popular to decorate a hard card case cutely so that it can be carried not only for storage, but also for live performances and outings!
In this article, we will introduce how to decorate a hard card cases! Please use it as a reference.
Point
- Created with only 100-yen materials!
Introducing two types of decoration methods, one with stickers only and one with stickers and ribbons!
How much time and money did it take?
I tried to decorate a hard card case with only 100 yen materials!
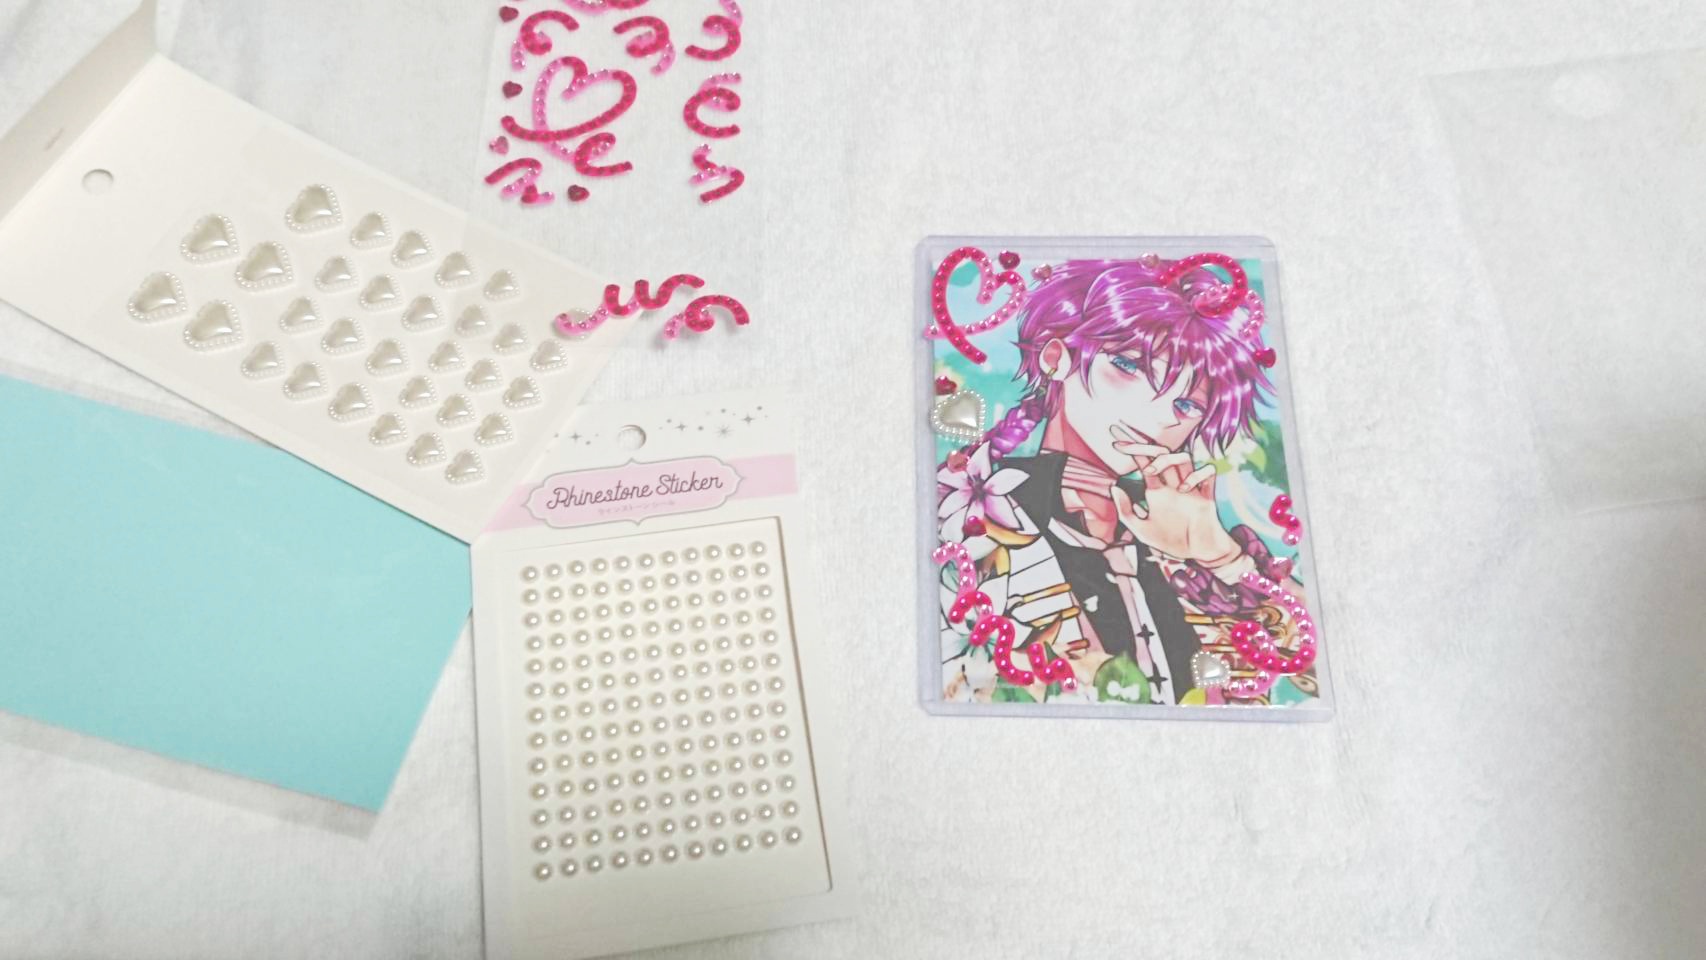
This is the material!
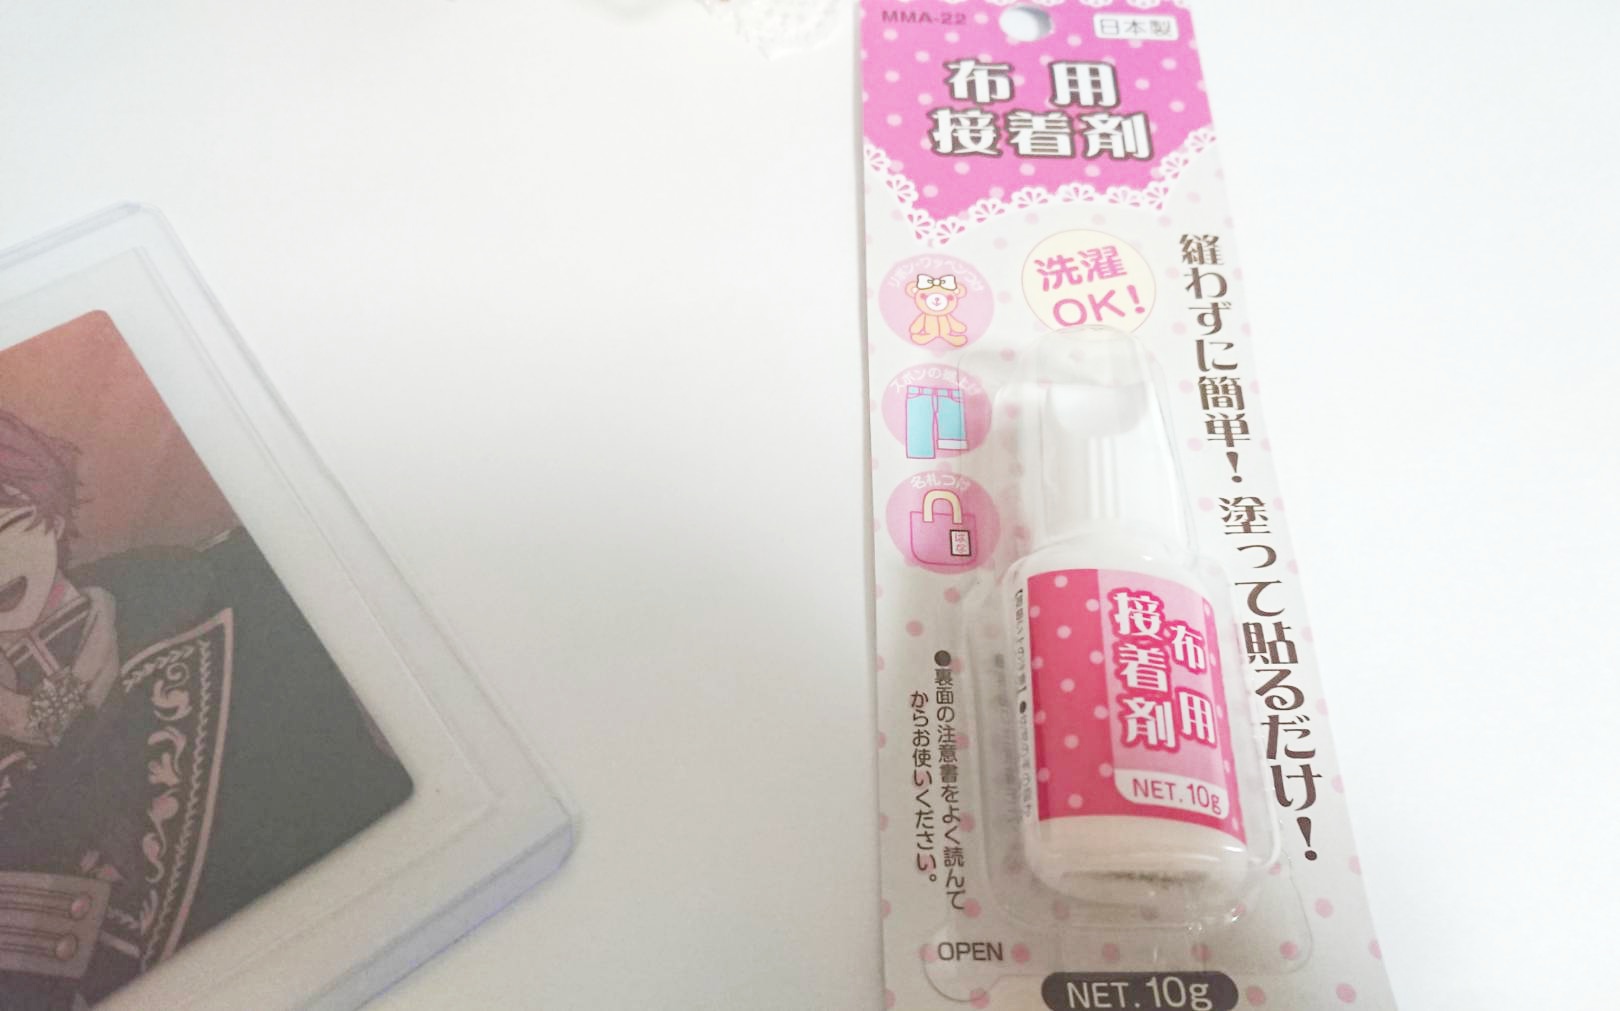
I will introduce what I purchased to decorate the hard card case.
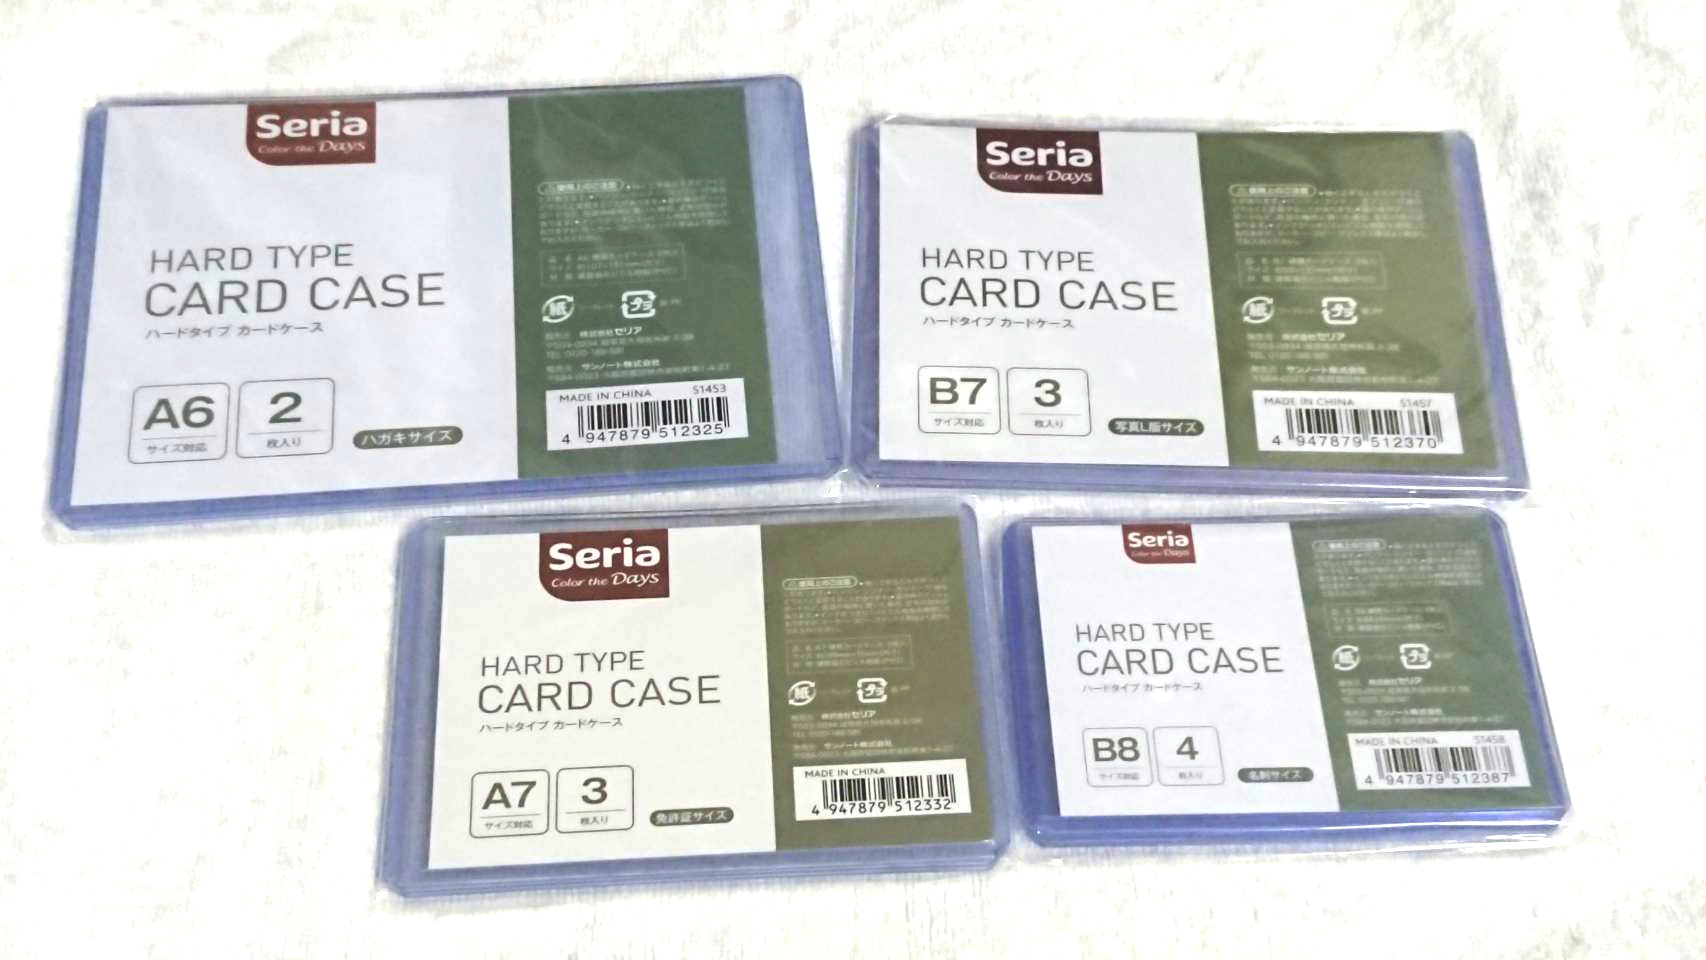
・Hard card cases (B8/A7/B7/A6)
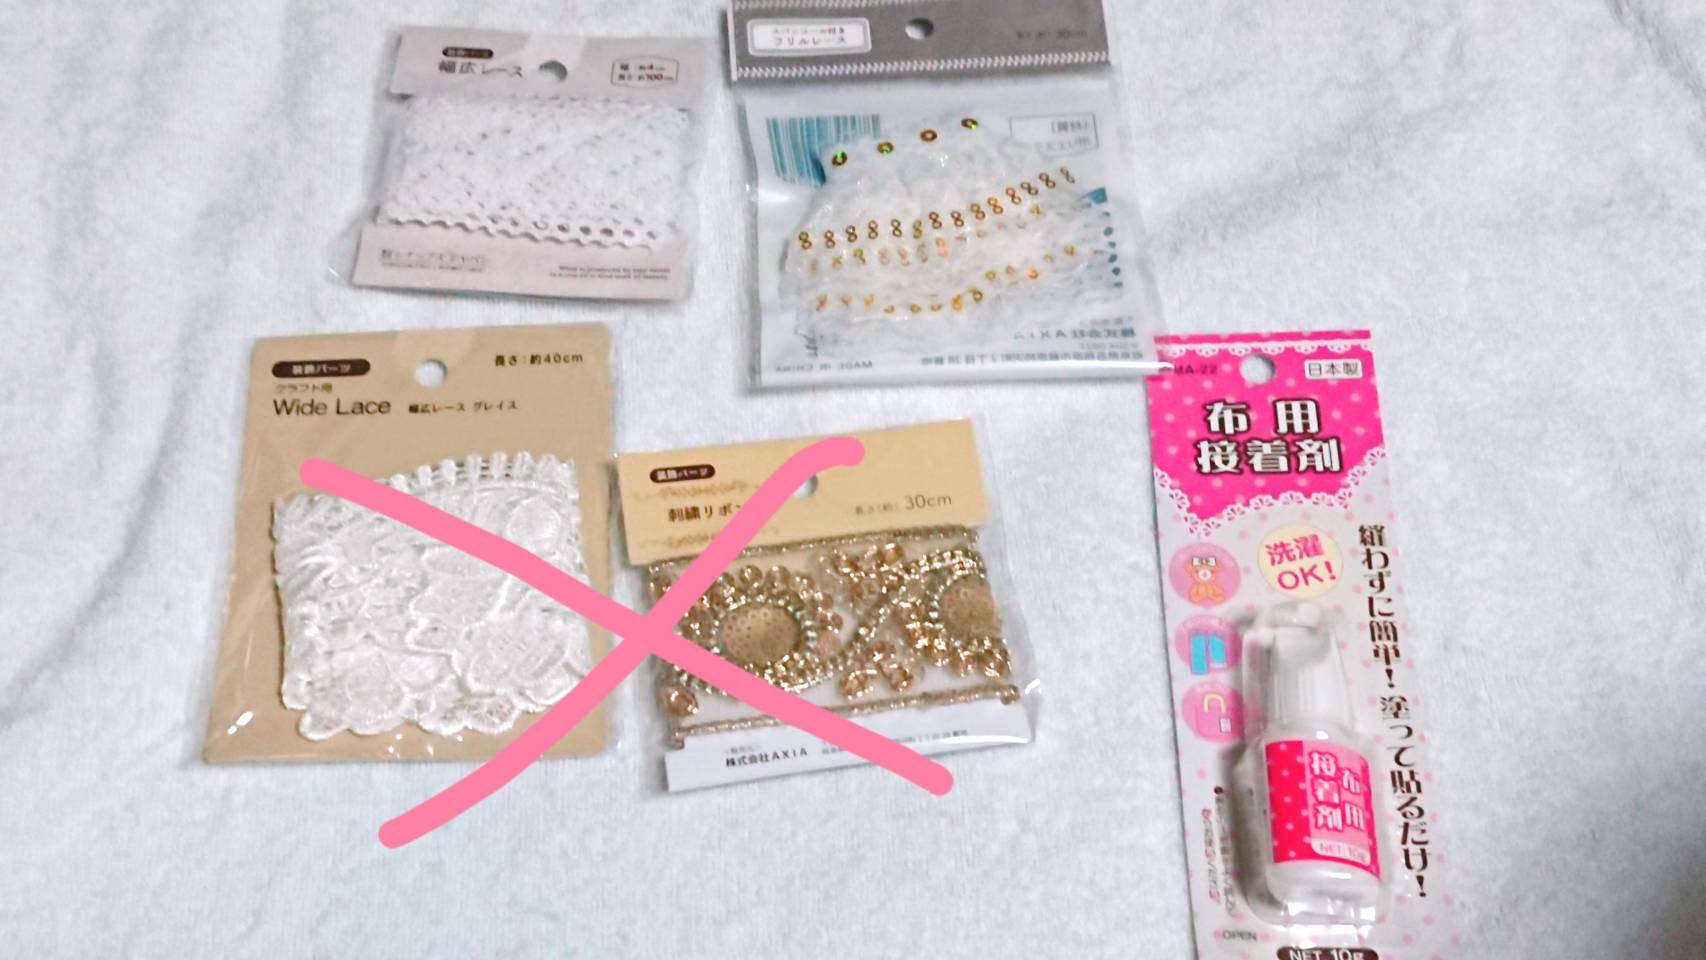
・Fabric adhesive
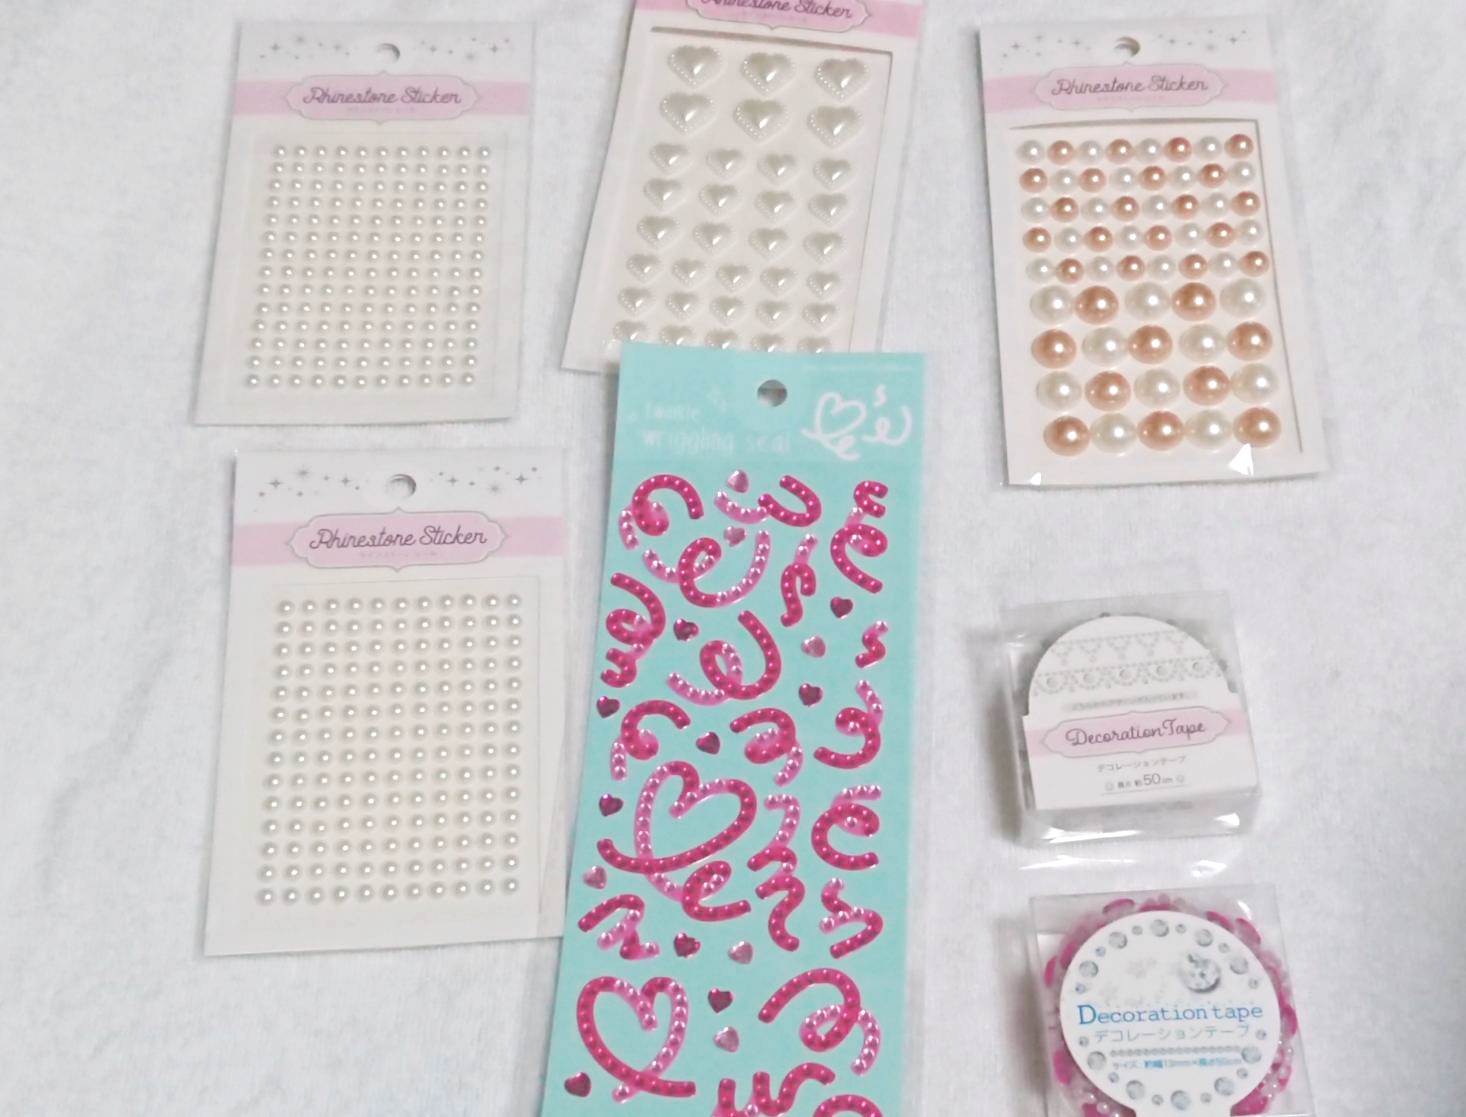
・Seal parts
・Ribbons
*Items with an X in the photo were not used this time.
All materials are available at the 100-yen shop Seria!
In addition, you will need double-sided tape and scissors, so if you do not have them, please purchase them.
This time, we will introduce two types of decorations: one that uses only stickers, and one that uses stickers and ribbons!
Decoration using only stickers
Part 1
First of all, we will decorate the hard card case with only stickers.
This time, we used a B7 size hard card case that can fit a postcard.
*B7 hard card case size: about 93mm x 131mm (inside dimensions)
The procedure is simple, just prepare a hard card case and stickers and stick it on!!
I’m going to stick it on…
I made it!
Just sticking a sticker made it cute all at once.
Product inside the hard card case:
Devil Butler with Black Cat Lato Bacca Butler’s wedding Bromide
Creation time:
About 5 minutes
Attention point:
Don’t put a sticker in the middle, just fill in the edges.
Part 2

Next, I will decorate a B8 size hard card case that can fit Pashacolle and trading cards!
* B8 hard card case size: approx. 66mm x 94mm (inside dimensions)

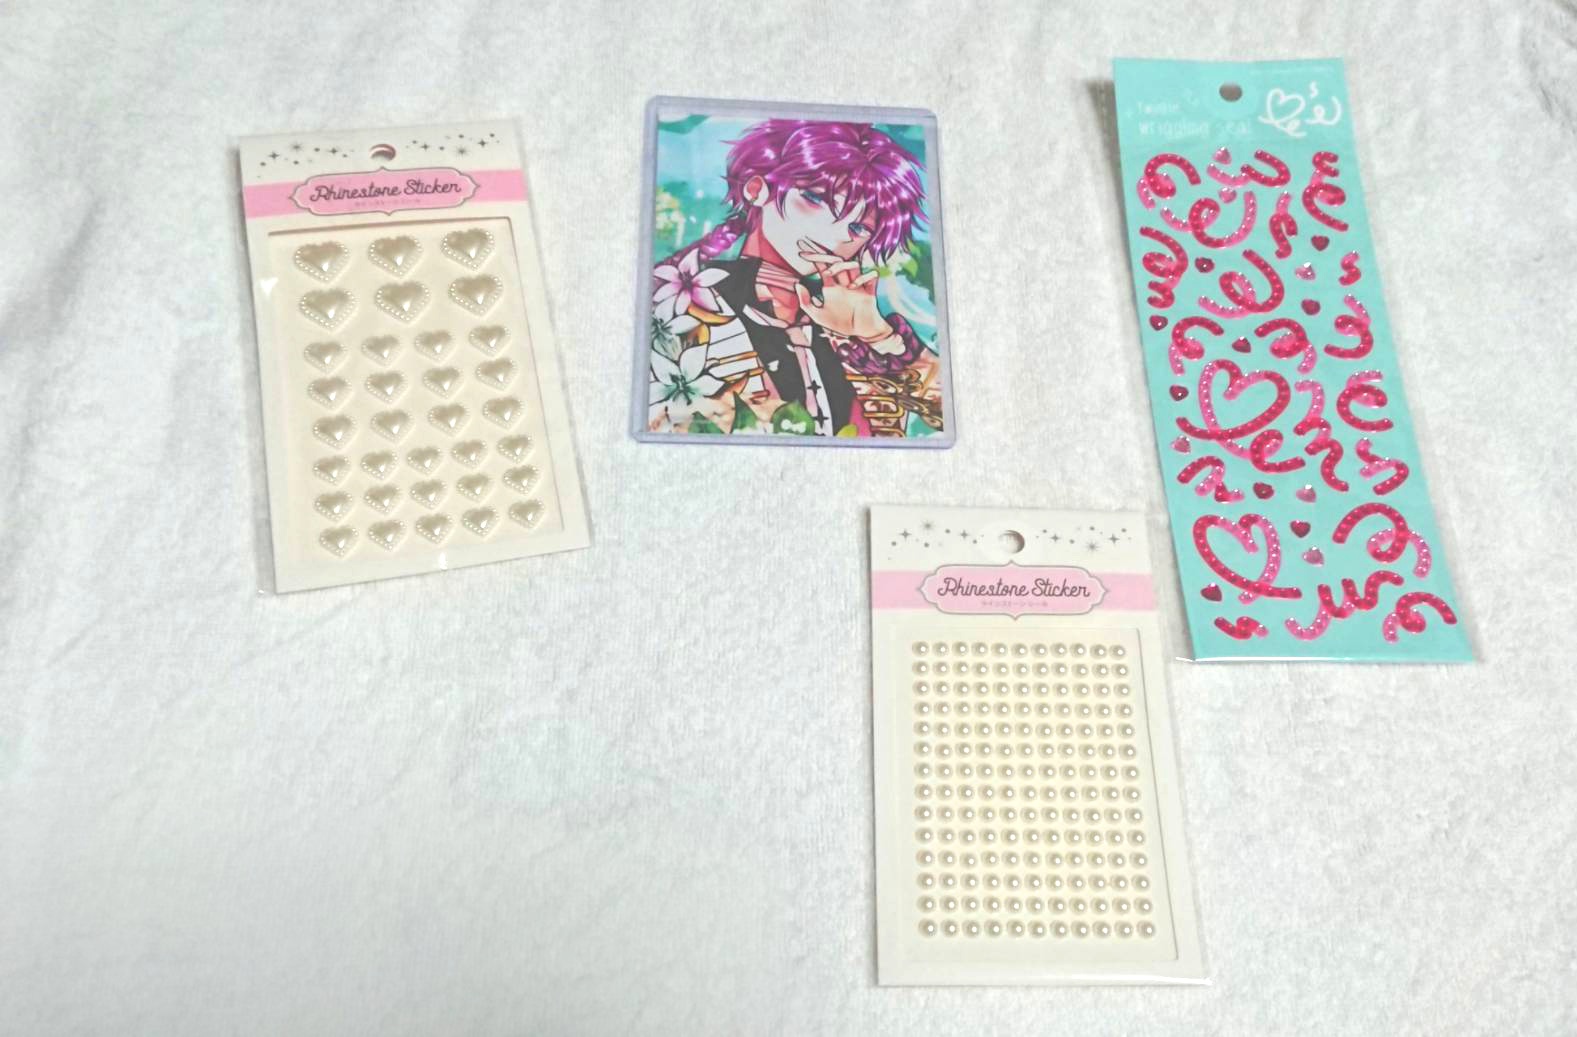
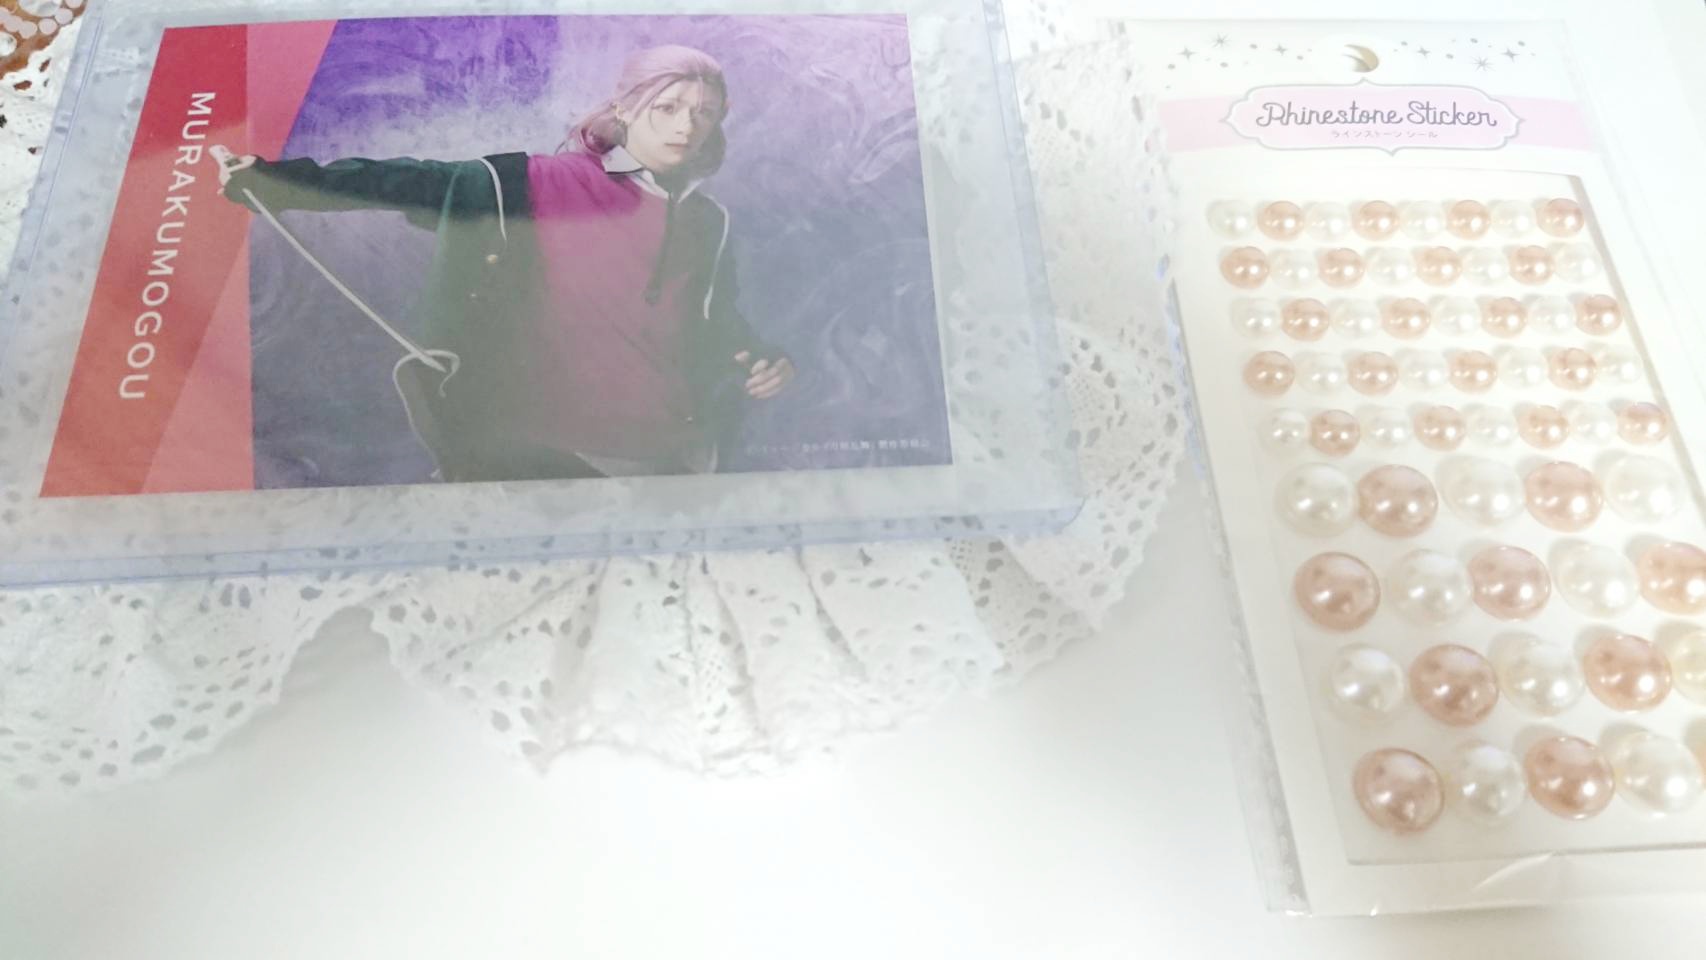
This time I will use a pearl sticker.
The stickers peeled off in one row, so it was easy to apply!
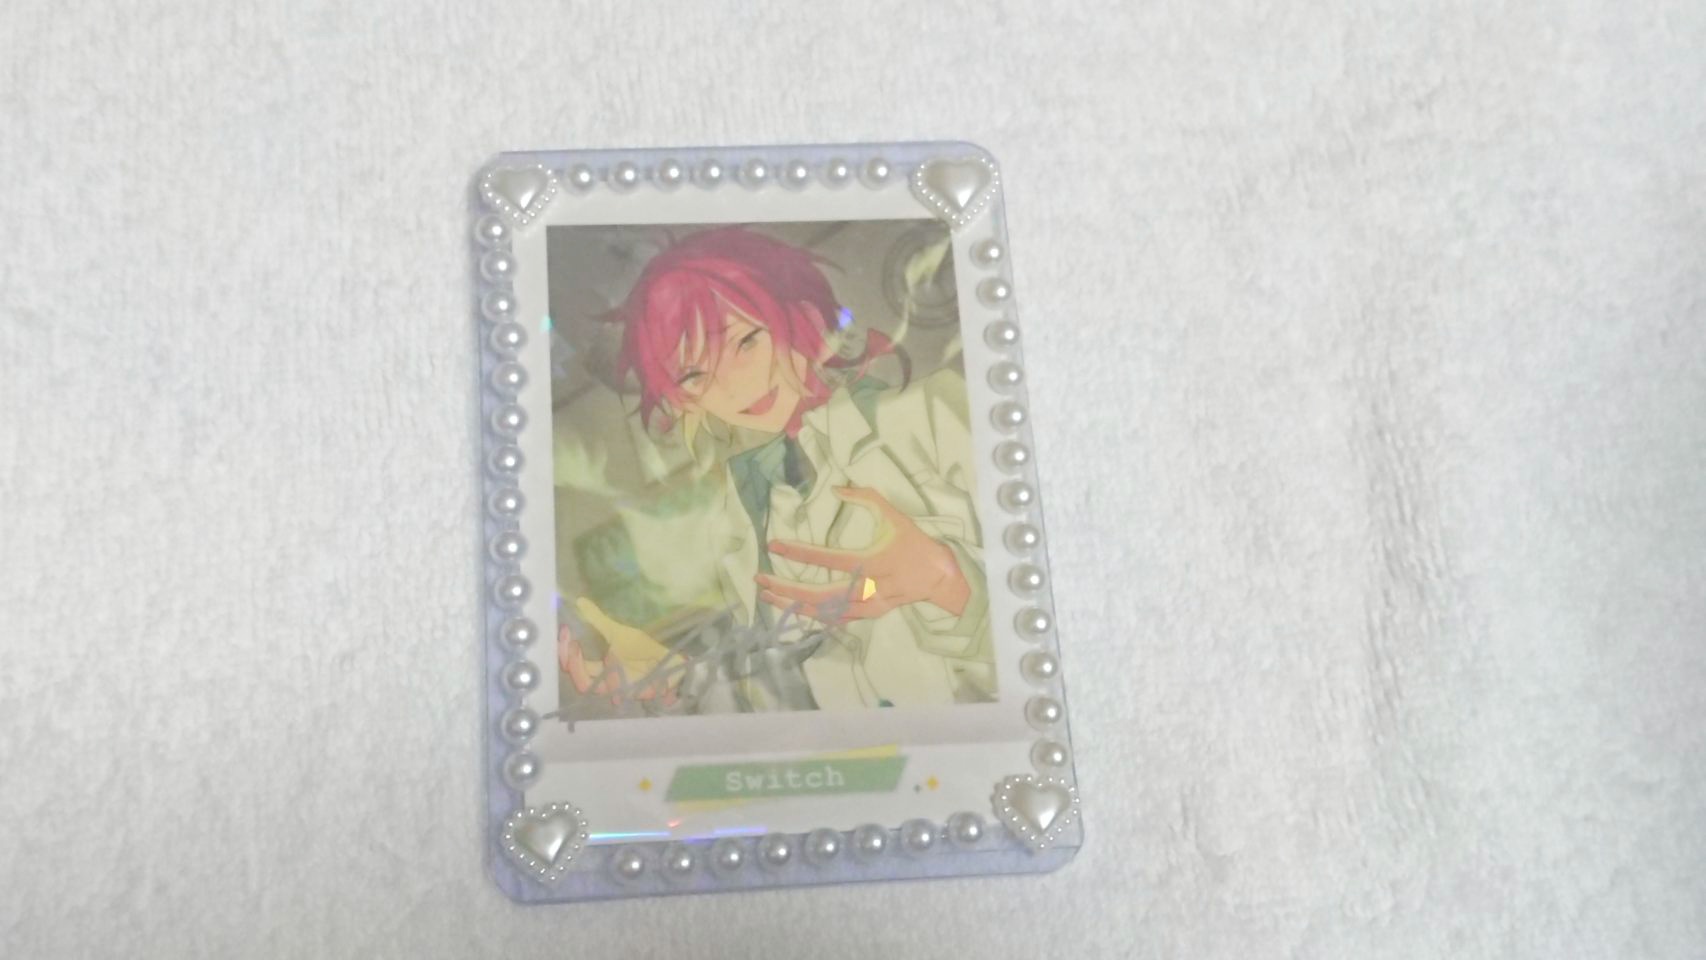
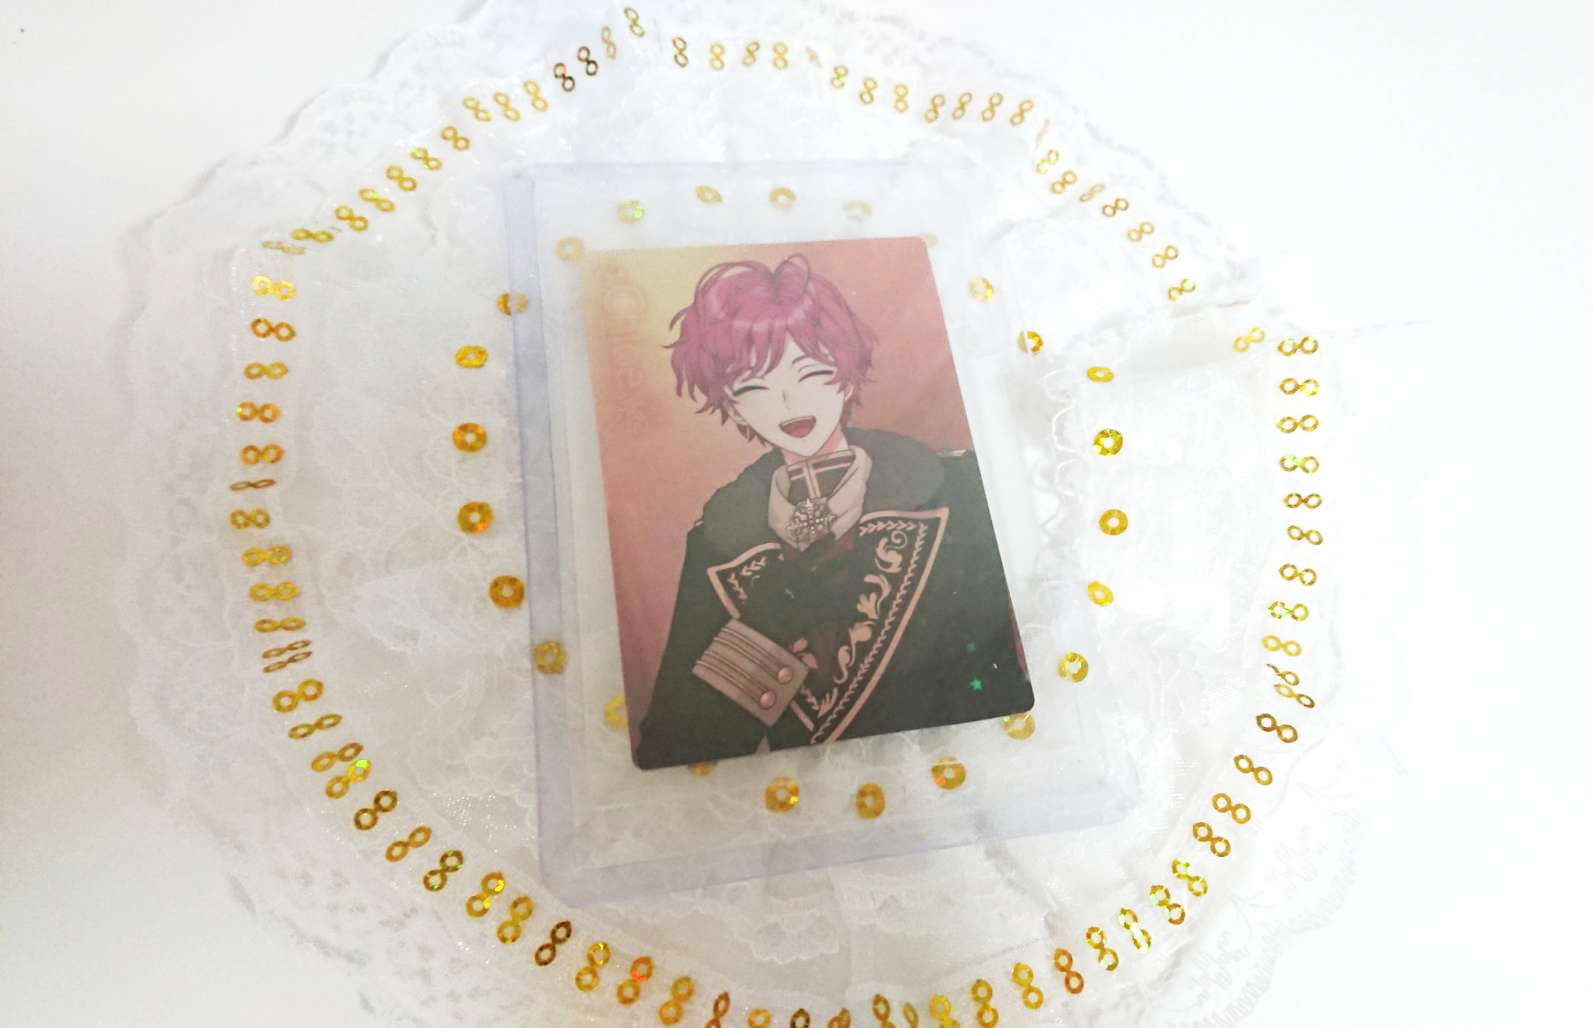
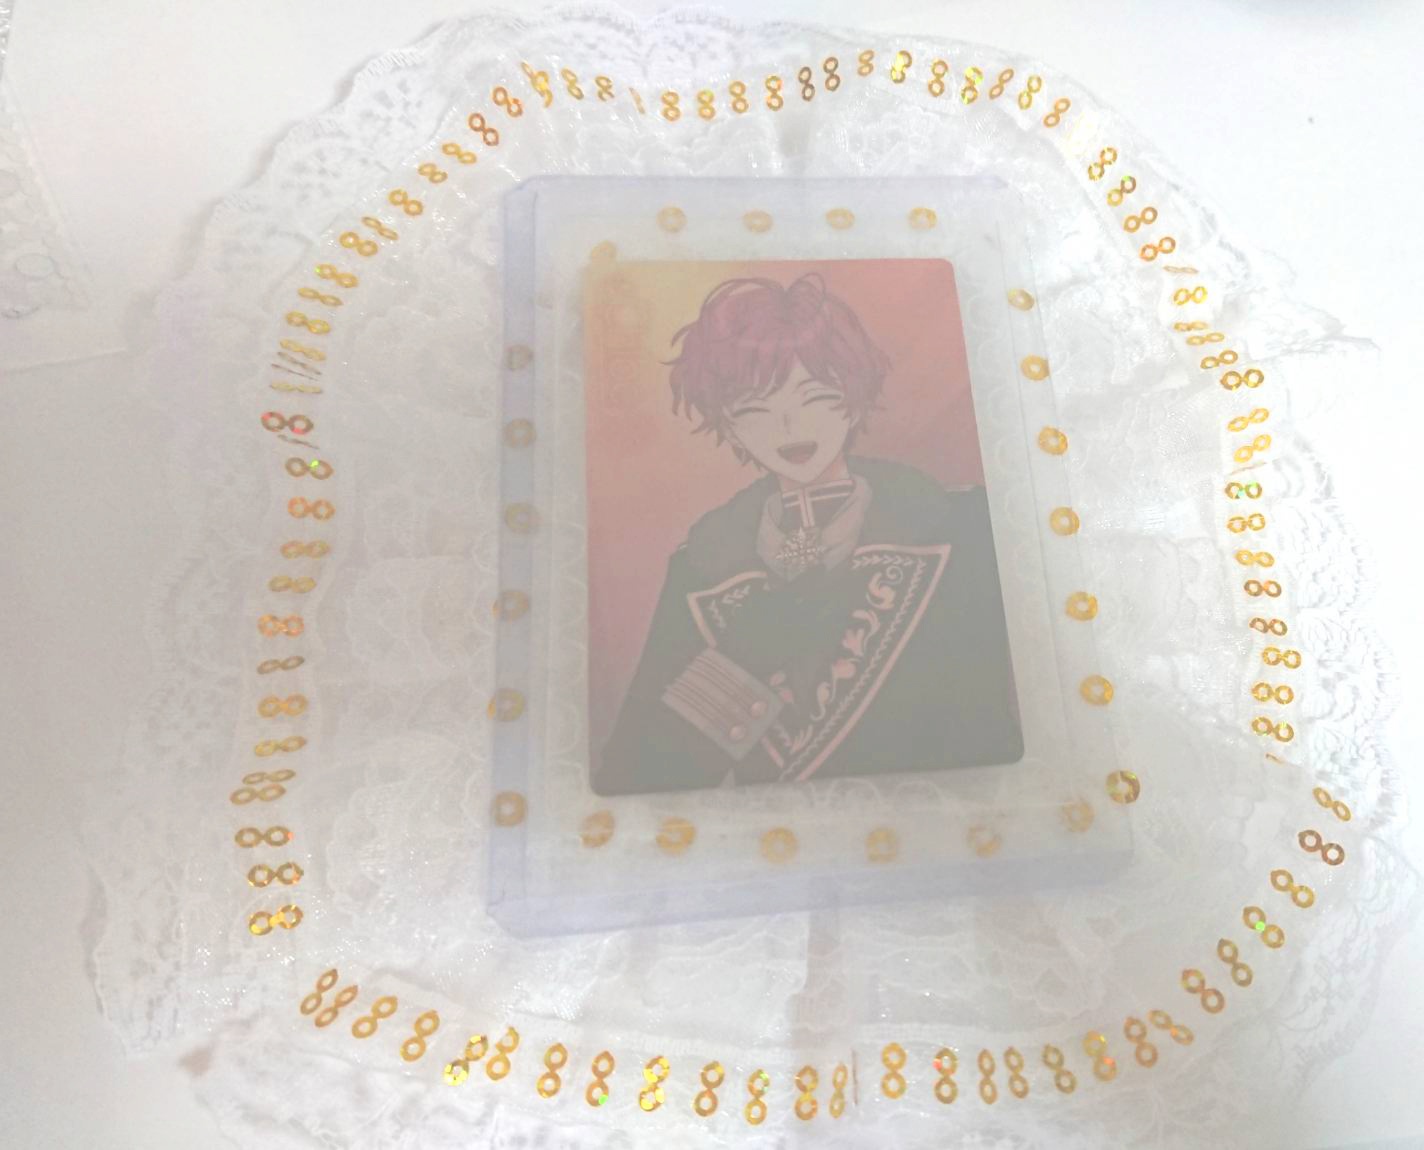
Here is the finished product!
Just bordering the hard card case with a pearl sticker makes it gorgeous.
I put a white heart sticker on the corner this time, but I think the pearl sticker alone is cute enough.
Product inside the hard card case:
Ensemble Stars! Pashacolle/OFF SHOT Ver.6 Natsume Sakasaki
Creation time:
About 4 minutes
Attention point:
Remember to stick it as straight as possible.
Part 3
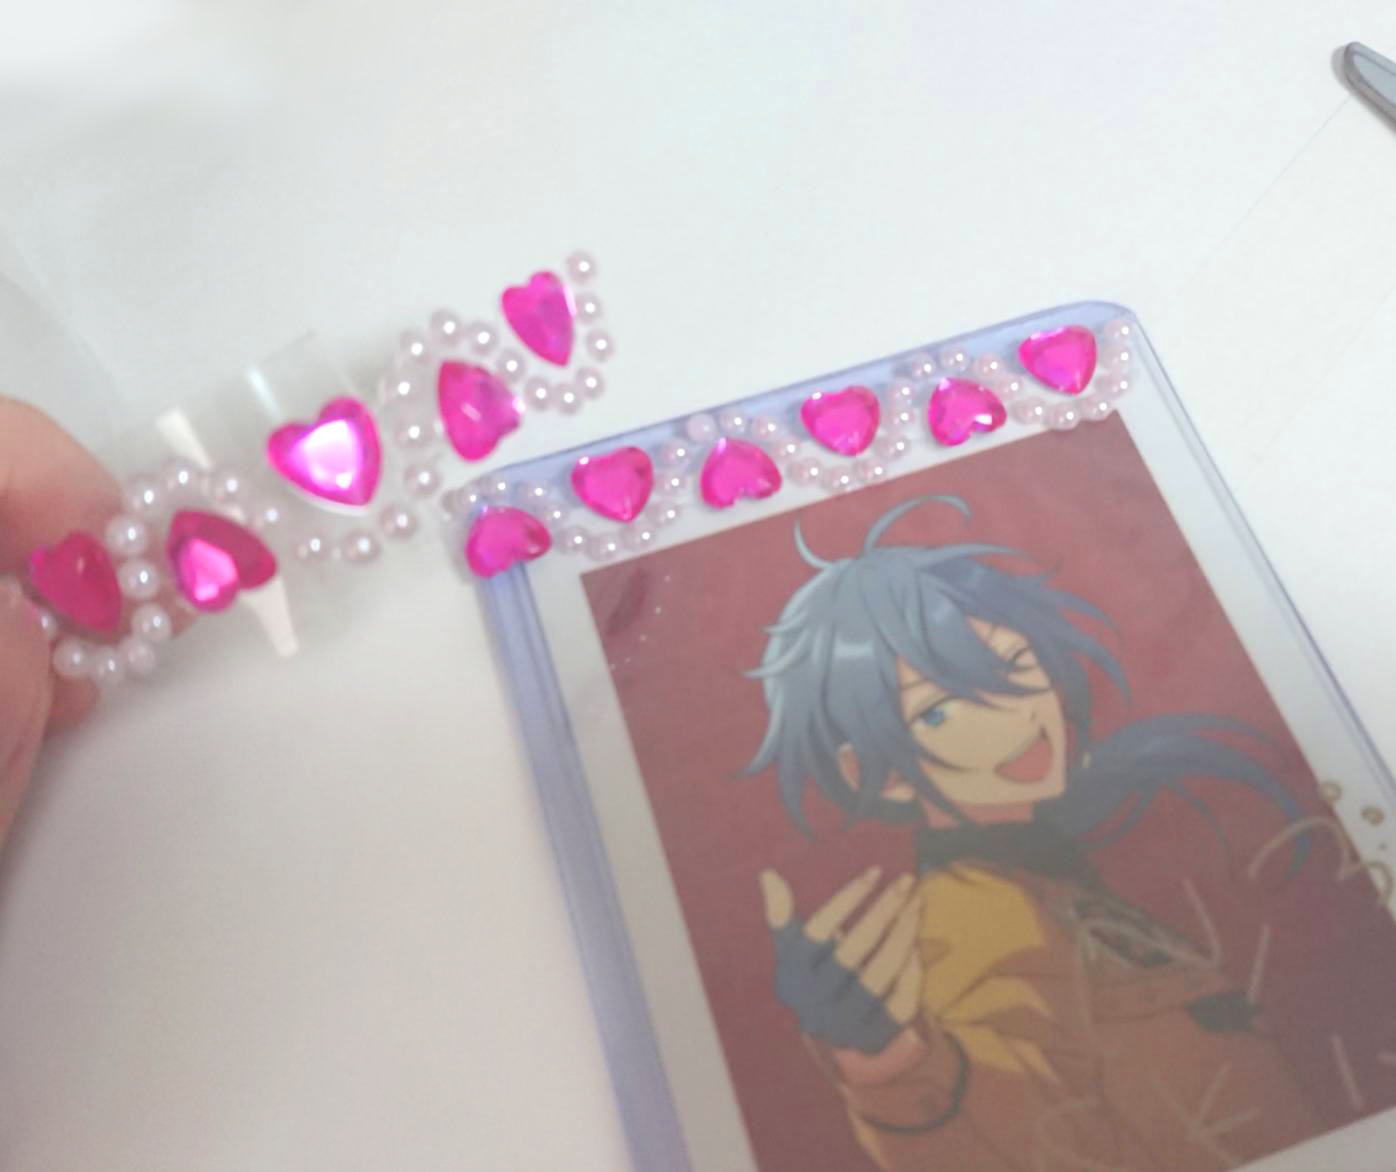
I still have a lot of stickers, so I’m greedy to decorate another B8 size hard card case!
This time, I used decoration tape.
Decoration tape is a tape-shaped seal designed with parts such as pearls and stones.
The length is 50 cm, so you can use it a lot…!
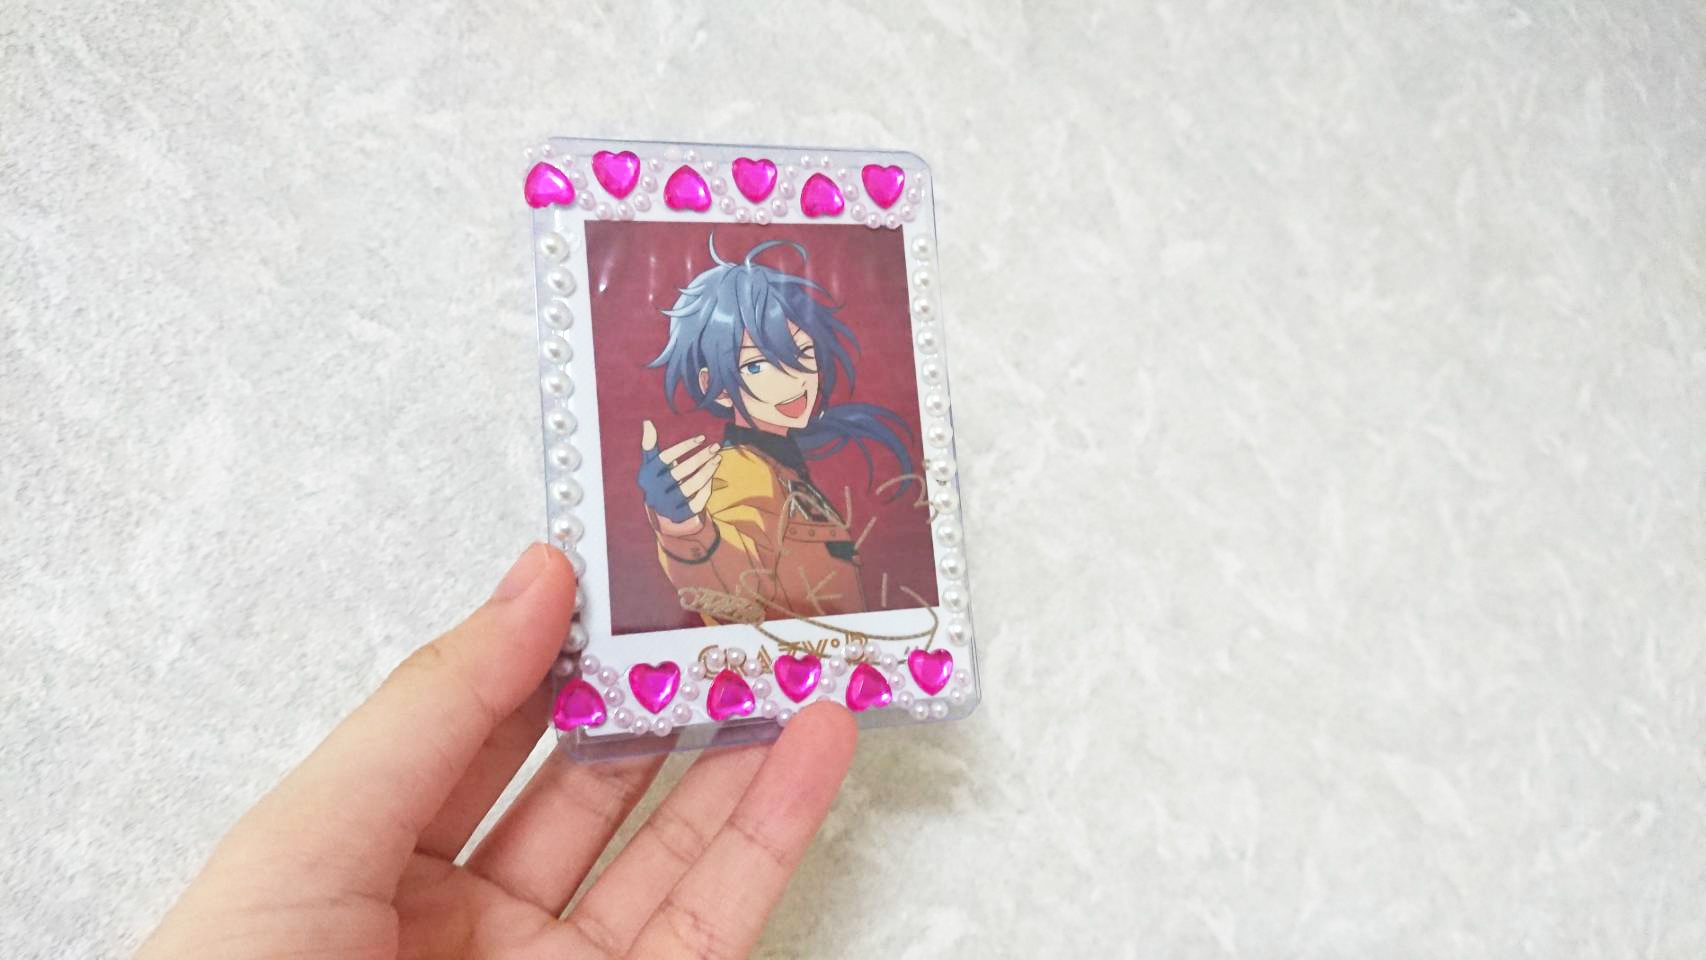
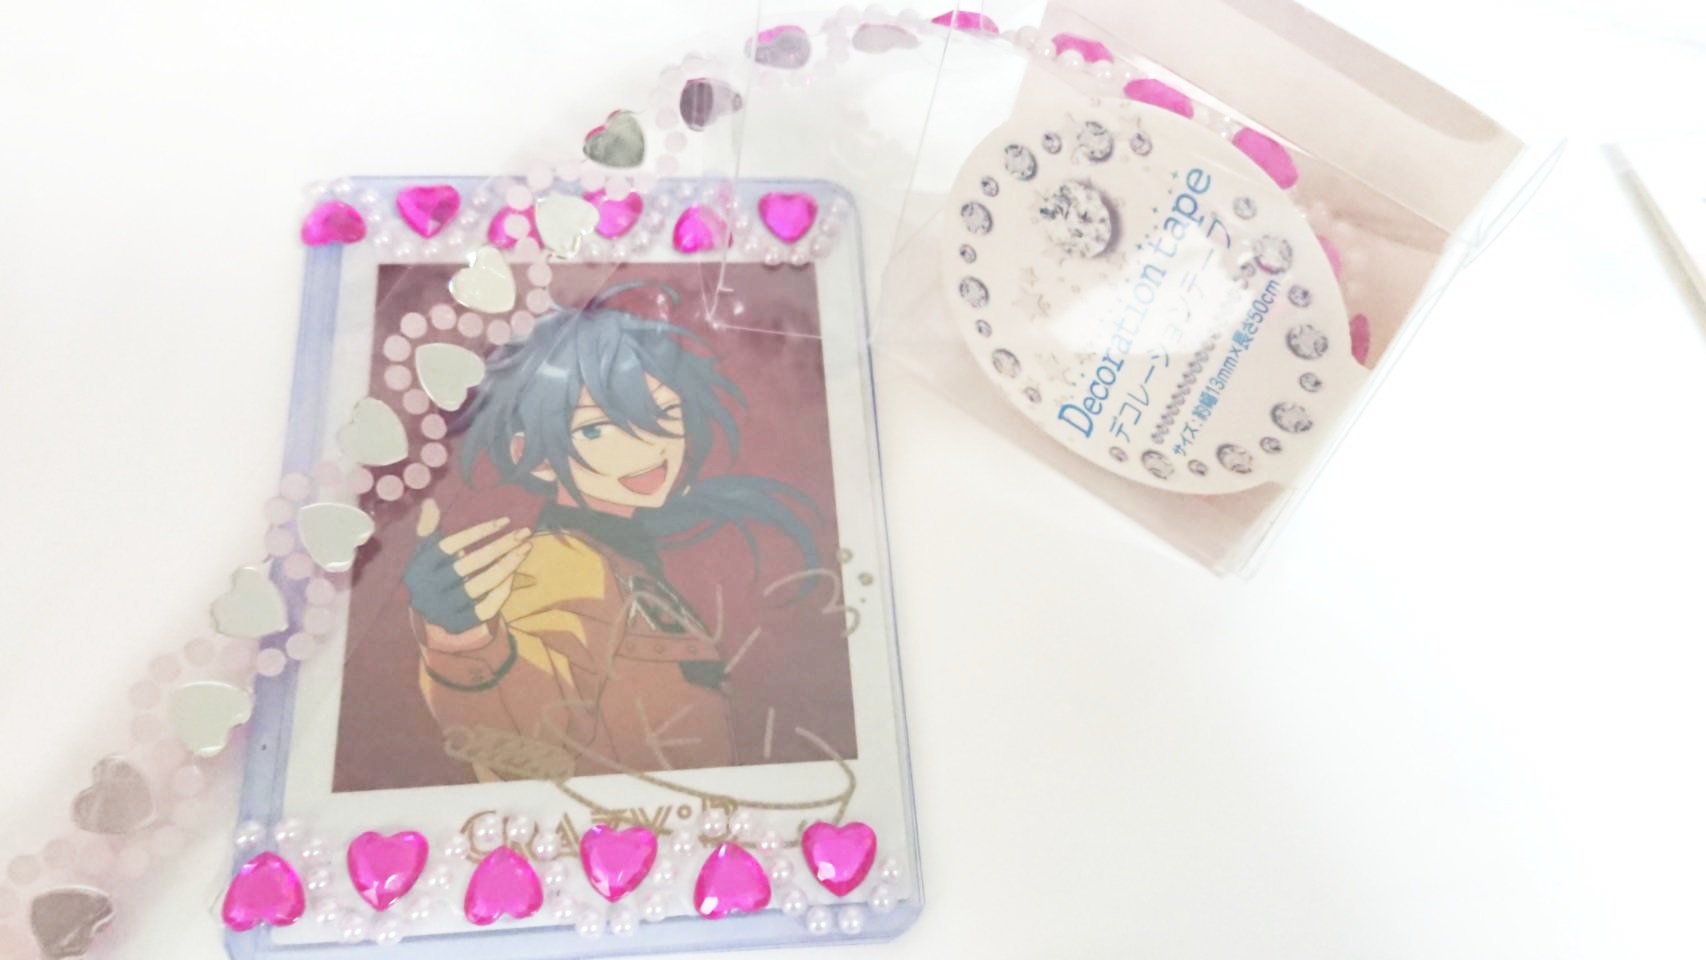
Here is the finished product!
Decoration tape is so easyyyyy!
I was able to create it in about 3 minutes.
Products inside the hard card case:
Ensemble Stars!! gracolle P.A.shots!! ES 6th Anniversary Niki Shiina
Creation time:
About 3 minutes
Attention point?:
Already, the decoration tape is the best!
Decoration with stickers and ribbons
Part 1
Next, I will decorate the hard card case using stickers and ribbons!
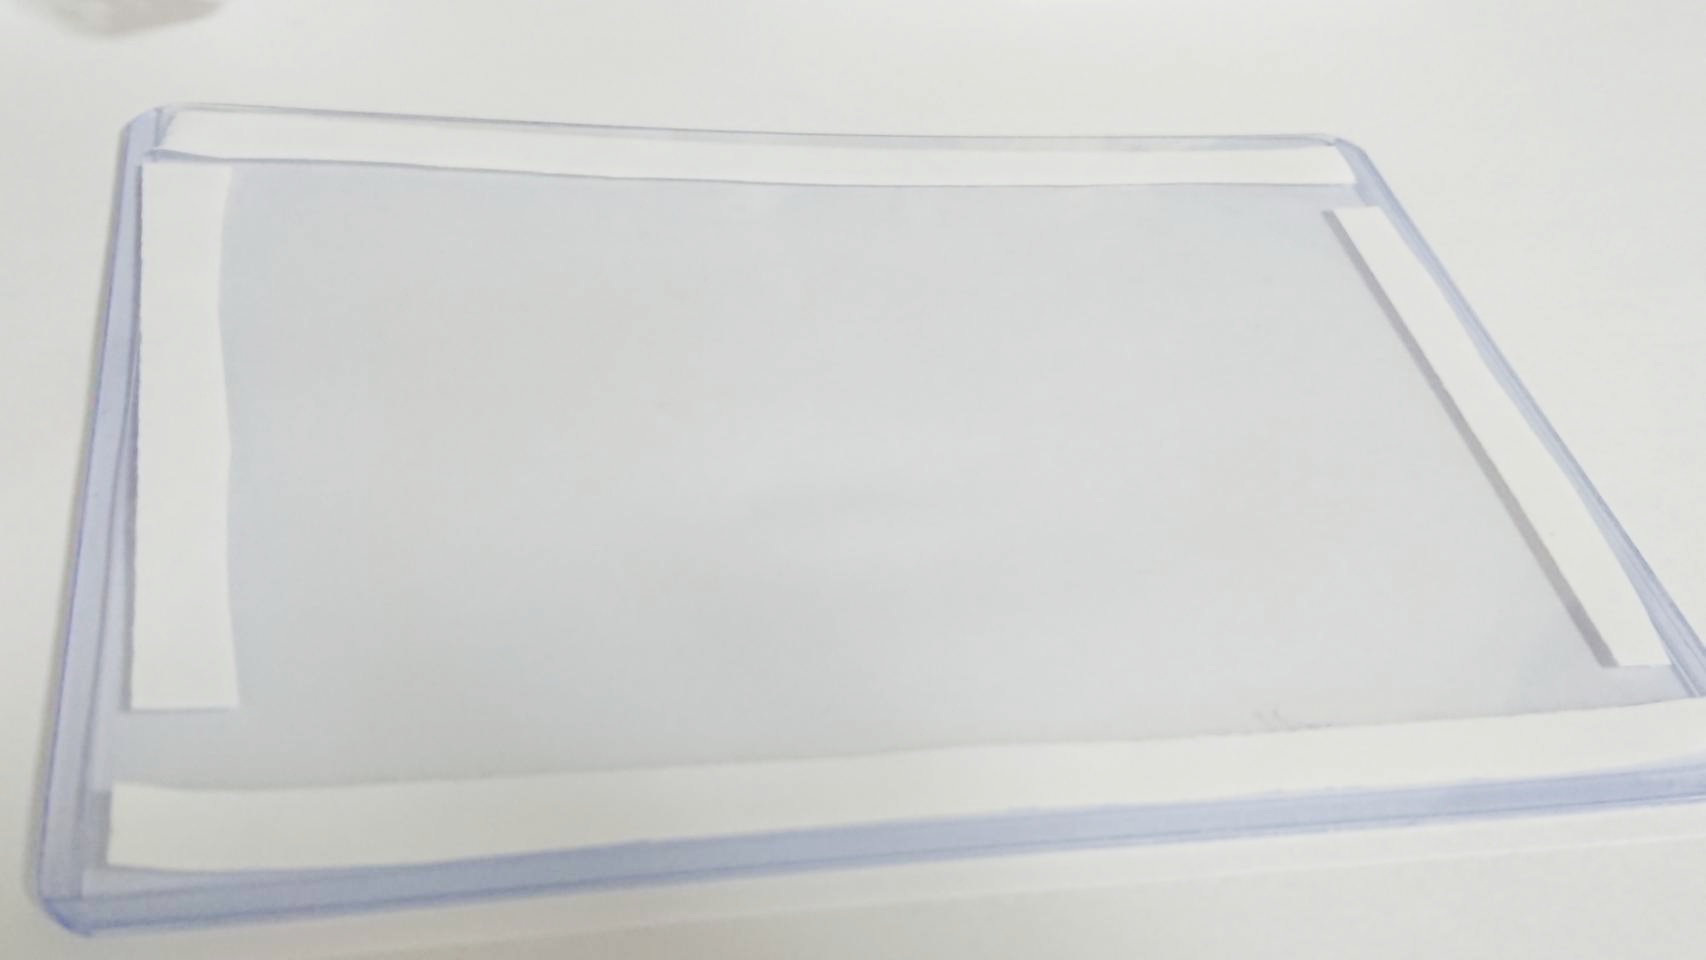
The hard card case used this time is A7 size.
*A7 hard card case size: approx. 108mm x 76mm (inner dimensions)
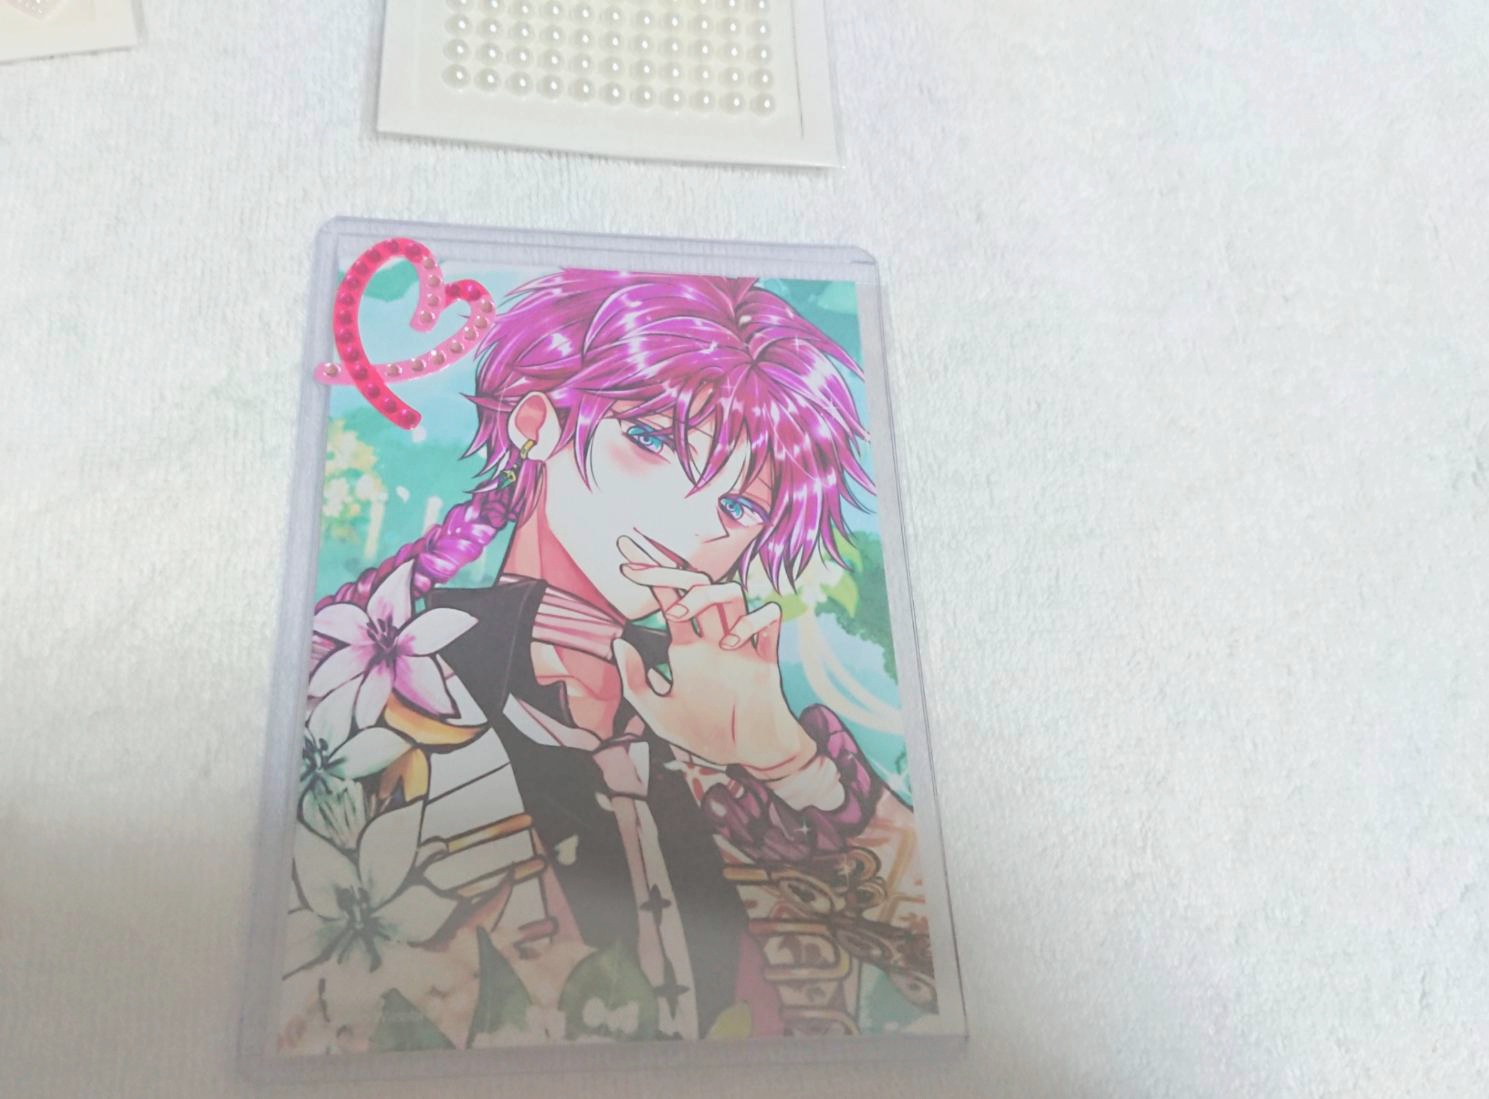
First, prepare a ribbon and check that the length of the ribbon is the length of the hard card case.

Next, apply adhesive to the back of the hard card case and attach the ribbon.
It’s not sticky at all…!!!!!!!!!!!!

I gave up on glue and decided to use double sided tape.
I’m done pasting!
If you leave it as it is, the adhesive side of the ribbon will be visible from the front, so decorate it with a sticker to hide it.
Decorate the sticker in the same way as the method introduced earlier.
First, I surrounded the edge with a pearl seal.
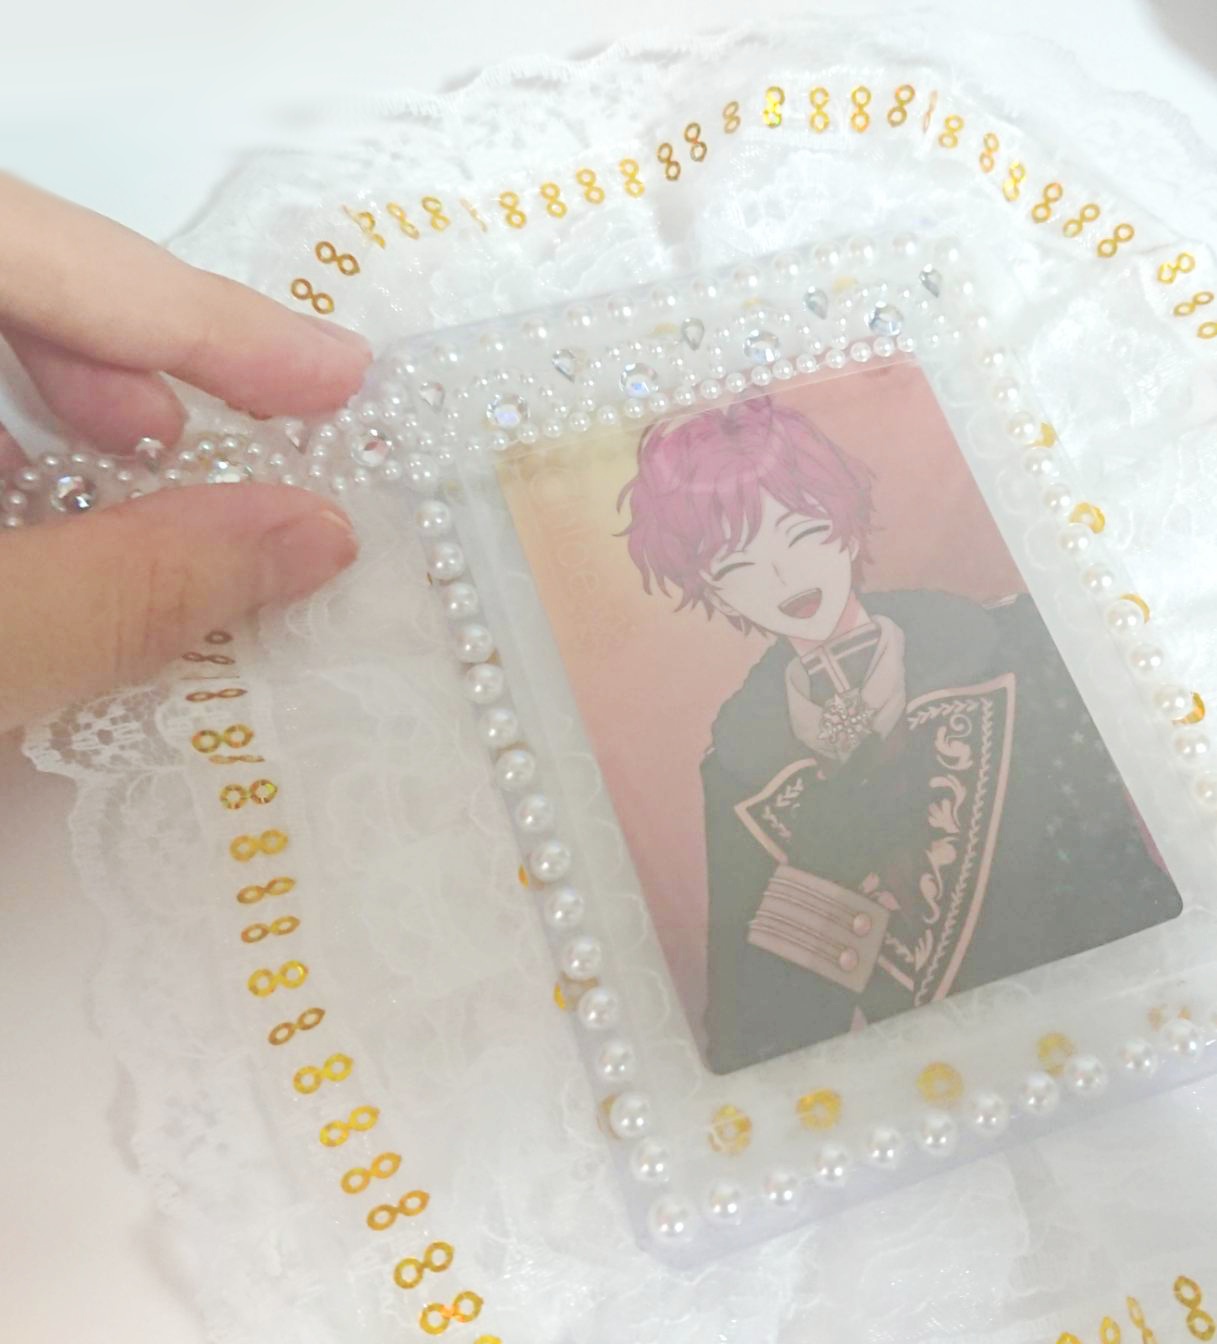
Since you can see a little of the adhesive surface, you can decorate it further with decoration tape…!
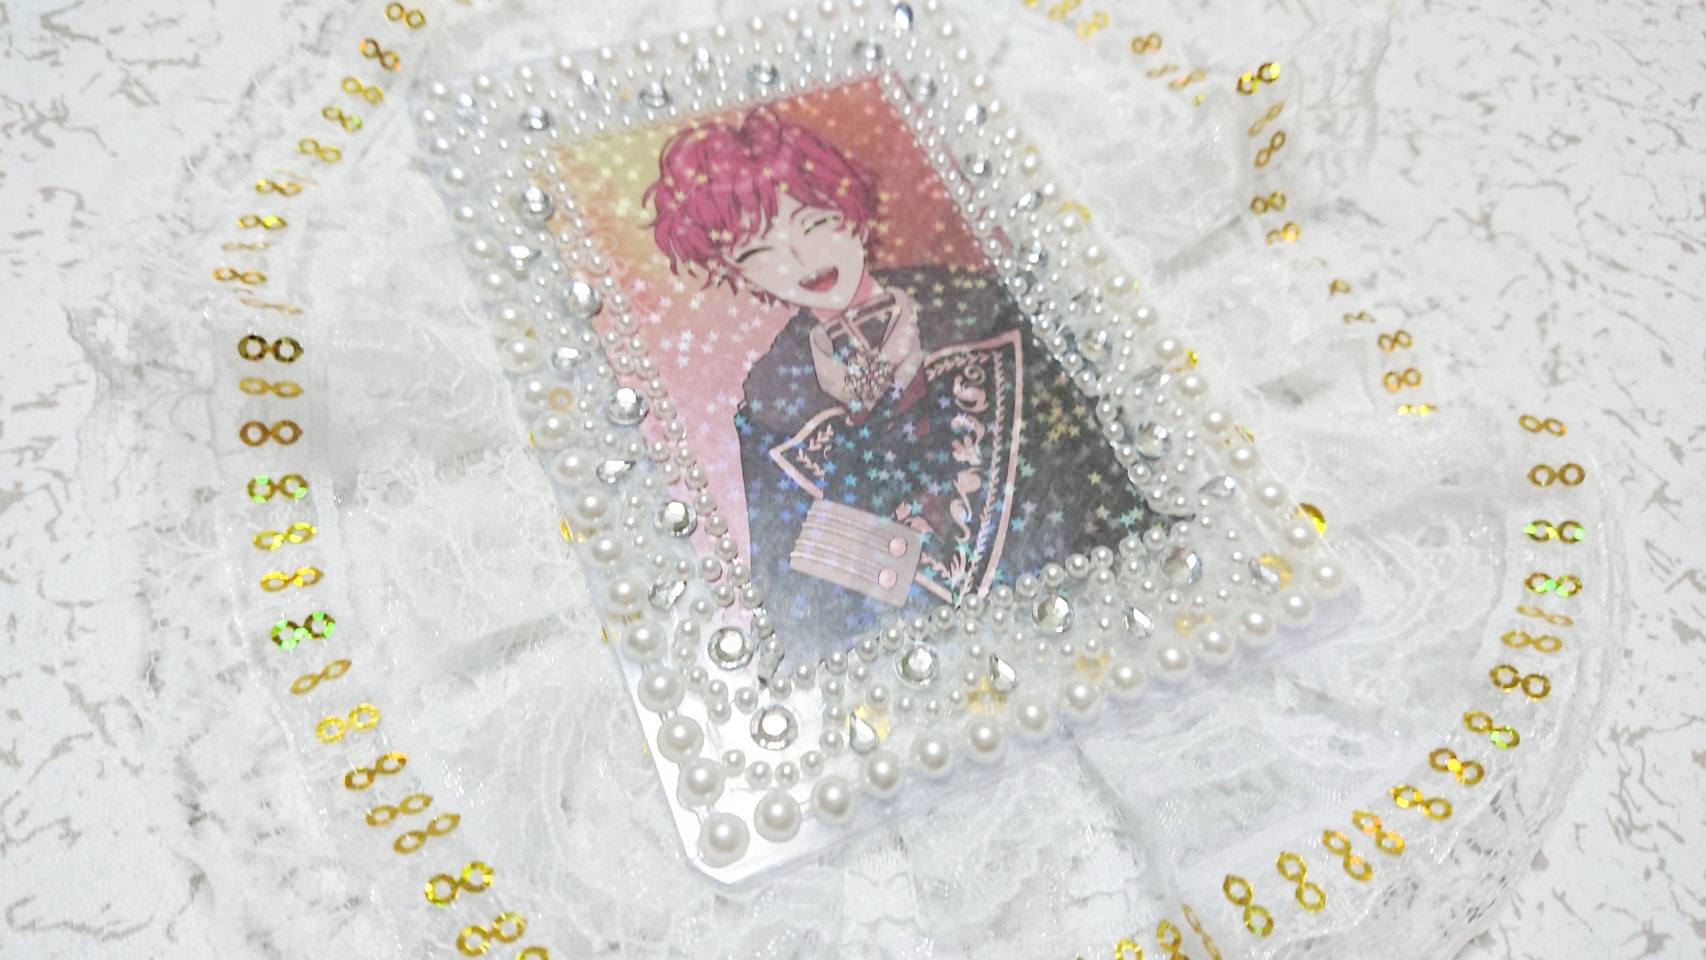
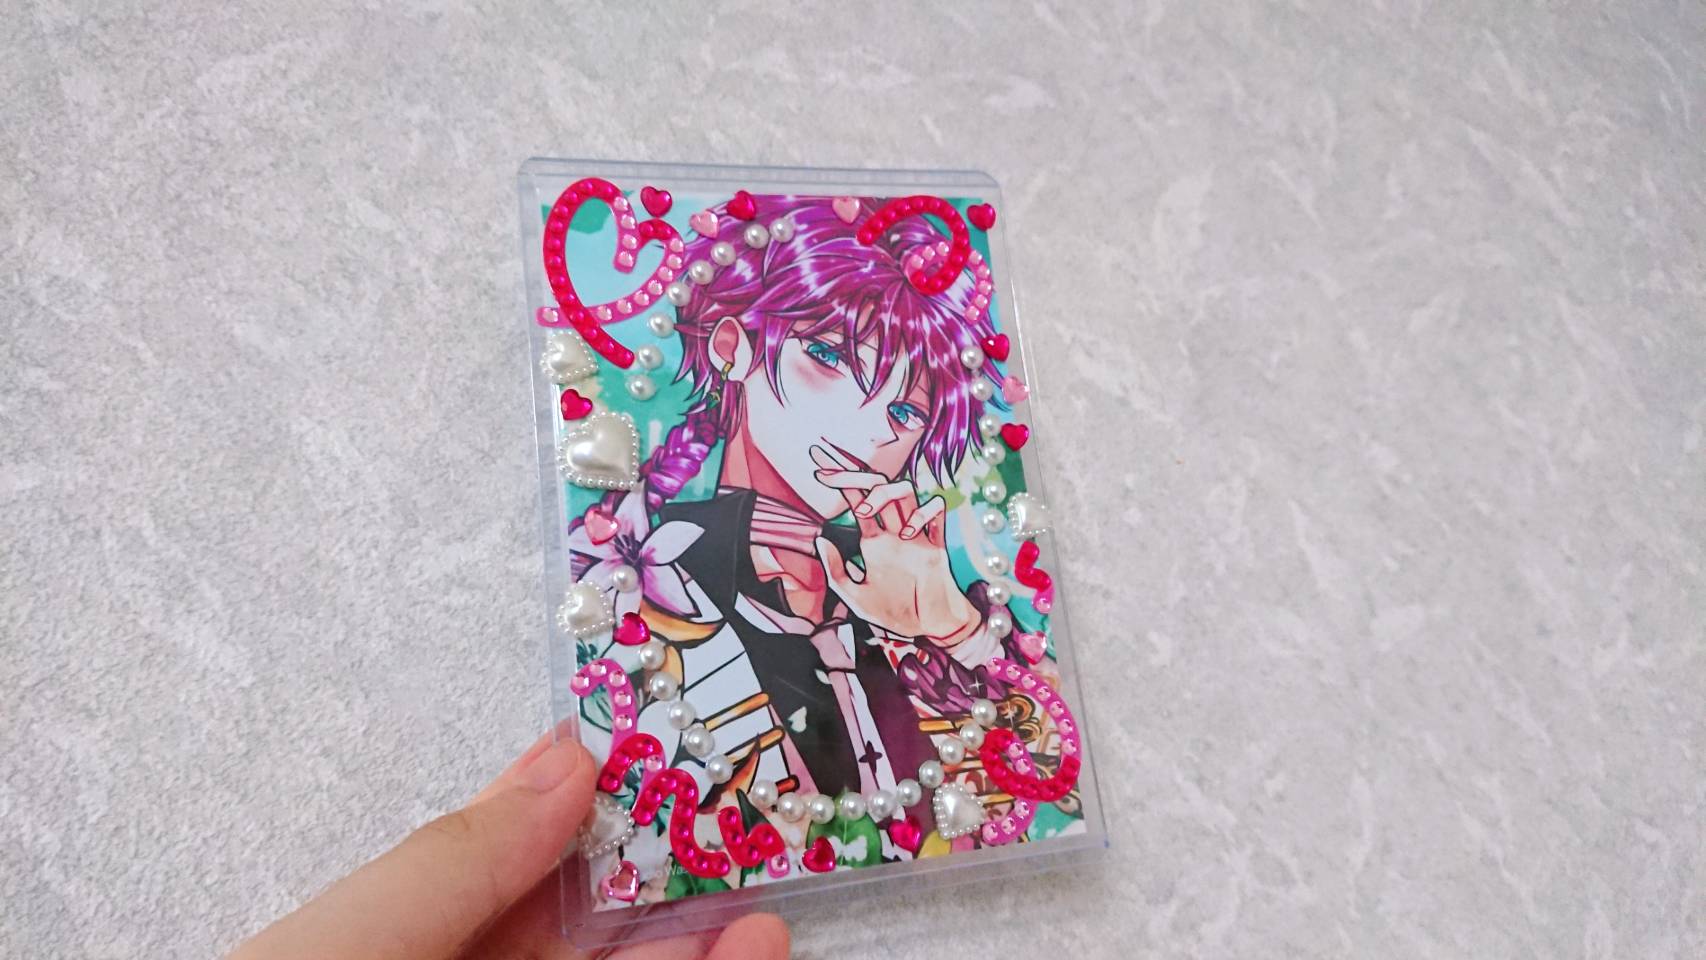
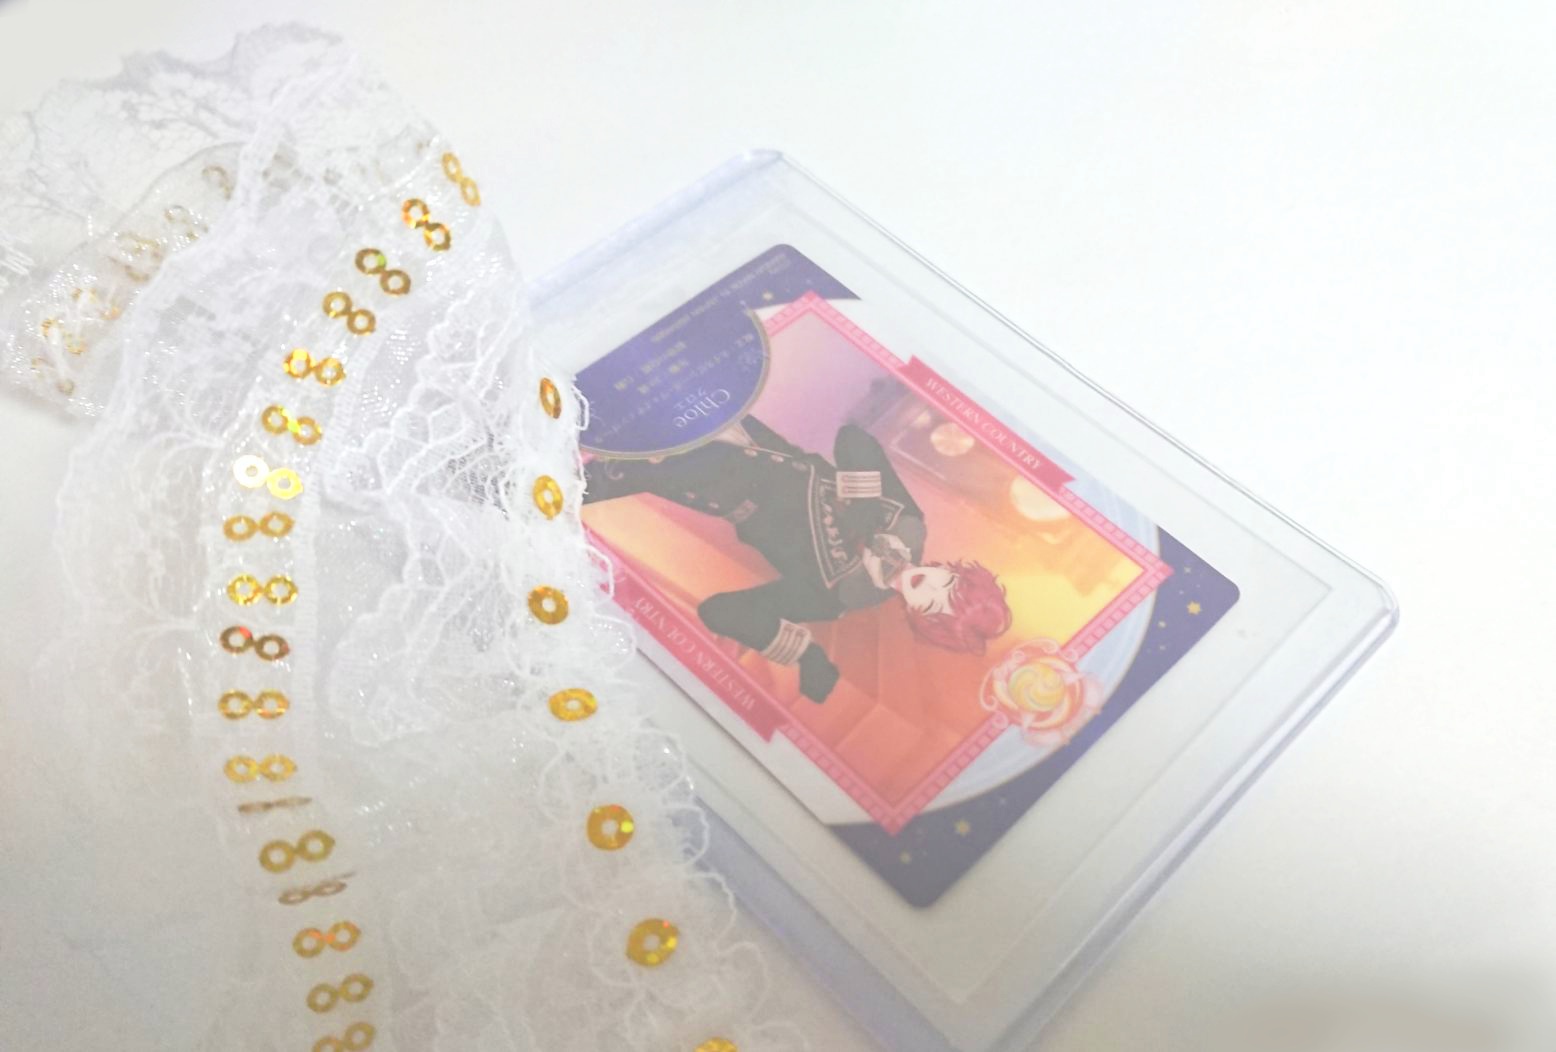
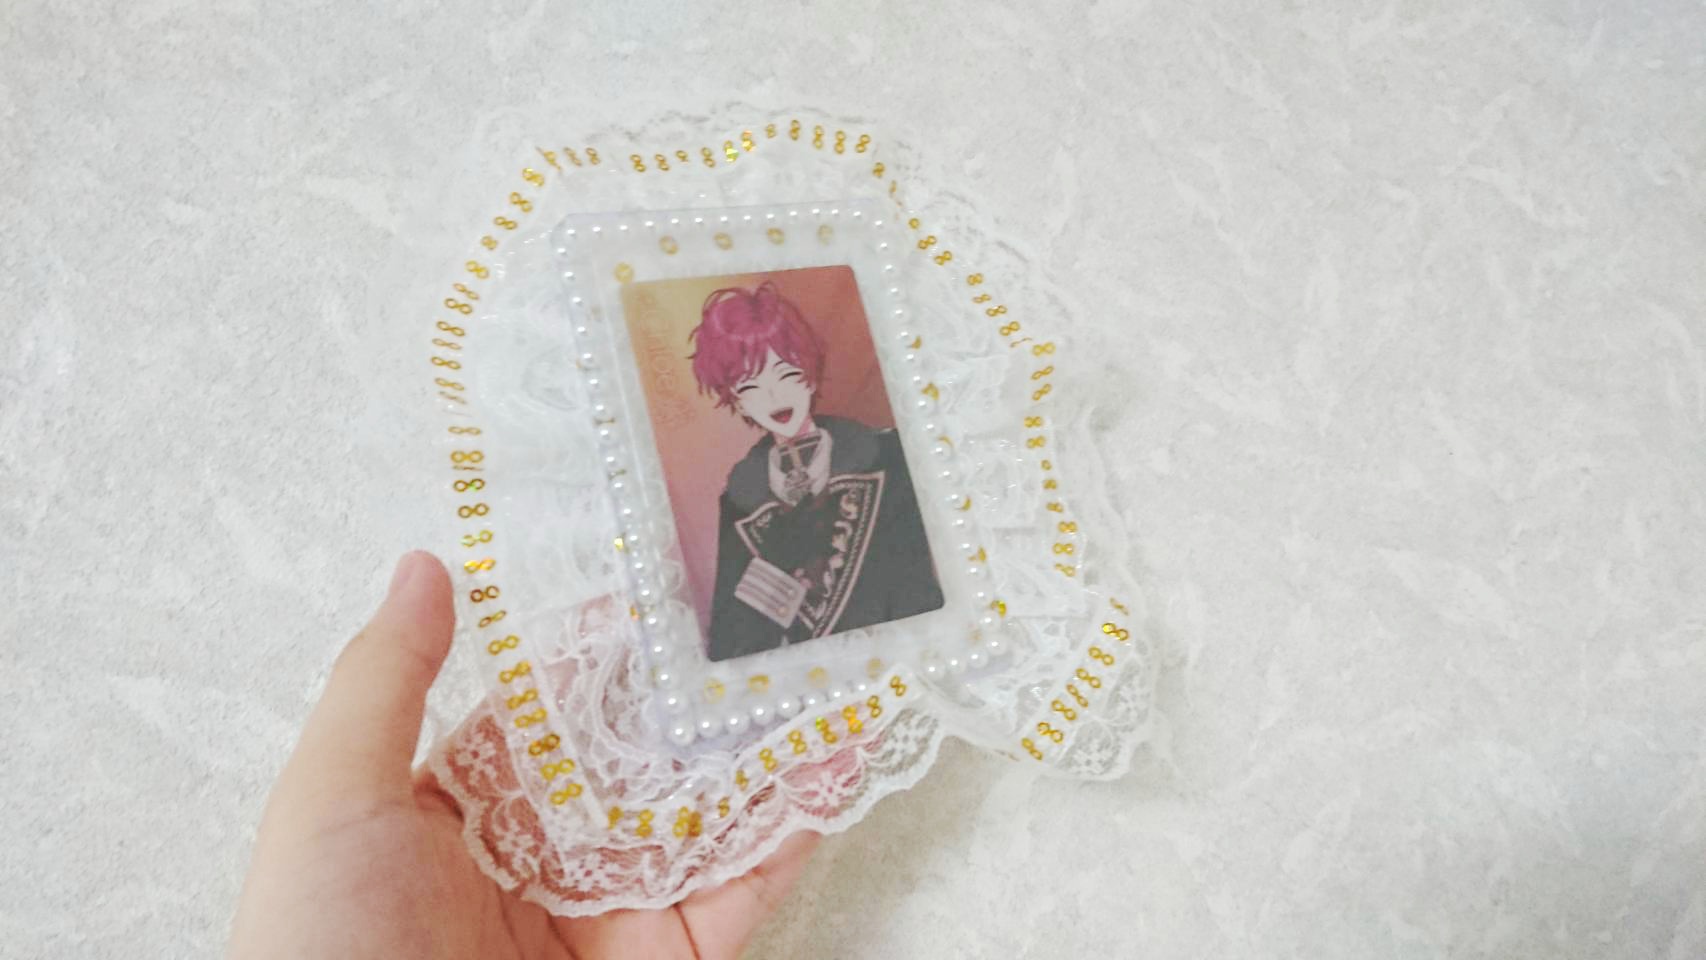
Here is the finished product!
So cute… (self-praise)
Add a ribbon to the back for extra flair!
Products inside the hard card case:
Promise of Wizard Twin Wafer 3 Chloe
Creation time:
About 10 minutes
Attention point:
Decorate with a sticker so that the adhesive surface cannot be seen.
Part 2
Finally, we will make another decoration using ribbons and stickers.
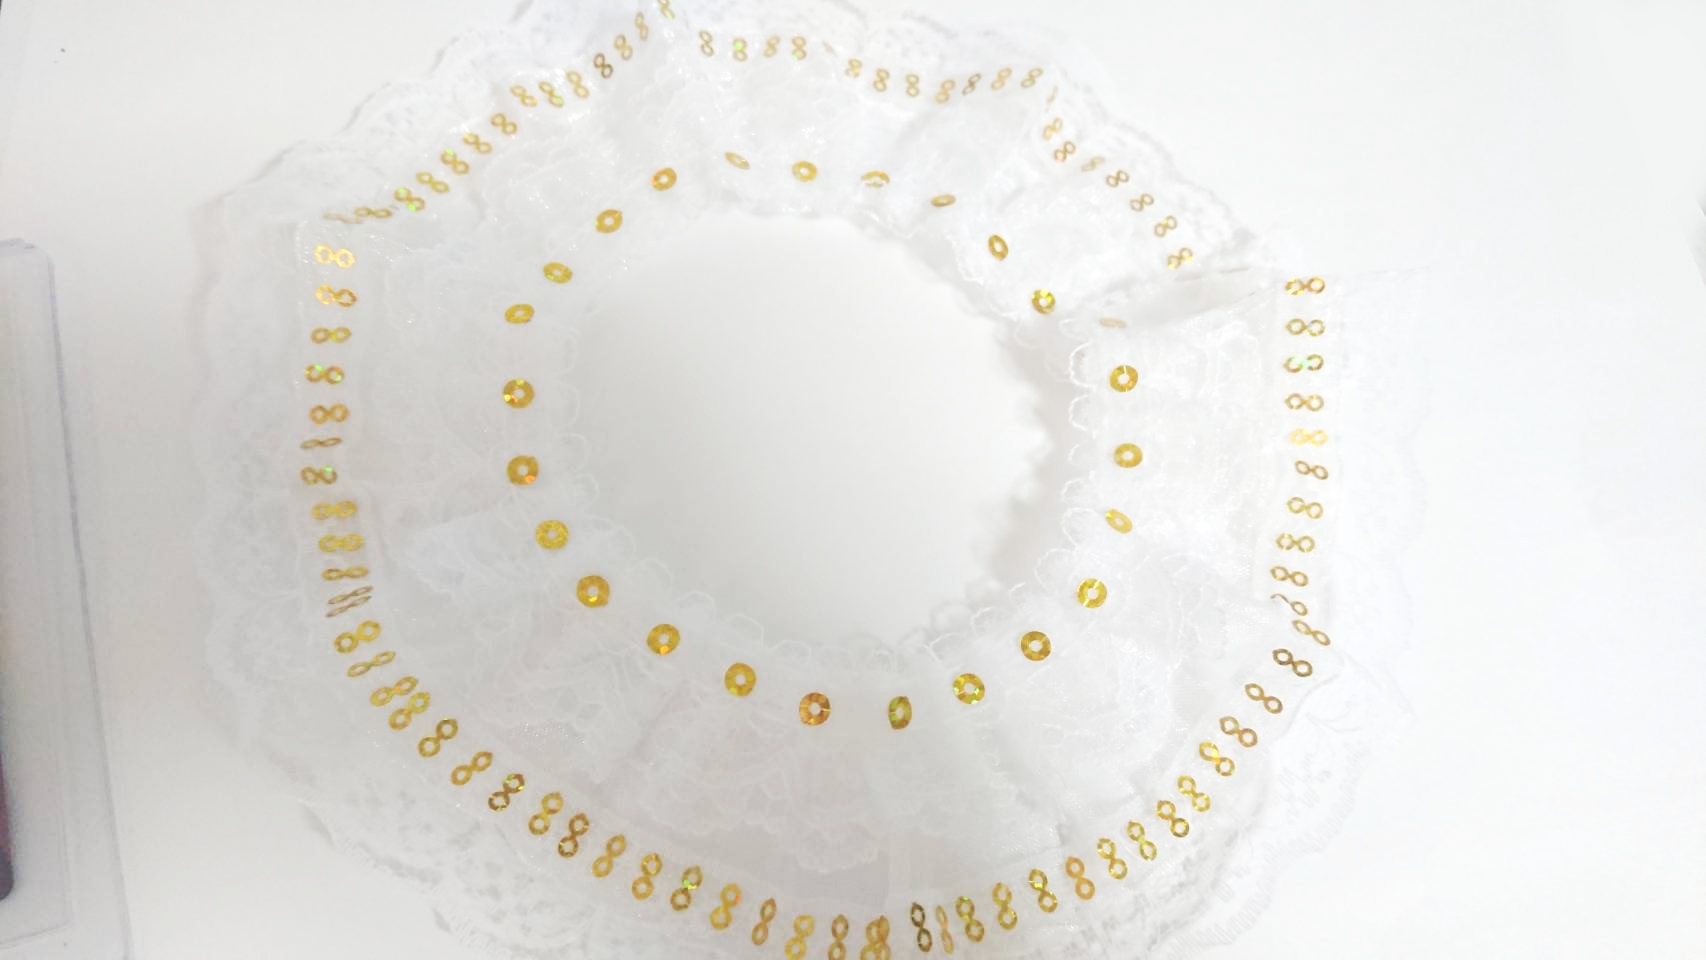
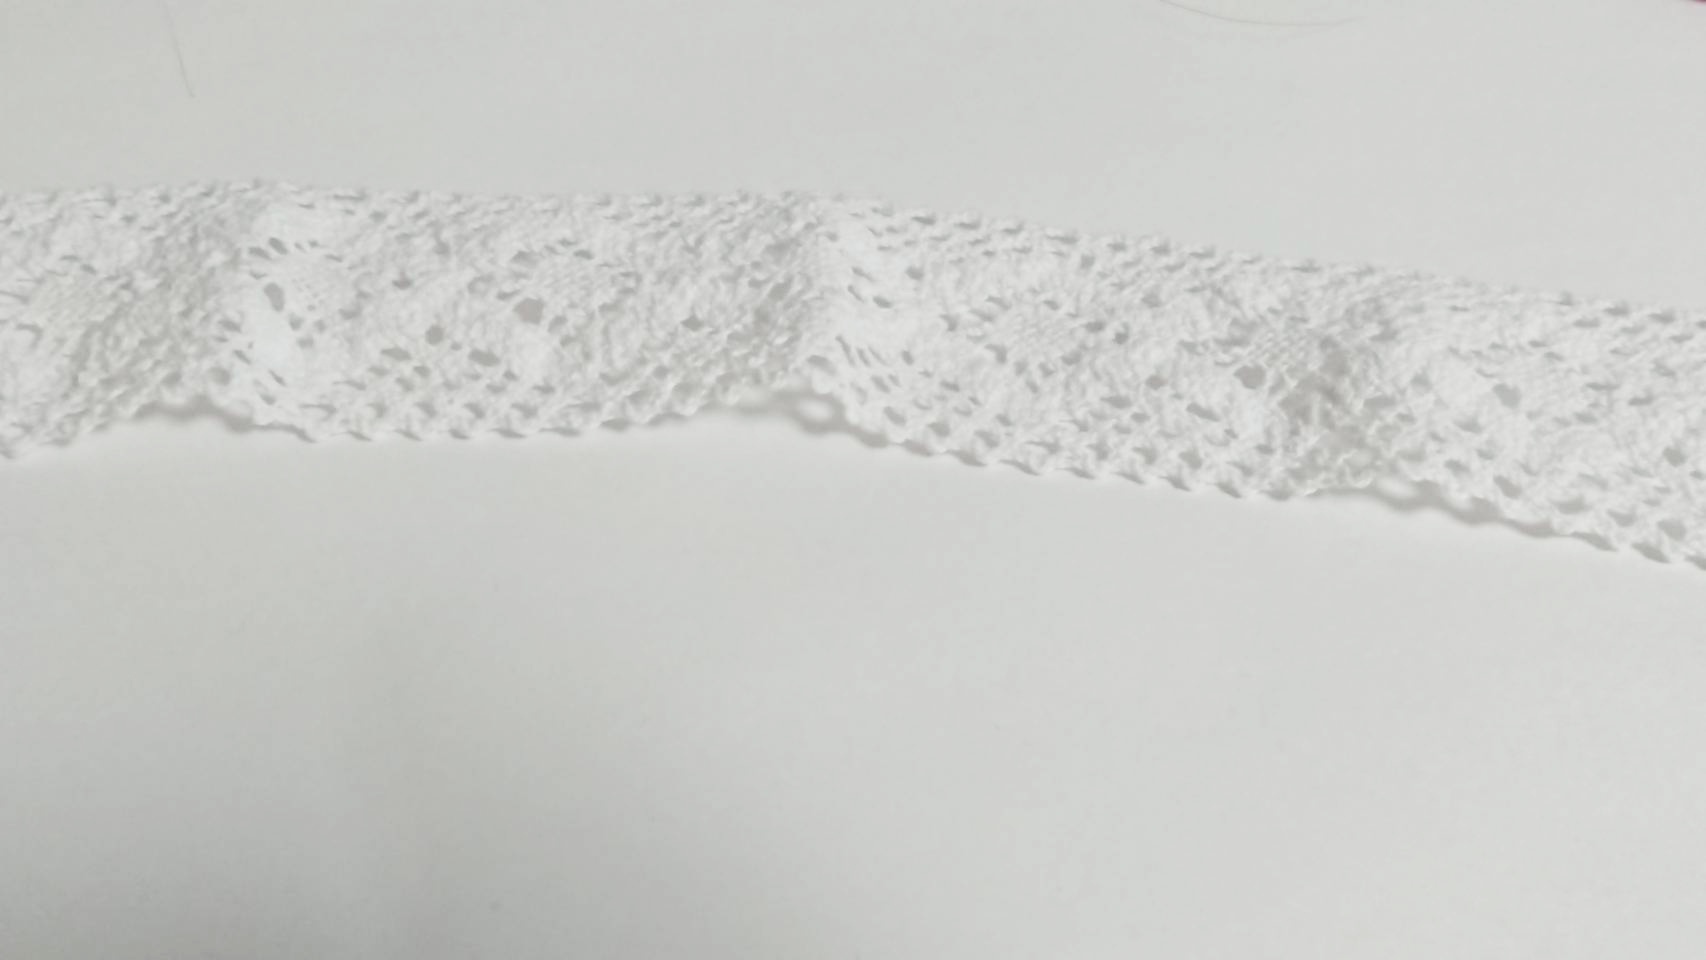
In “Sticker & Ribbon Decoration Part 1”, I already used frilly ribbons.
However, the one I use this time doesn’t have a frilly feeling, it’s just like cloth.
If it is left as it is, the cuteness will be halved, so in order to make it look like a ribbon, it is time consuming to sew with a needle.
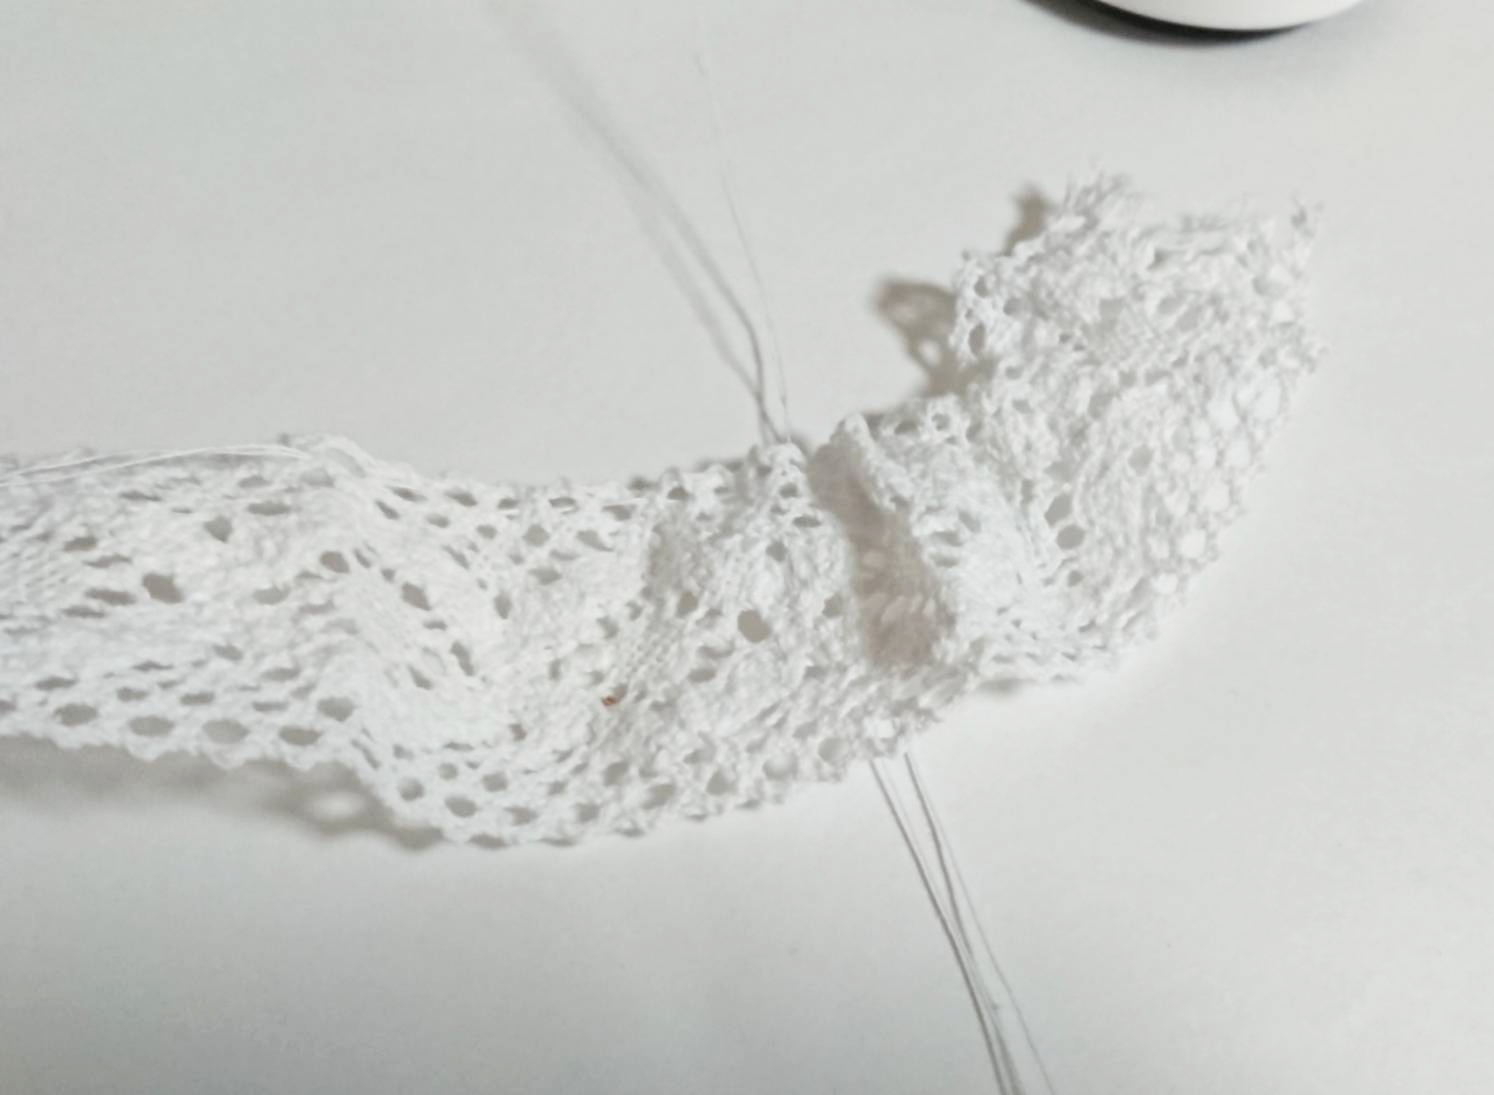
Pass the thread through the end of the ribbon and sew in waves.
When you pull the thread, it will be ruffled like in the picture.
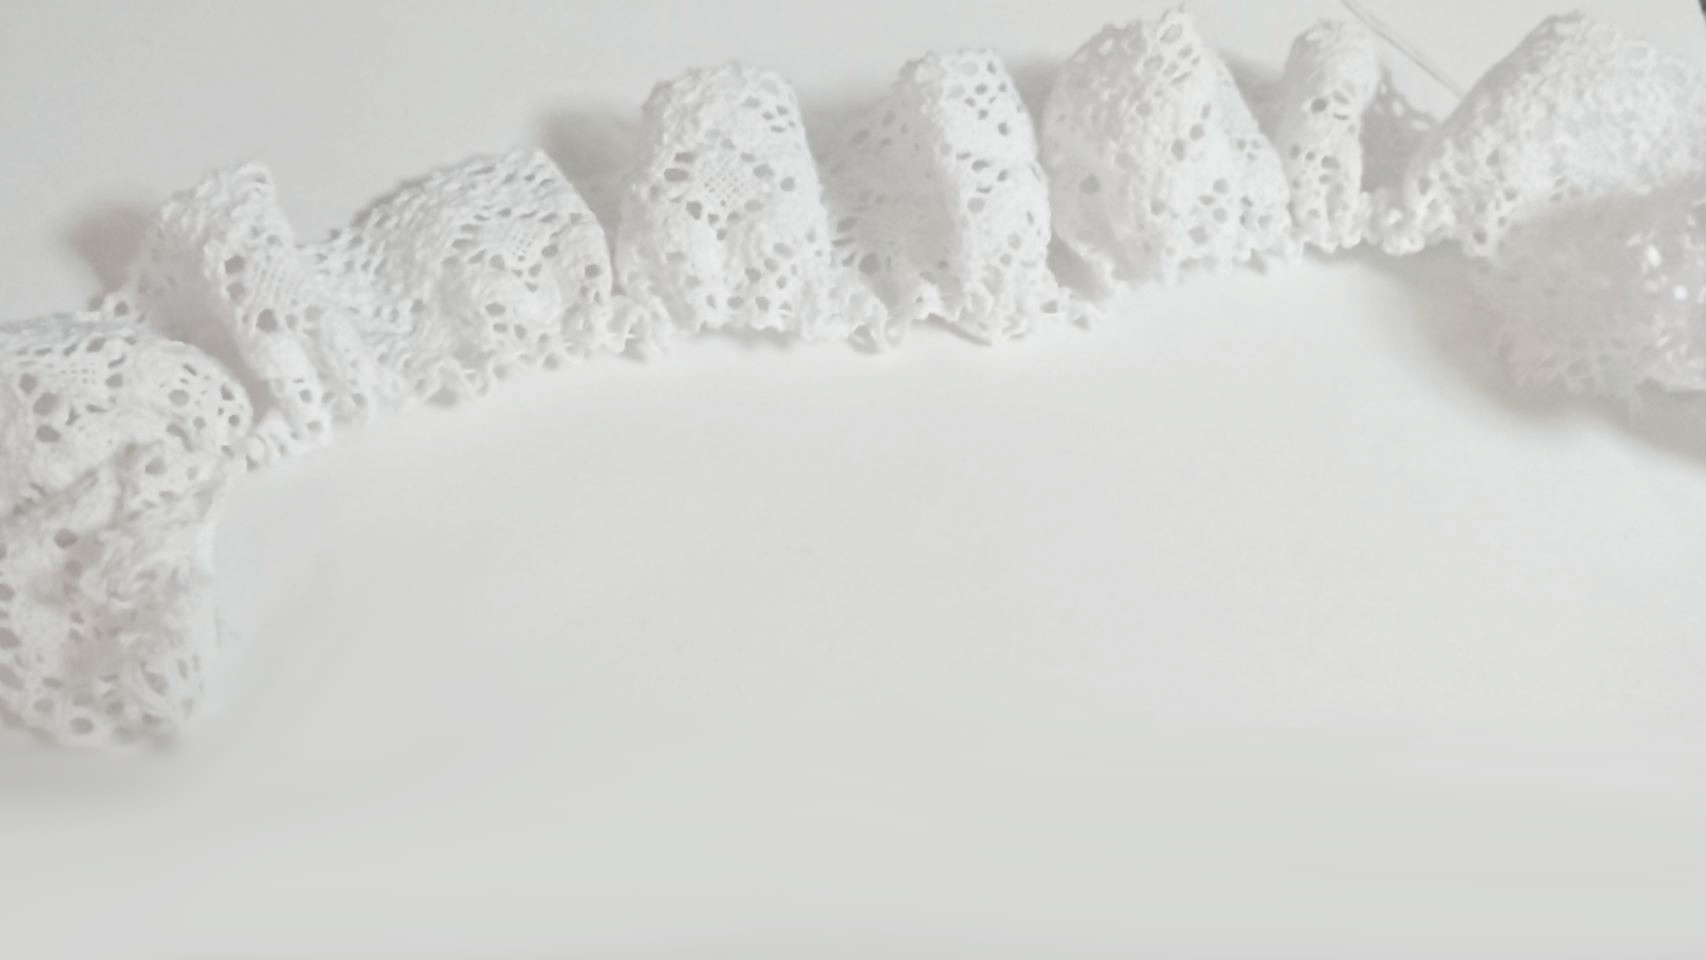
When you have finished sewing to the end, pull the thread until you get the frilly feel you like, and tie it off to complete.
This method can also be applied to satin ribbons!

After that, attach the ribbon to the back of the hard card case and decorate the surface with a sticker in the same way as “Sticker & Ribbon Decoration Part 1”.
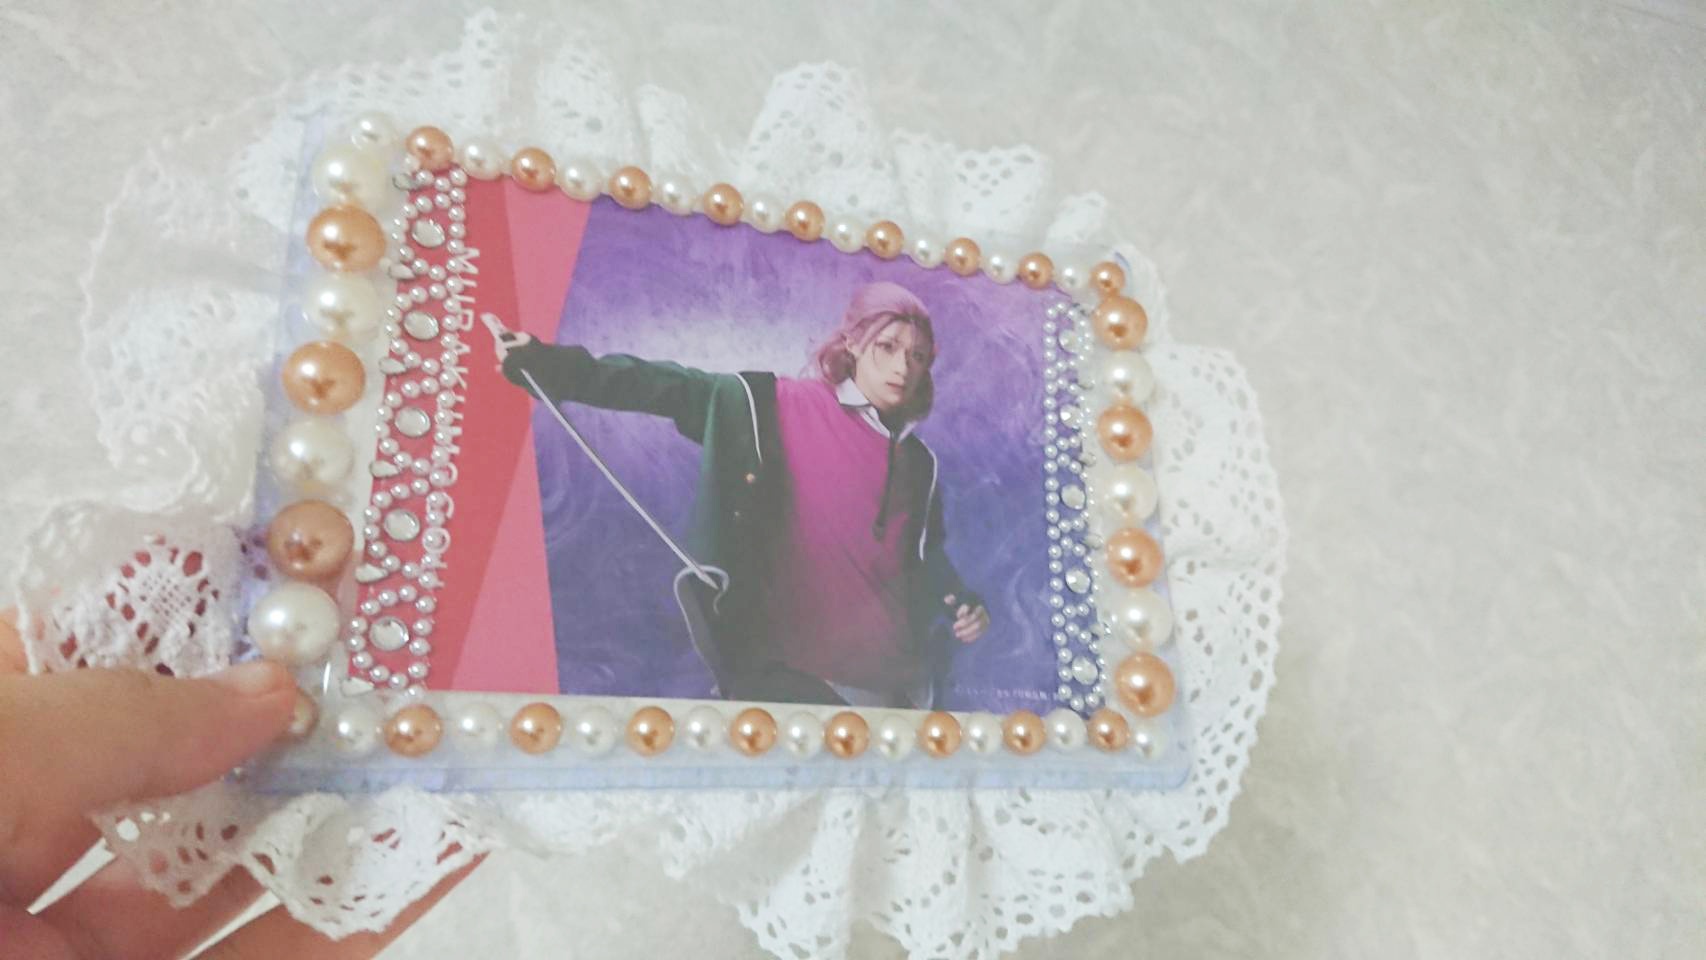
Complete!!!!
It is difficult to sew a ribbon, but it can be applied to various fabrics, so the range of designs can be expanded!
Product inside the hard card case:
Musical: Touken Ranbu Tokyo Kokoro Oboe Bromide Touken Danshi (Battle ver.) Murakumo Gou
Creation time:
About 30 minutes
Attention point:
Sew a ribbon to create a frilly look.
Impressions of decorating hard card cases
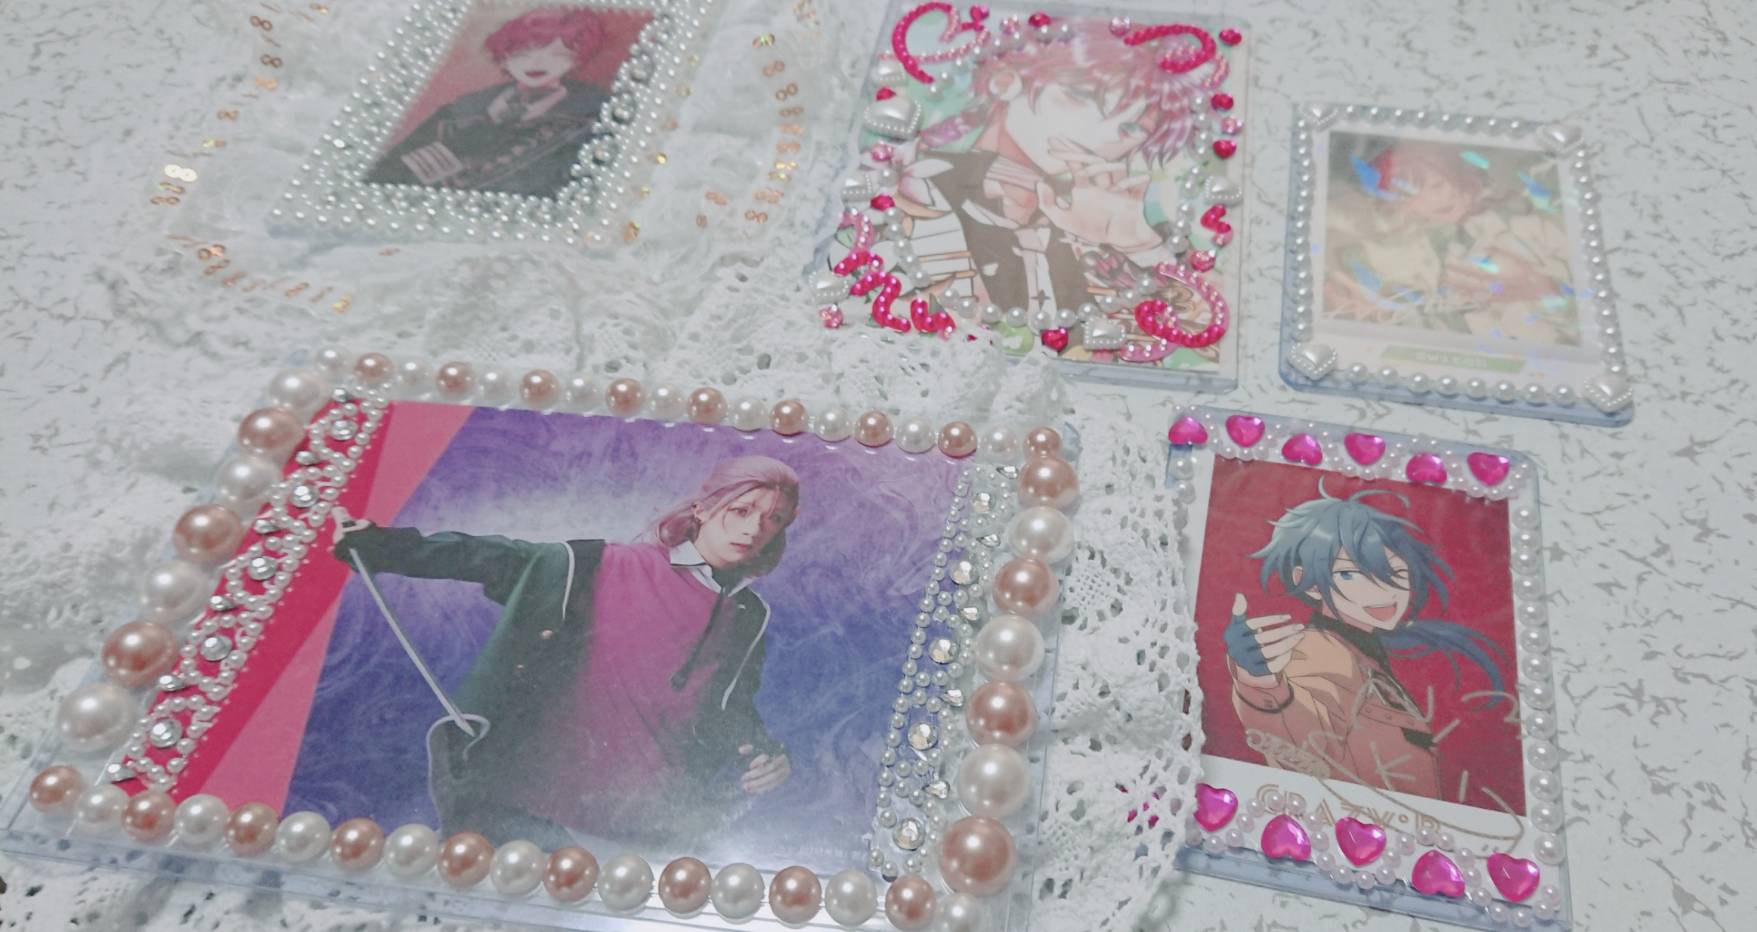
The decorating hard card cases was easy to make as long as there was a sticker, so even beginners can make it easily.
The 100 yen store has a wide variety of decoration parts, and there are items that can be easily decorated, such as decoration tape, which was very helpful!
Except for the hard card case, the price can be kept within 1,000 yen, so it’s easy on your wallet.
By all means, please try decorating the hard card case to enjoy your geek activities even more!
Time taken:
1 hour 00 minutes (it took a long time to sew the ribbon)
Material cost:
Approximately 1,500 yen
*Includes hard card case and adhesive